Why buy store bought when you can make delicious homemade rustic pita bread at home? You’ll flip over how easy and delicious making your own pita bread is!
So for some silly reason today I decided to make homemade pita bread.
Mainly because I thought I would get to use my new KitchenAid. But nope, I did however spend some quality time with my new mixer this morning when I accidentally dropped a lit, three-wick candle next to it and of course the lime green wax splashed everywhere and dripped from everything. Even the attachments, the base and my walls.
I thought I ruined it.
Alright back to pita bread. A couple years ago the thought of making bread frightened me. The whole “rising” part especially. I don’t know why but it did. Don’t laugh. Okay maybe frighten was the wrong word, more like intimidated.
Until my mom and I made pizza dough together did I realize how simple it is. I love smell of yeasty dough, it’s like when you walk into Subway and the bread just came out of the oven, you know what I mean. It’s what heaven smells like or should smell like.
So after thirty minutes of talking myself out of making pita bread, *sigh* I caved and started the process.

To Make This Rustic Pita Bread You Will Need:
- unbleached all-purpose flour
- granulated sugar
- kosher salt
- active dry yeast
- warm water
- olive oil

It was fun, I sat and stared at the yeast multiply in front of my eyes. Like a sponge or foam, it just grew! The smell reminded me of home-ec class, when we would make those large soft pretzels. I loved home-ec, just not when it came to sewing, who needs to know how to sew these days anyways?
It should take about 10 minutes to bloom.
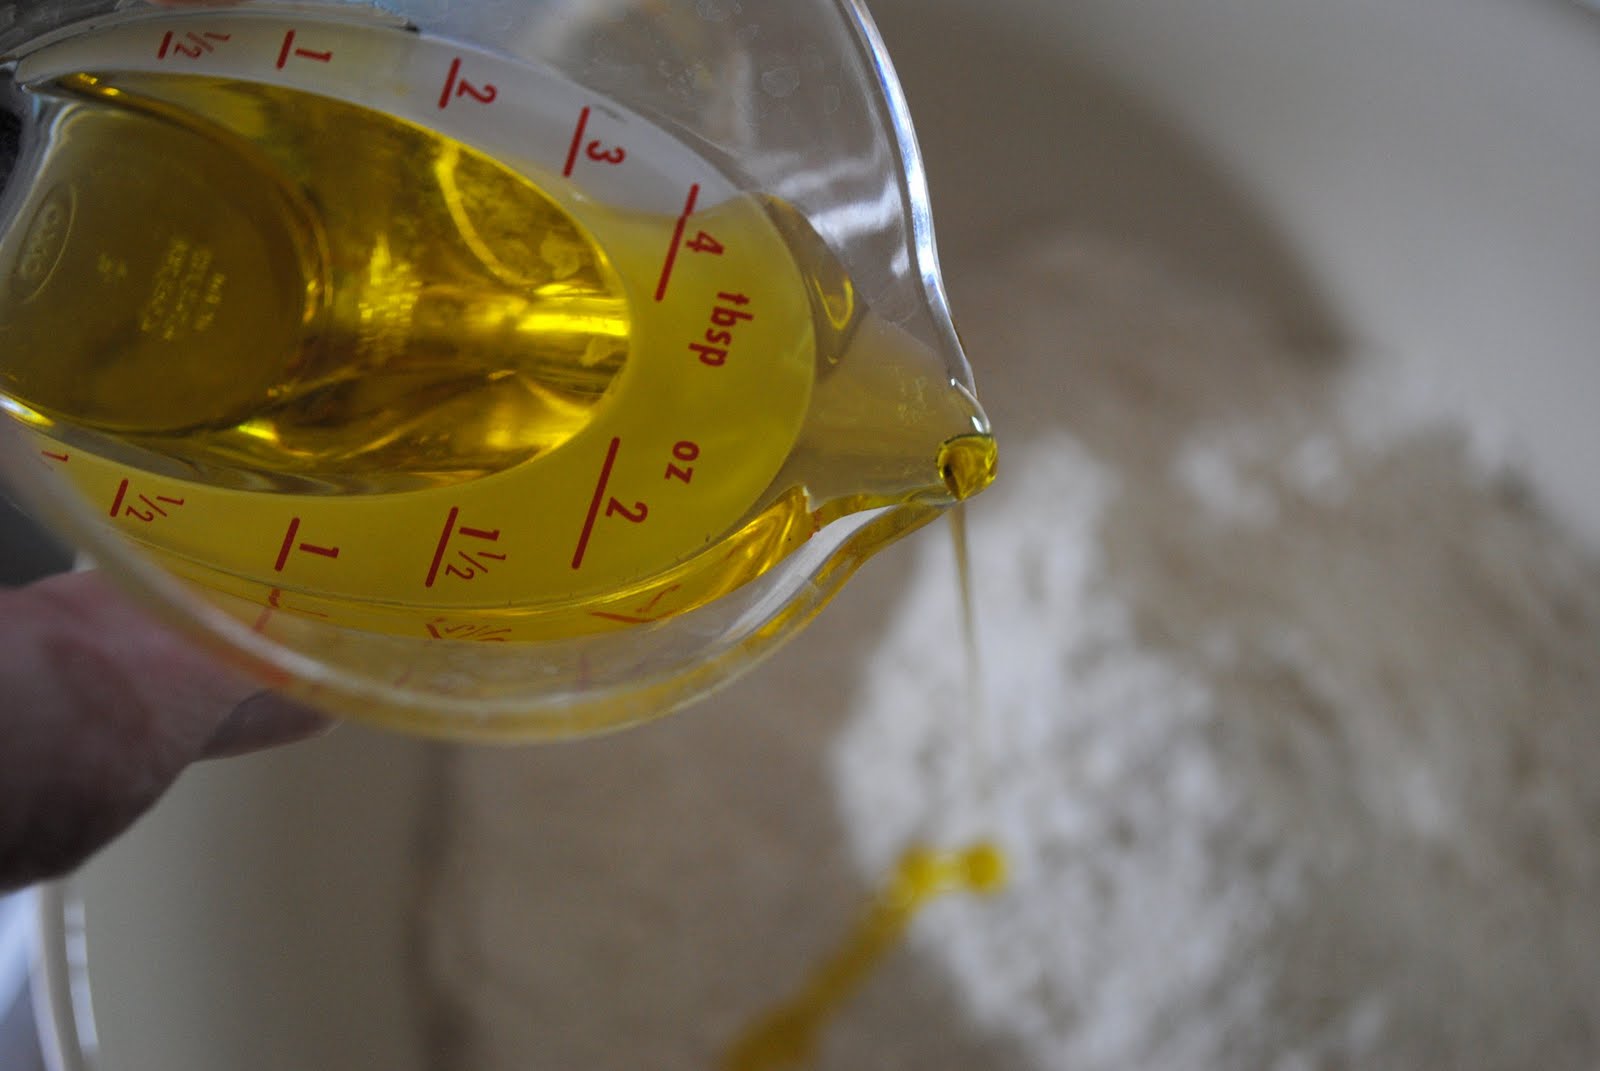
After the yeast has bloomed, I tossed in the flour, olive oil and salt and got to kneading.

Now, when you have to knead dough know that it’s a sticky business! A process of which you shouldn’t wear your wedding rings, unless you don’t have wedding rings or mind spending a good chunk of time cleaning dough particles out the nooks and crannies, which I have of course done a time or two.
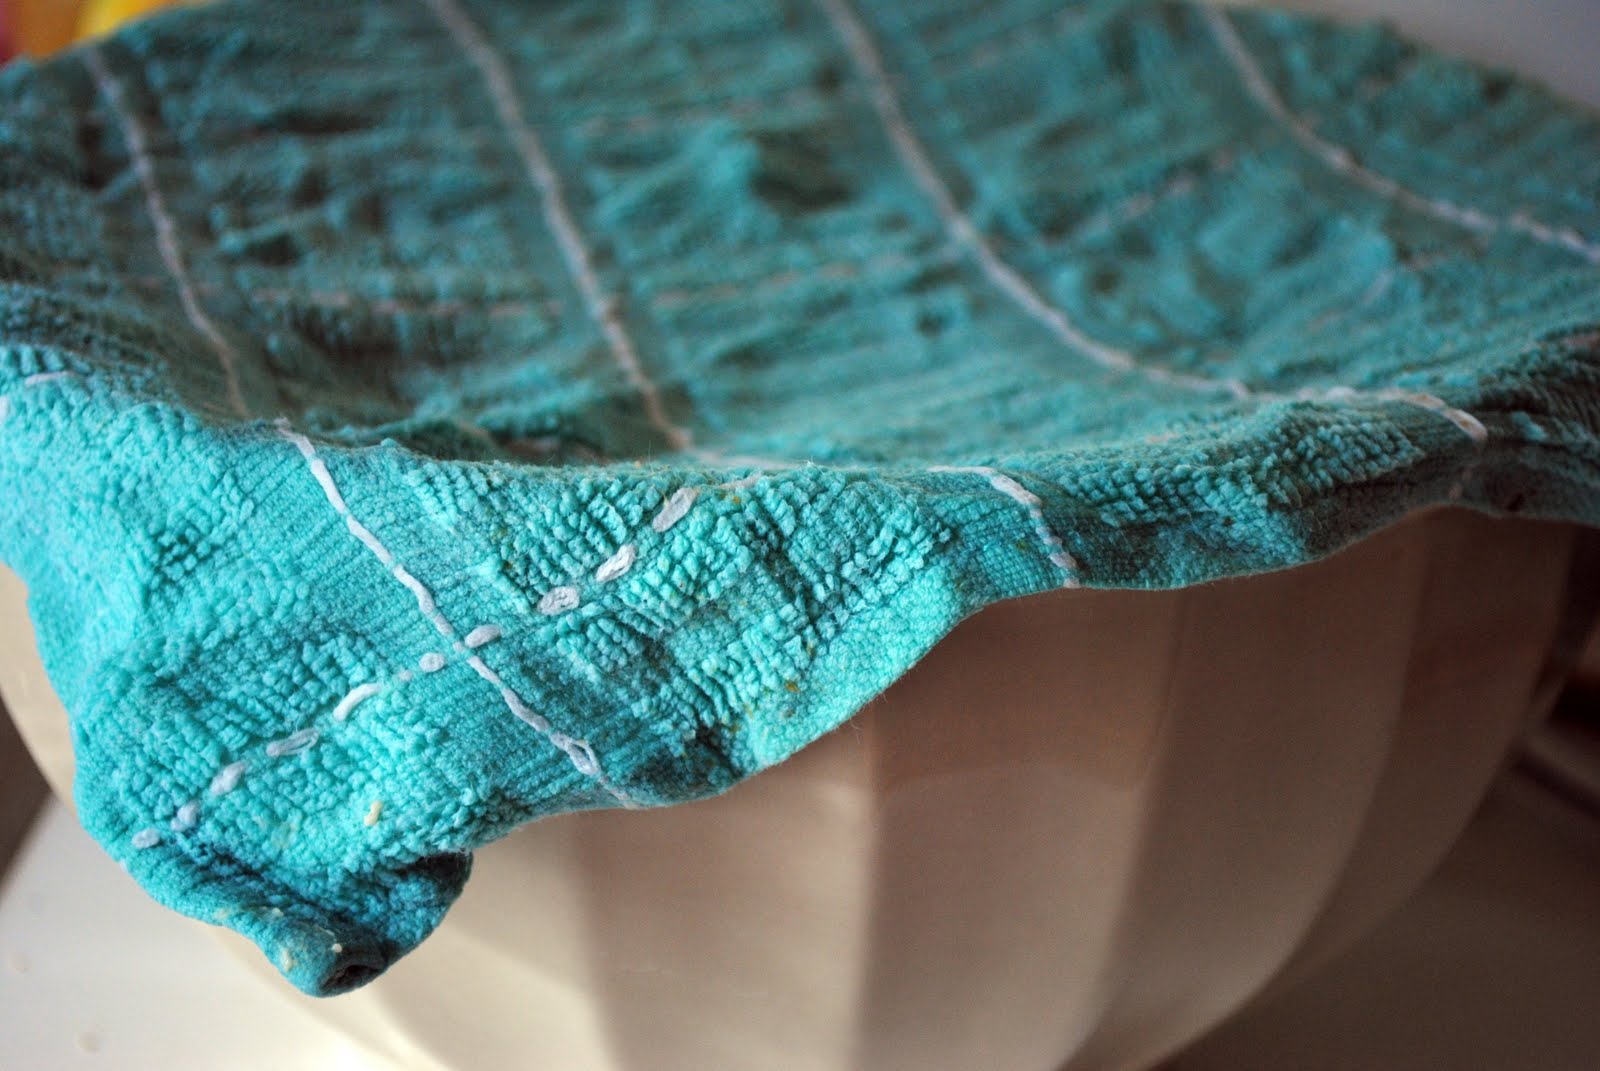
But I managed to struggle through the kneading and finally placed the dough in a lightly oiled bowl in my warm oven to double in size and I was off to get my girls from the bus stop.

When we walked in the house it smelled faintly of dough. It was amazing. I was excited to start the next step. Roll it in to a log and cut into 8 even pieces. The old me (the scared intimidated-of-making-bread, me) would have started at one end and then hoped I was going to get the 8 pieces the recipe tells me I need. But instead I divided it in half then half again and so on until I got 8 pieces. I was a tad bit proud, even if they were unequal parts. Who cares??
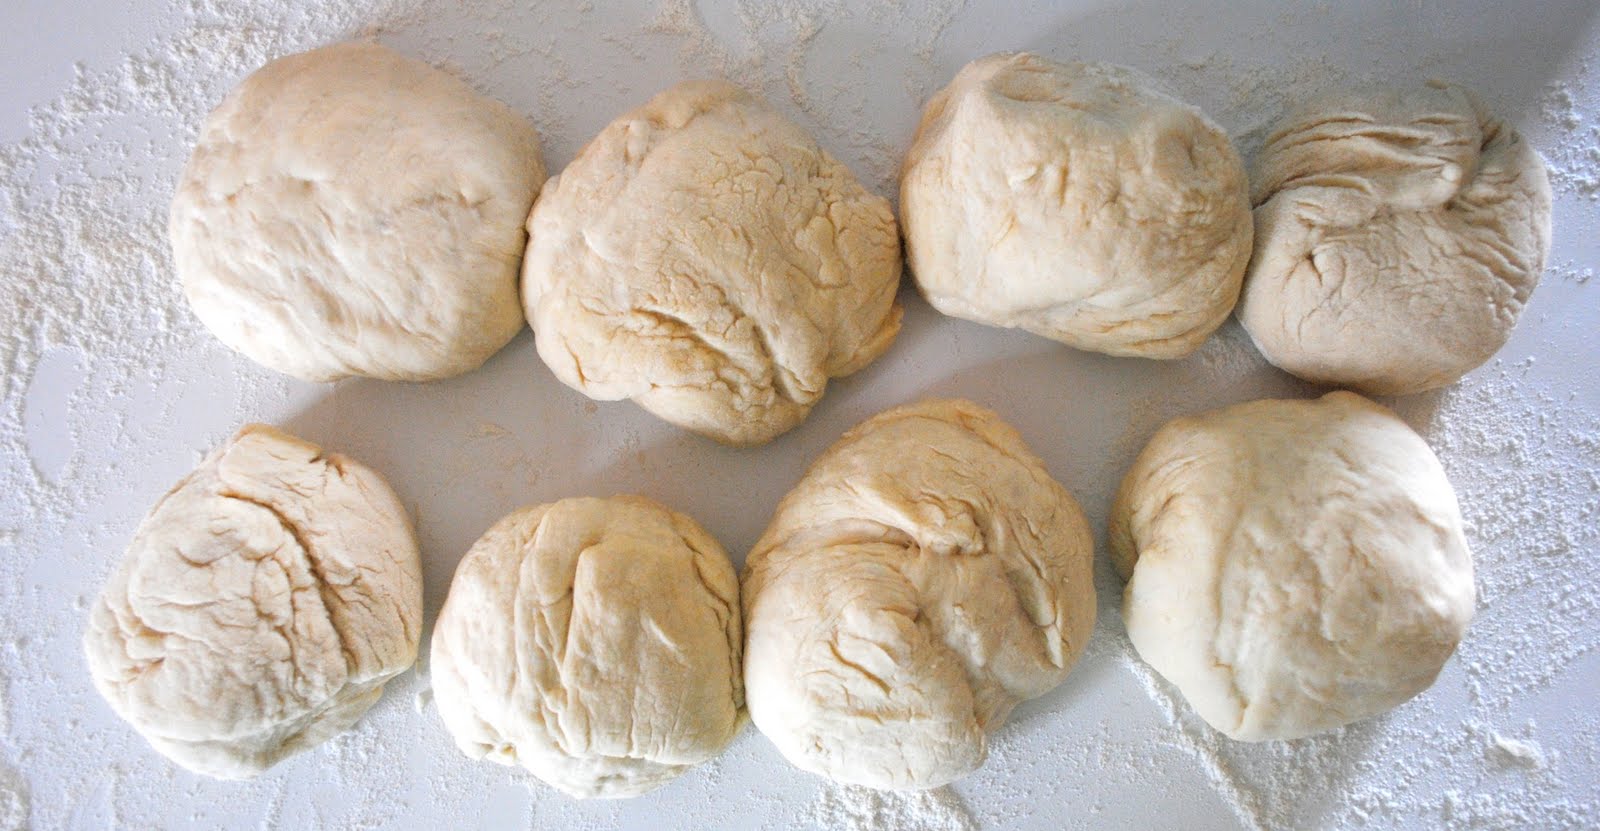
Next I rolled them into balls.
A crucial and I mean CRUCIAL step in the recipe, the recipe said that if I didn’t do this step the air wouldn’t accumulate in the center, creating the “pocket” when you cut the pita bread in half. I’m not sure how it happens, but like magic they puff up in the center! JUST YOU WAIT!
Next I had to bust out my rolling pin. This thing is ginormous and kind of awkward (like me in the 6th grade) and there just isn’t a drawer in this house deep enough to fit it in, but I’m glad I have it. It makes it real easy for rolling out pie crust and spanking my kids. Just kidding!! I don’t use my kitchen equipment, that would be a crime against all things kitchen-y?
If my rolling pin had a name, it would be Gertrude… or Wilma.

Roll the rounds out to circles that are 7-inch diameter.

I just had to eyeball it which isn’t saying much for my eyeballs, as you can see they aren’t the same size. But it’s hard to roll these suckers out! They have to be thin, but not too thin they will fall through the racks of the oven. Ah! So frustrating! *FLASH FORWARD* I could just see me tomorrow scrapping charred dough off the floor of my oven and then going off to cry in the corner vowing never to make pita bread ever again!!!
Make sure to dust these babies with flour to prevent them from sticking to each other!
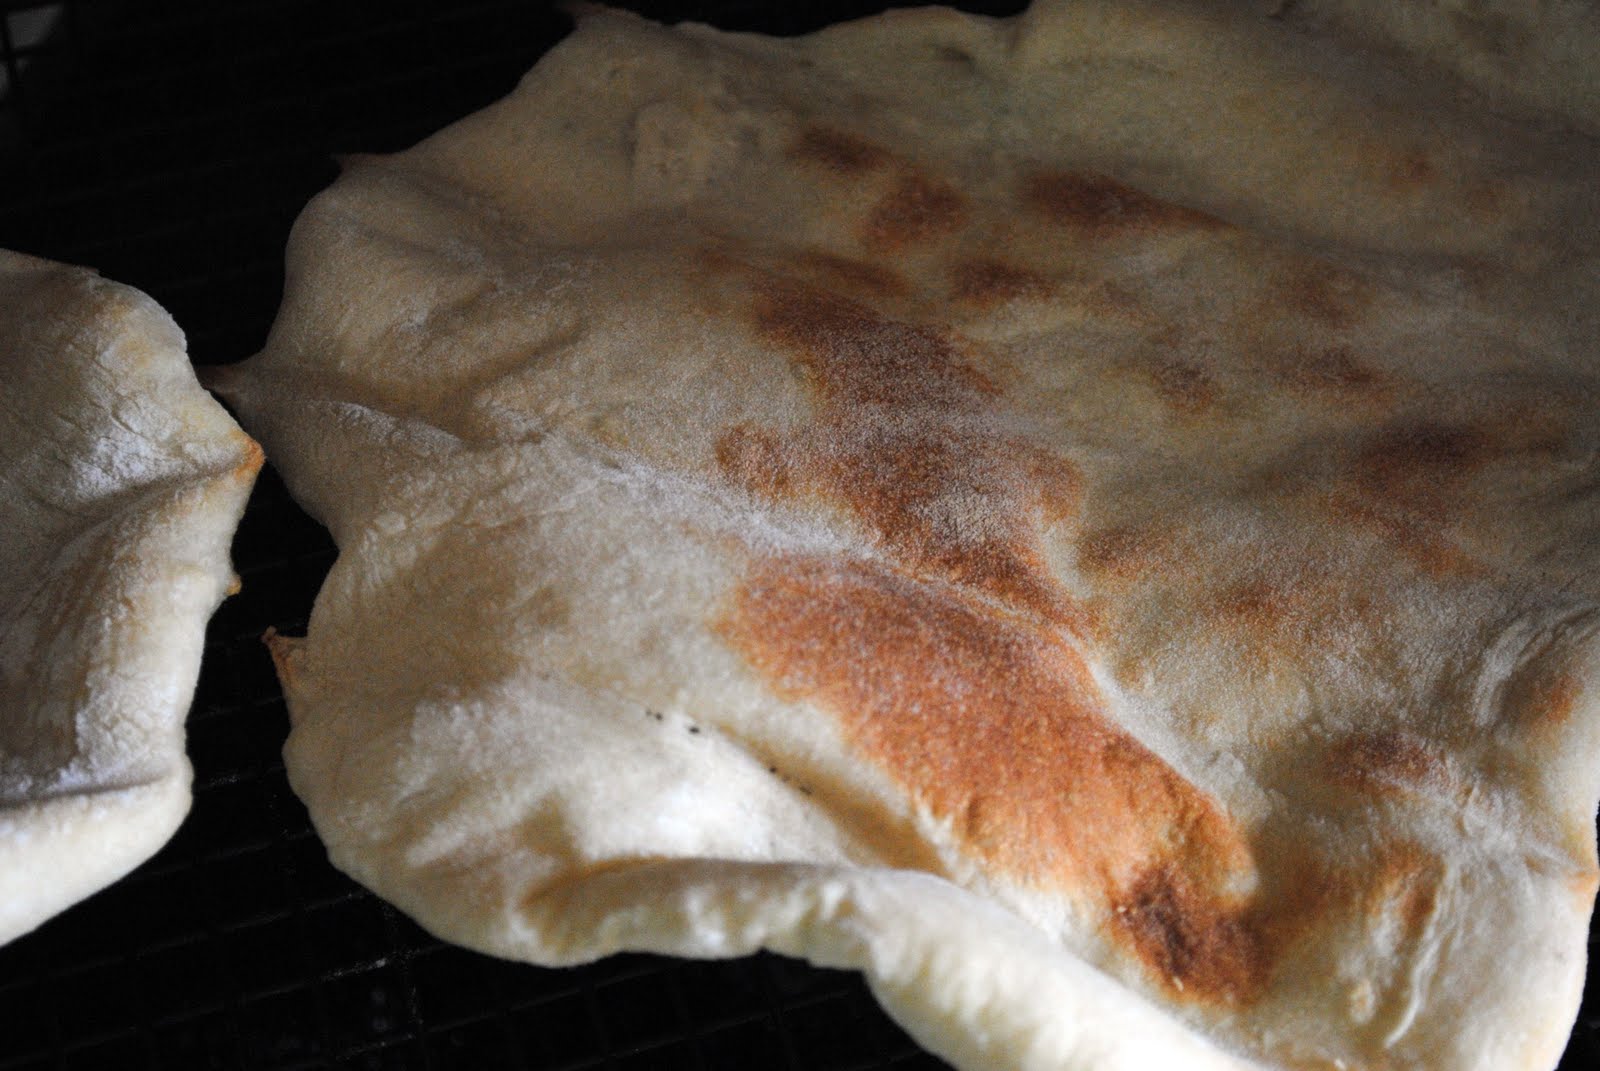
All right so, the first four pitas were too thin in the center and they didn’t form that huge bubble in the center. They were also way crispy and they kinda looked like garbage. Great. Now Seamus has dog treats?!

By the fifth I finally figured it out, it was perfect! A huge air pocket in the center, kinda looked like a flying saucer but it was so cool! And soft! I was carrying it over to the window to get a good picture with some lighting and PLOP! It fell straight down in the dog water. Great. I wanted to actually cry and throw that stinking pita pocket across the room. If it wasn’t for a beautiful set of 9 year old blue eyes staring at me I just might have. So instead she laughed at me and I tossed it in the garbage.
So I pushed on.
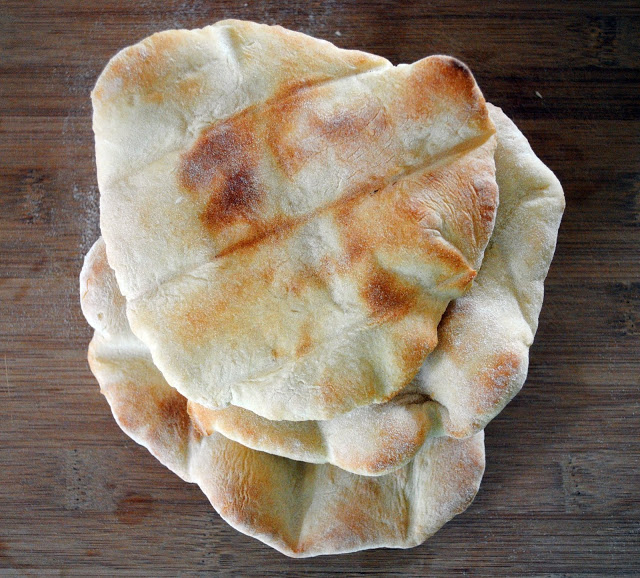
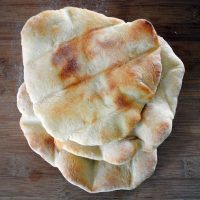
I made the last three and they were just as fabulous as the one that dropped in the dog bowl. I got into my groove and understood how these babies were going to work. They were soft and chewy, and not burnt! VICTORY!! I made my own pita pockets, like a boss. I wish I knew what I was doing when I was making the first 4!
Here is proof that you never learn without attempting. Even if it falls in dog water, at least you tried! If I could I would stick these three pitas on the fridge next to my daughter’s drawings. So proud.
Enjoy! And if you give this Homemade Rustic Pita Bread recipe a try, let me know! Snap a photo and tag me on twitter or instagram!

Homemade Rustic Pita Bread
Ingredients
- 1⅛ cups warm water
- 1½ teaspoons granulated sugar
- 1½ teaspoons active dry yeast
- 3 cups all-purpose flour
- 1 tablespoon olive oil, plus more for coating bowl
- 1 teaspoon kosher salt
Instructions
- In a bowl stir sugar into warm water. Sprinkle the active yeast over top and let sit to proof for 10 minutes. Next, stir in flour, salt and olive oil.
- Knead until soft and barely sticky. Coat a bowl with olive oil, place the dough in the bowl and cover with a warm damp towel. Move to a warm place to rise and double in size. About 1 hour.
- Once raised, remove dough and preheat oven to 500 degrees. On a lightly floured surface roll the dough into a 12 inch rope. Cut into eight pieces. Roll into balls and cover with a damp towel while rolling one dough ball at time to approximately seven inches in diameter.
- Place 1 to 2 pitas on a cooling rack or directly on your oven rack. Bake for 4-5 minutes or until puffed in center and golden around the edges. Remove and place under a damp towel to soften and cool.
- Repeat with remaining pitas.
- Once cool store in a plastic bag and refrigerate for a couple days or freeze up to two months or cut in half and fill! Enjoy!
Buy the Cookbook: Simply Scratch : 120 Wholesome Homemade Recipes Made Easy Now available on Amazon »
THANK YOU in advance for your support!


What a joy! I laughed, cringed and applauded…i wanna try.
You should Nichole!! It was fun!
Oh Laurie! Thanks for sharing your story and this recipe ( which I just printed out). This is on the top of my "to try" recipes list now!
Your pita bread looks absolutely amazing! How fun to experiment with it…I'll have to do that sometime!
Great job…I love your flour cannisters
Thanks Jenni! I got them at Target this past winter!!
Thanks Kori! It was fun… the next time will be better for sure!!
Carol, let me know how it turns out!!
"If I could I would stick these three pitas on the fridge next to my daughter's drawings!!"
LOVE THIS 🙂
These look fun – maybe a good rainy day activity to try w/ my girls! This is my first time commenting but just wanted to say I love your recipes and photos 🙂 Very inspiring!
THANKS Christina! That is one of the best compliments!! 🙂 This would be a great rainy day activity.. and you girls WILL love making them! 🙂
I love homemade pita bread. It's kind of a necessity to be able to make my own, as I live in the boonies and it's tough to come by here!
Nothing beats homemade bread..and homemade pitas!? We've never given it a go, but now I think we might have to!
I laughed at the mixer thing, because I never drag mine out, no counter space…and because you said what you did about rollers and the sixth grade, gosh what a memory that is for me, and you are right, I have bought so many rollers trying to fit one of them so it is easy to use, I simply go back to my mom's way of using a long glass!
I love how you show us the 'Puff' of
I've tried a few pita bread recipes but they just haven't come out quite right. These look so amazing,soft and delicious! Thank you for the recipe!:)
What a great story! Yes, I think a new air freshner scent is a fantastic idea!! Enough of the sickly sweet let's get something we all love 🙂 Kate @kateiscooking
I have never made pita from scratch, Laurie. Will have to try your recipe!
These were great! I subbed in a cup of whole wheat flour and added a little vital wheat gluten. I found my first pita didn't want to rise, so I let all rolled pieces rest 10 minutes. Seemed to work. They puffed up perfectly and they tasted amazing! Great recipe!! No need to buy grocery store pitas after this. Thank you!
I have to say, this is the EASIEST recipe I have found for making pita bread! Excellent post, you ma'am are a genius! Thank you, I have tried many, many recipes to make my own pita bread and wanting to make chips too. From a mother of three kids who love bread and me too 🙂
Dear Anonymous! Thank you! I'm so glad you loved this! 🙂
Hi Laurie – I made these just now and they TASTE great, but I can't seem to get the centers to puff…. just bubbles around on the surface. Is there a secret? I HOPE SO! Let me in on it!
Pingback: An inexplicable currency | Apples & Silver
I made these today and they are delicious! I used half whole wheat flour and half white and they turned out great! Like you, it took me a couple of tries to get the puff right but I finally got it! Enjoyed a BLT pita 🙂 Thanks so much for this recipe, it’s my new fav!
Mmmm BLT pita! Such a great idea… Love it!
making this tonight but im gonna put on toppings like for a pizza, dont know if i did everything ok but it cant turn out bad its baked bread, thanks for sharing this recipe, looks great!
Thank you so much for this recipe it came out so good with toppings, its like pizza from restaurant, this is the best dough i’ve tried, soft but crunchy, just gotta put something on bottom of the oven because there was smoke when the toppings dripped a little.
Im making these right now!!! Im so nervous about getting it to puff right! Yours looks so good!
You can DO it! Let me know how they turn out! 🙂
Pingback: Homemade Pita Bread & Homemade Hummus | Novice Oregon cook
These look great and I’m sure it would pair soooo good with the red pepper hummus.
Will they flatten out once they cool?
Hi Hollie! Yes, the moist towel will soften the outside of the pita while the air slowly escapes. Enjoy!
Pingback: Sweet Potato Mini Loaves with Orange Cinnamon Honey Butter | Lauren's Latest
Pingback: How to Celebrate Valentine's Day without (eating) Candy | Refresh
Pingback: 20 Top Trader Joe’s Picks | Refresh