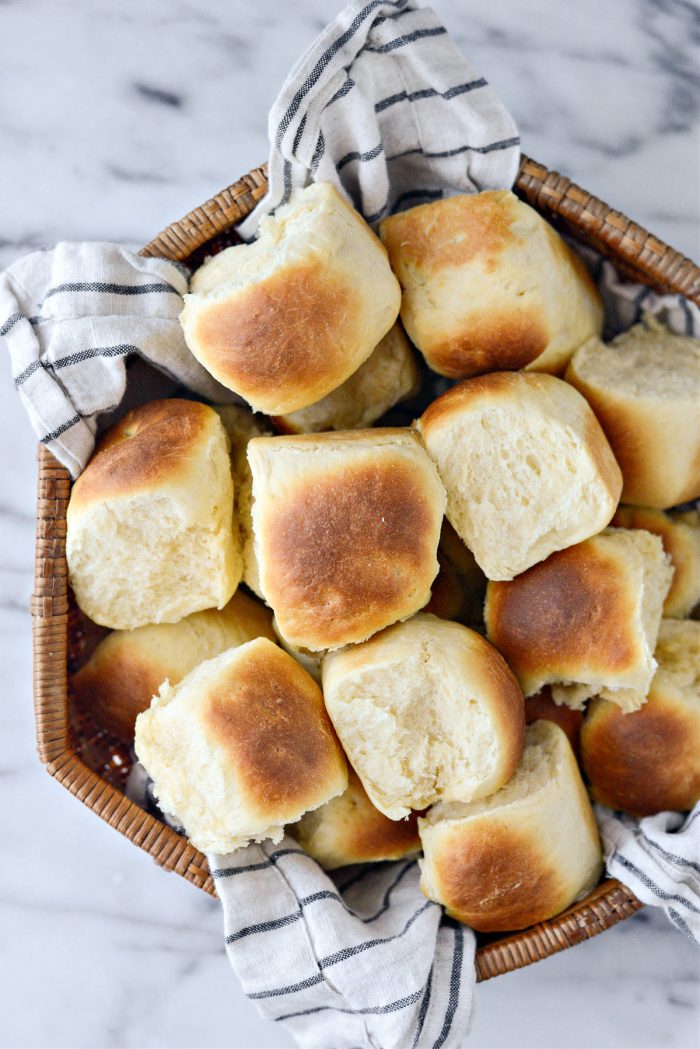
These Easy Homemade Dinner rolls are soft, tender and are casual enough for a weeknight dinner yet special enough for a holiday meal. This recipe makes 24 pull apart dinner rolls.
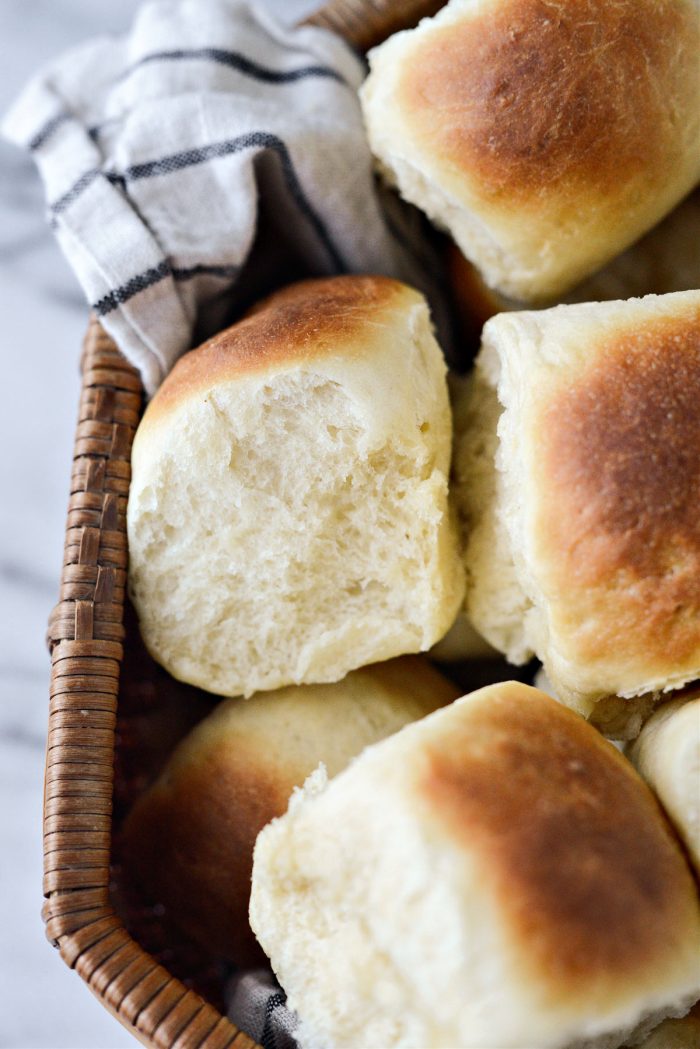
Ya know what I love? Rolls.
They are the perfect vehicle for sopping up gravy, slathering with butter or using to sandwich leftovers.
One thing about me you might not know, is that I sort of have a reputation when it comes to dinner rolls. It stems from, well, my whole entire life I guess. When I was younger, I would literally put down a good 6-8 rolls in one sitting, and when I say 6-8 rolls I really mean 8-10. I’m not proud. Well, maybe a little.
Back then, I would gather rolls around my dinner plate (think Christmas wreath). I made sure to have plenty just in case the bread basket ran out. It made me feel safe to have half dozen rolls surrounding my plate. Nowadays, I really don’t collect rolls around my plate, okay maybe three (four) tops! But with out fail, at Thanksgiving or Christmas I can always count on some one mentioning the time when I use to stockpile all the rolls.
So with the holidays here, I’d thought I’d share for one of my favorite recipes for soft, slightly sweet, yeasty, easy homemade dinner rolls.
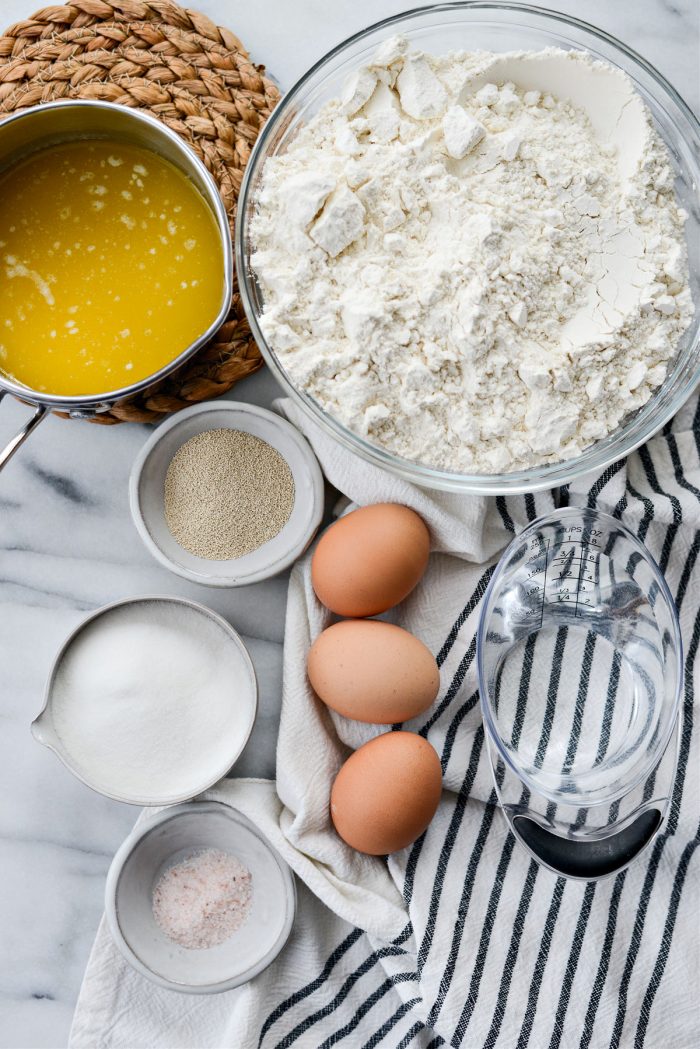
To Make These Homemade Dinner Rolls You will Need:
- water – Should be warm and not hot – about 95° to 100°. You can use an instant read thermometer to check.
- active dry yeast – Needed for the dough to rise.
- unsalted butter (melted) – Promises a flavorful and soft roll.
- granulated sugar (white sugar) – Lends flavor and will yield a soft, moist and tender dinner roll.
- eggs – Adds richness and flavor while also yielding soft and fluffy rolls.
- fine salt – Enhances flavor and acts as a yeast inhibitor, basically keeping the yeast from eating up all the sugar. Use pink Himalayan or sea salt.
- unbleached bread flour – Yields a chewier dinner roll. Unbleached all-purpose flour may be substituted, but texture will be different.
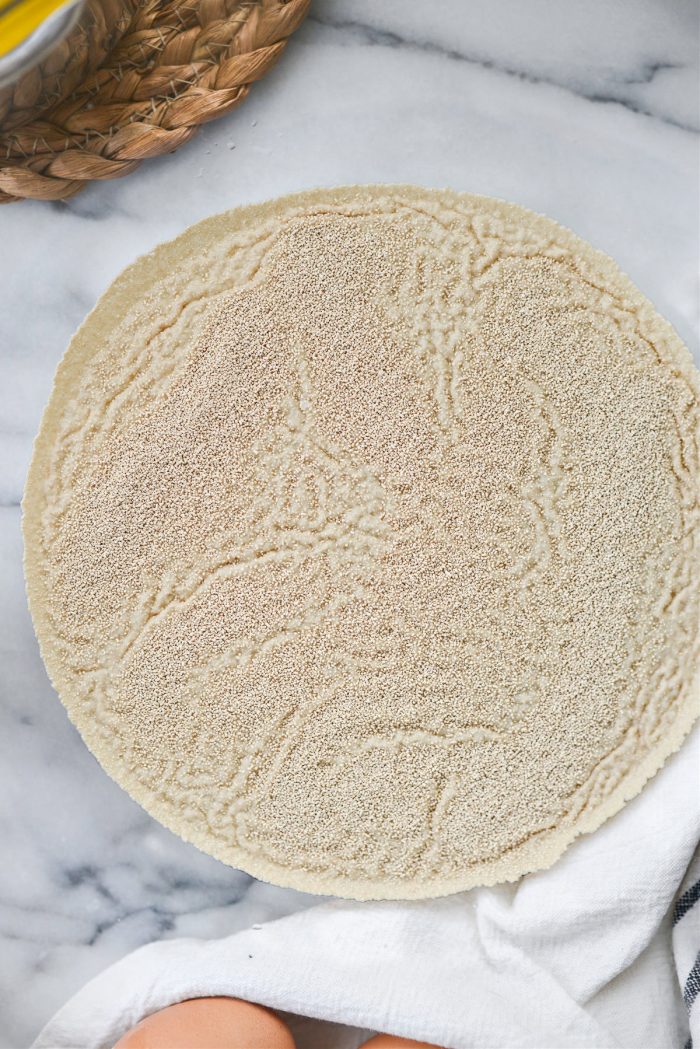
Pour 1 cup warm (about 95 to 100°) water into a large bowl and immediately sprinkle 4-1/2 teaspoons of active dry yeast (or two .25 ounce packets) over top and let sit for 5 minutes or so to bloom.
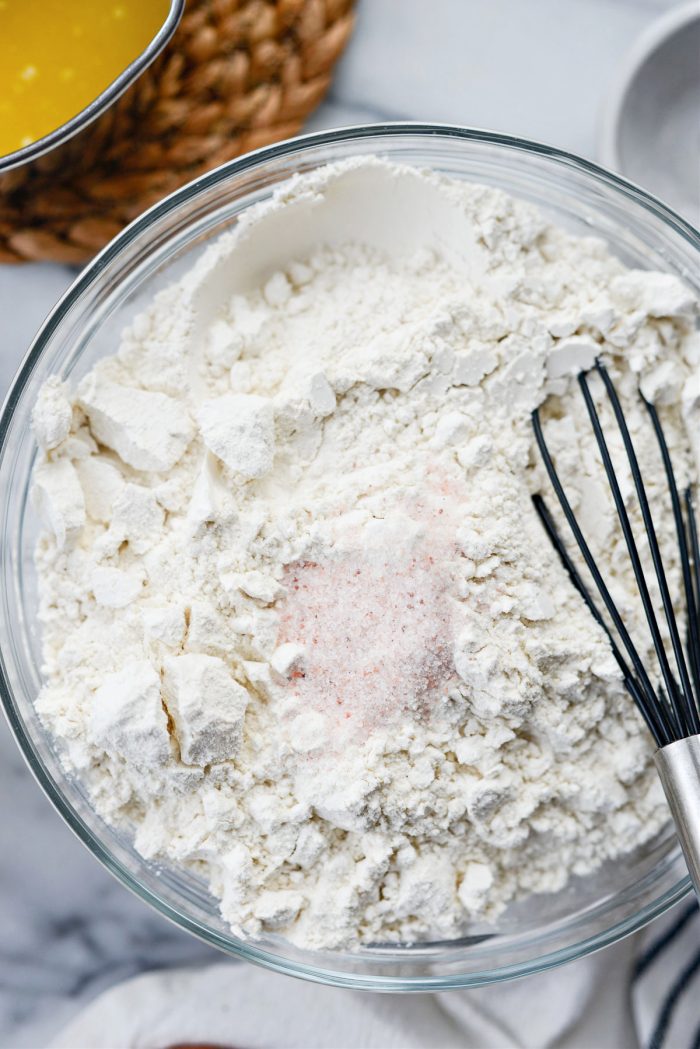
Meanwhile add 4-1/4 cups bread flour and 1 teaspoon fine salt into a bowl.
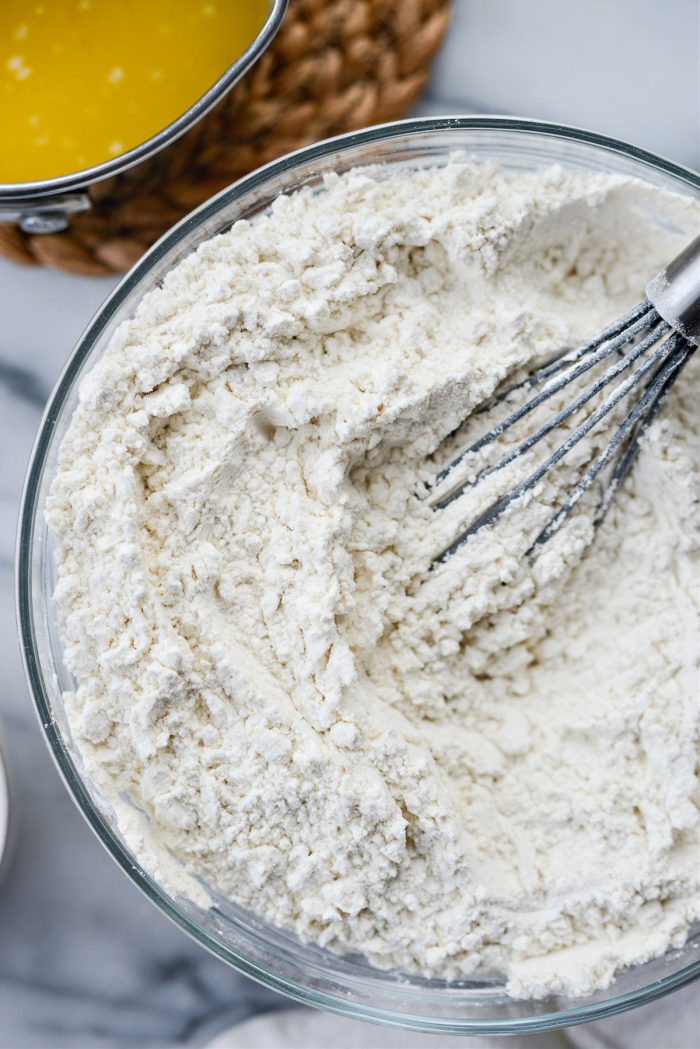
Whisk to combine.
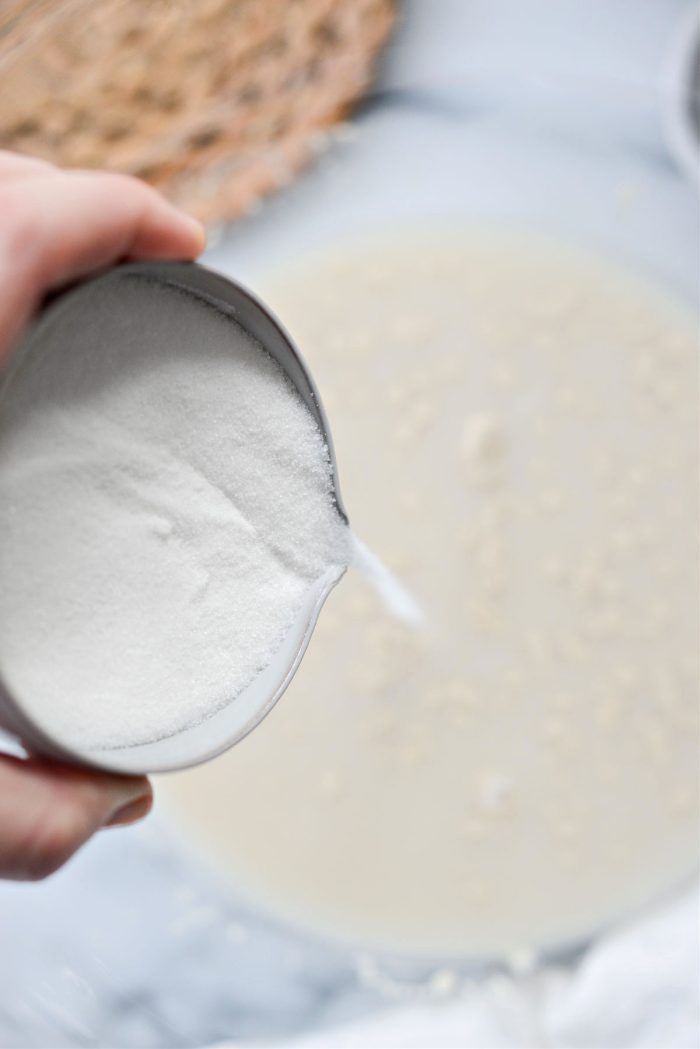
After the yeast has bloomed add in 1/2 cup granulated (white) sugar.
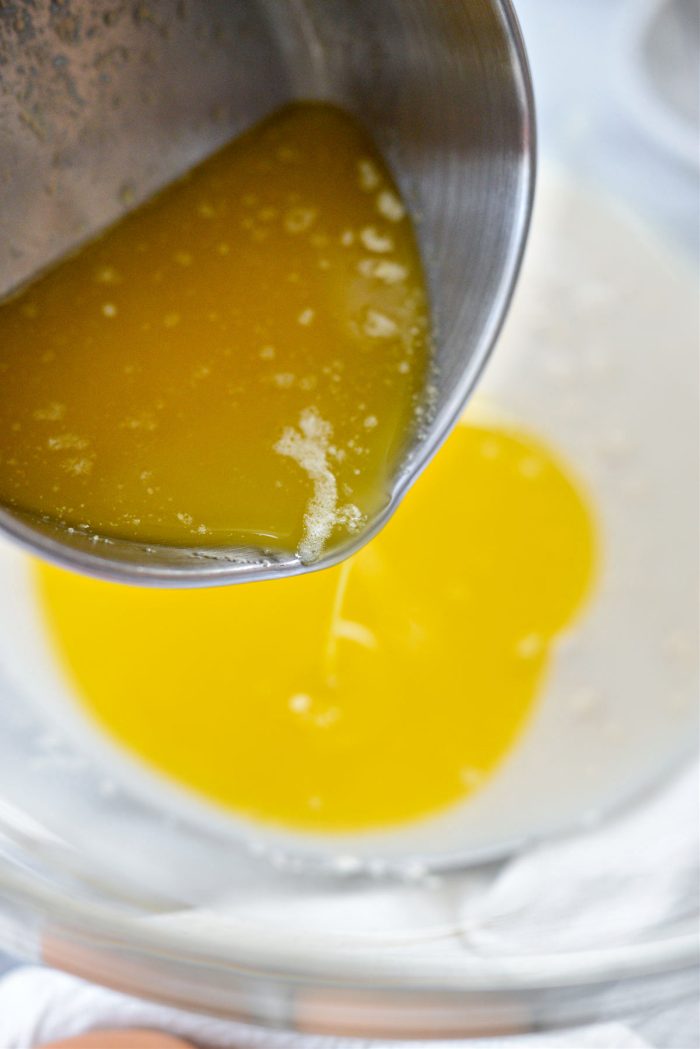
Pour in 1 stick (or 1/2 cup) melted and slightly cooled unsalted butter. The butter should not be hot or it could cook the eggs when you add them.
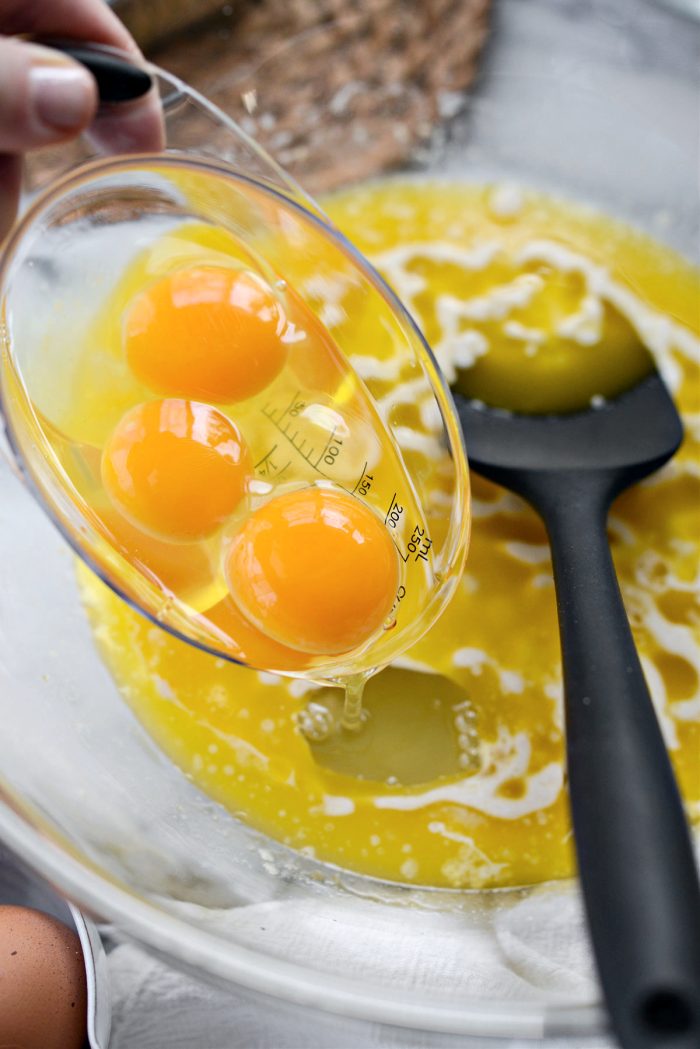
Then add in 3 large eggs.
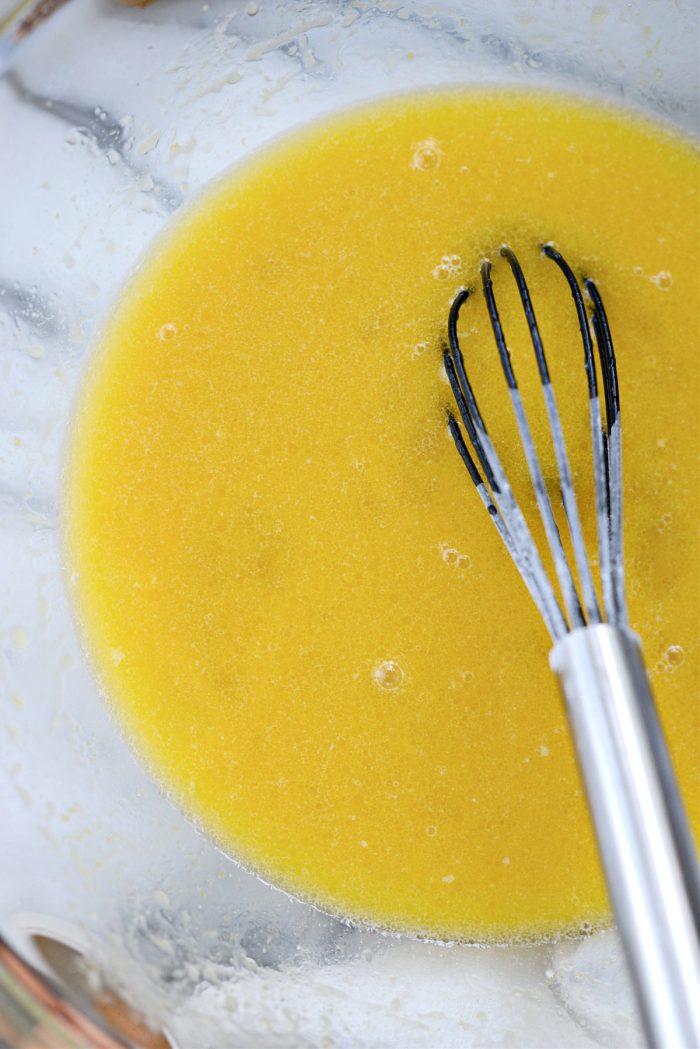
Whisk these together.
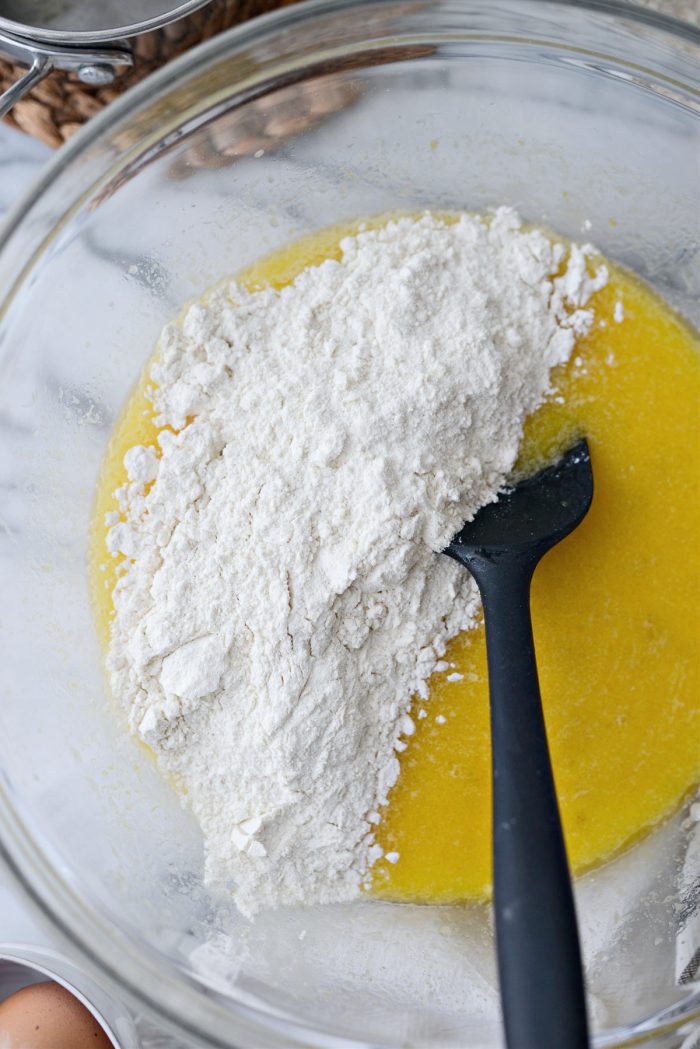
Gradually add in 1/3 of the flour mixture.
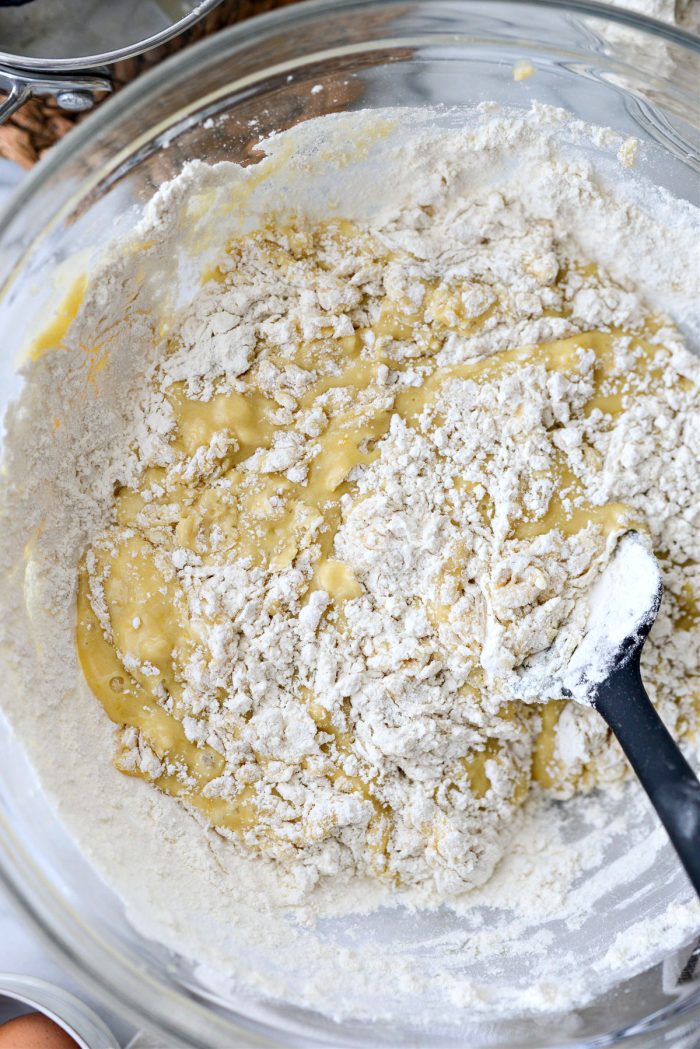
Stir until just combined and then repeat with another third of the flour mixture. Stir and repeat one last time with the remaining flour.
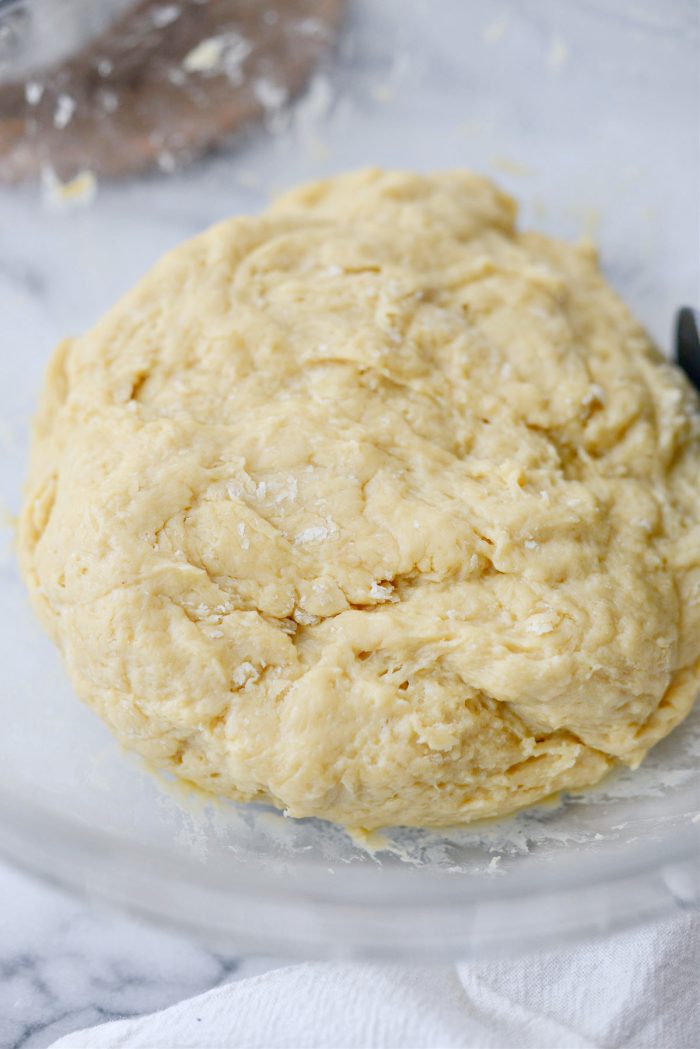
When the dough comes together, form it into a large ball. Cover the bowl with plastic wrap or tea towel and pop it in the refrigerator to rise for 2-3 hours or overnight. This is called cold-proving or a cold rise.
What is a cold rise?
Although we all know bread tends to rise in a warm spot, but it can also rise in the fridge. This technique (cold rise or cold-proving) slows down the fermentation process, allowing the yeast to work on the sugars over a longer period of time. Even though this does take longer, it will produce a better, stronger flavor. In this recipe, the first rise takes about 2 to 3 hours. However you could also leave it overnight and finish making the rolls the next day.
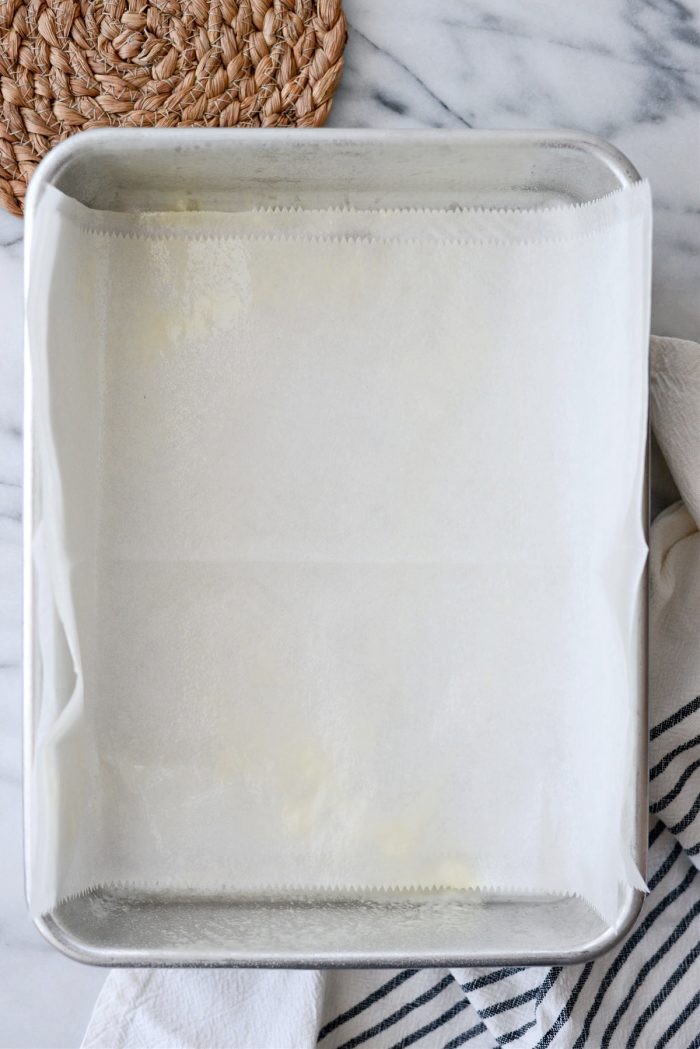
When just about risen, line a 9×13 baking pan and grease or spray with nonstick baking spray with flour.
Preheat your oven to 375°.
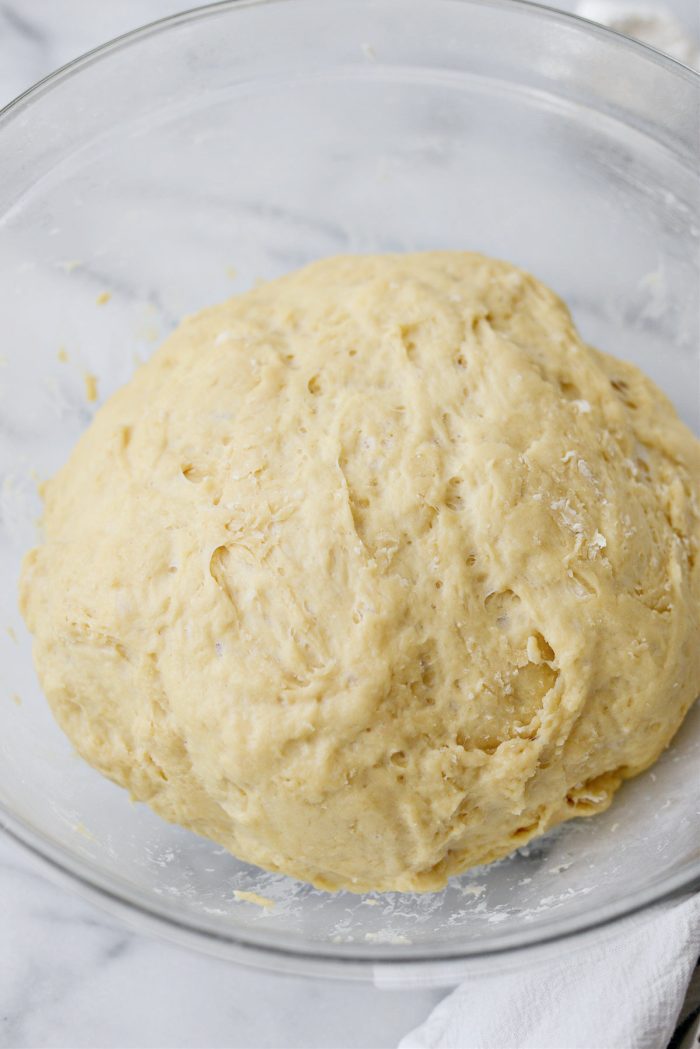
After the 2 to 3 hours your dough should have risen. Uncover and dust your work surface with some bread flour.
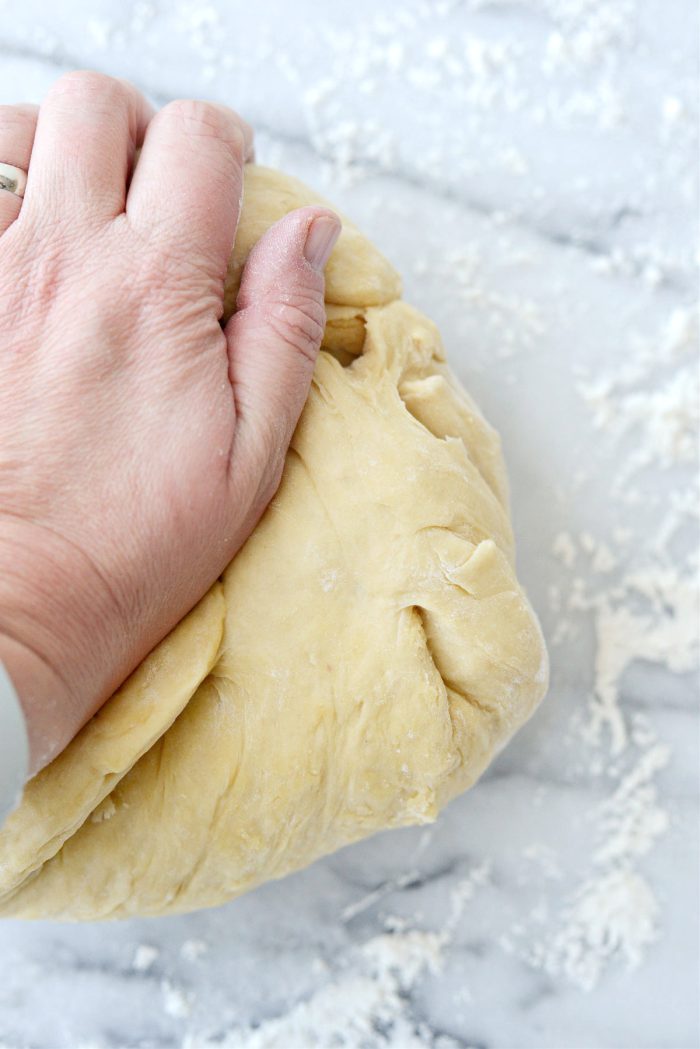
Knead the dough a few times until the dough is smooth.
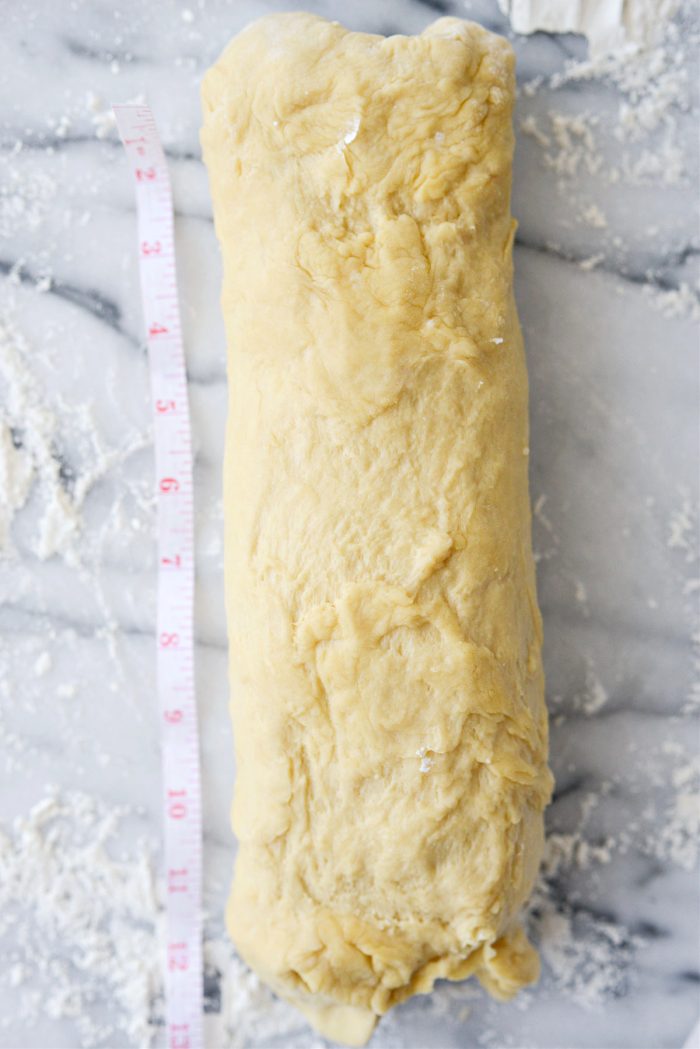
Gently roll and shape into symmetrical 12-inch log.
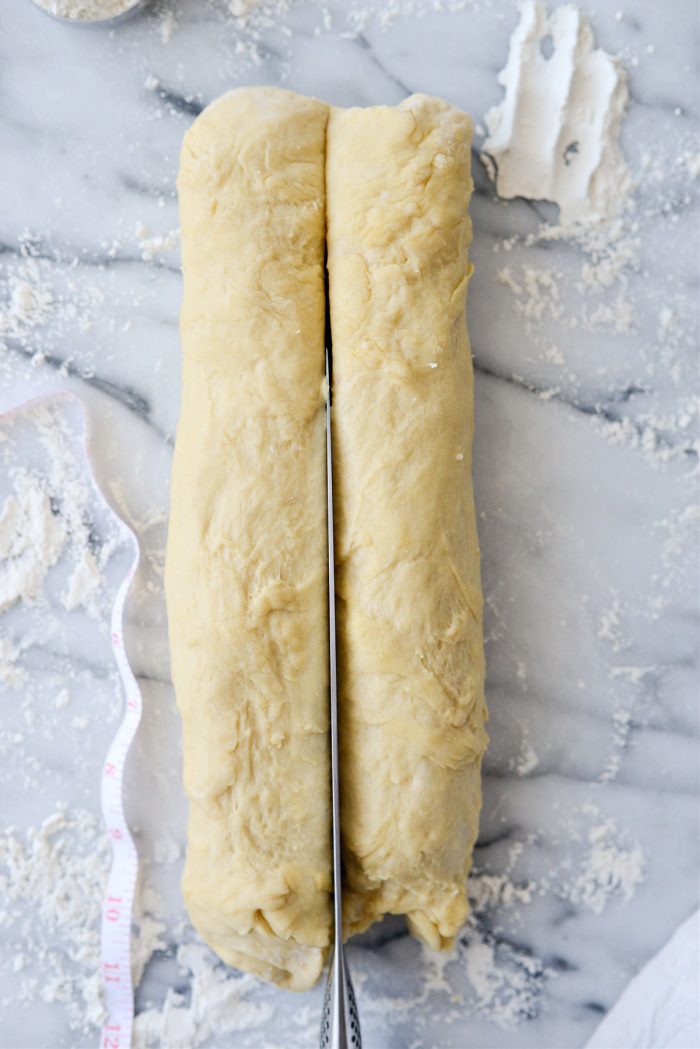
Use a knife or bench scraper to divide the log in half lengthwise.
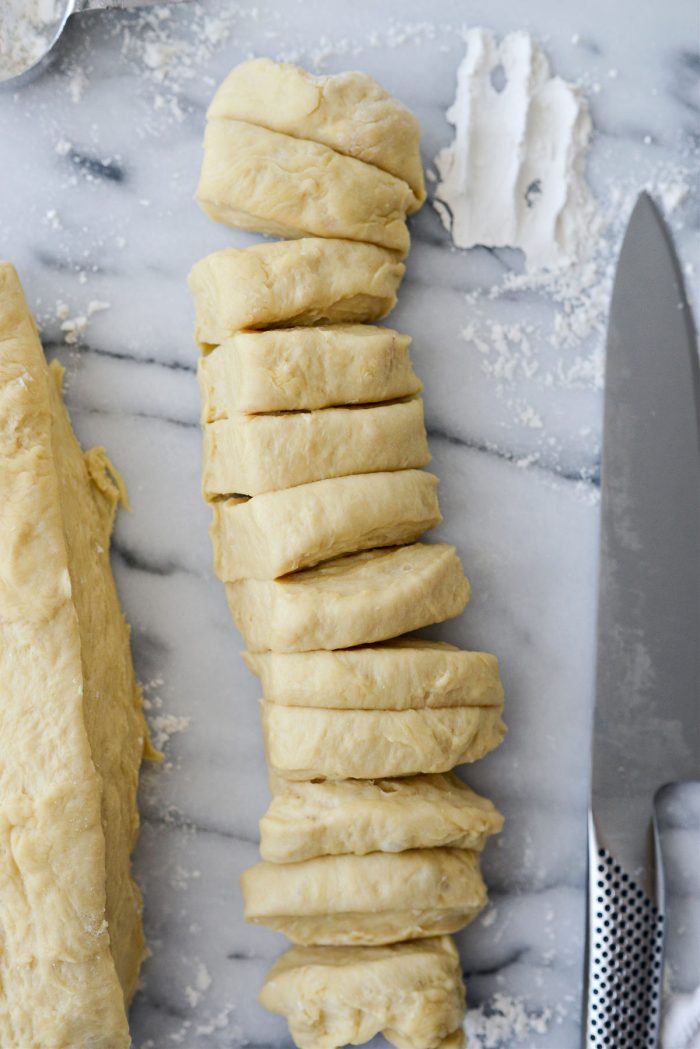
Working with the first half of the log, cut in half and then each half into 6 equal pieces – yielding twelve pieces. Repeat this with the second half of the log so you have 24 pieces of dough total.
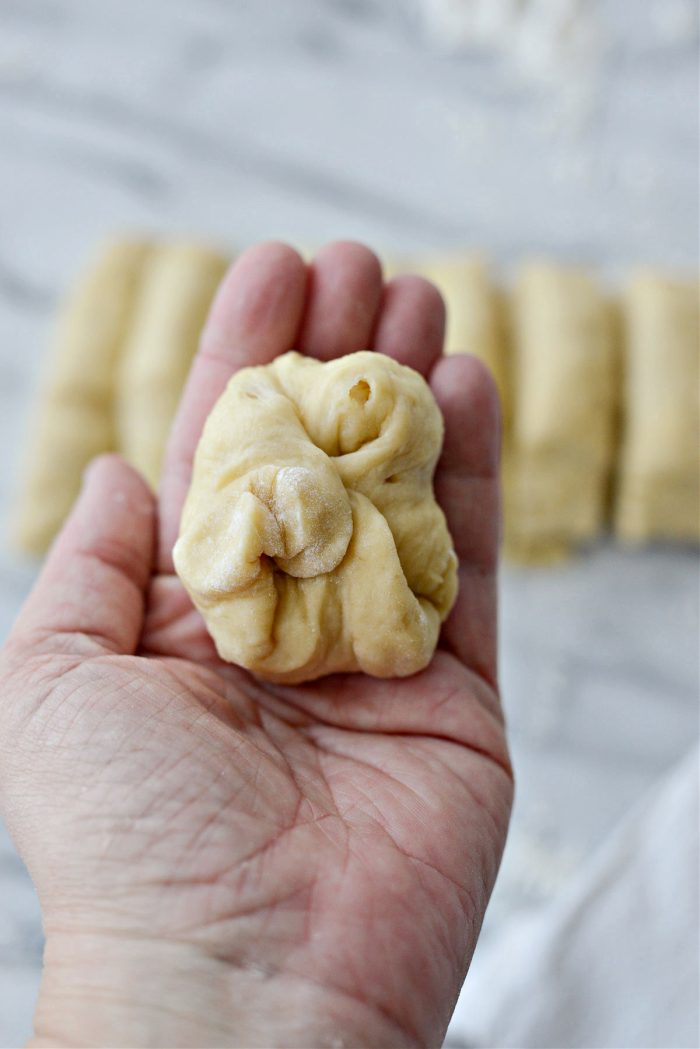
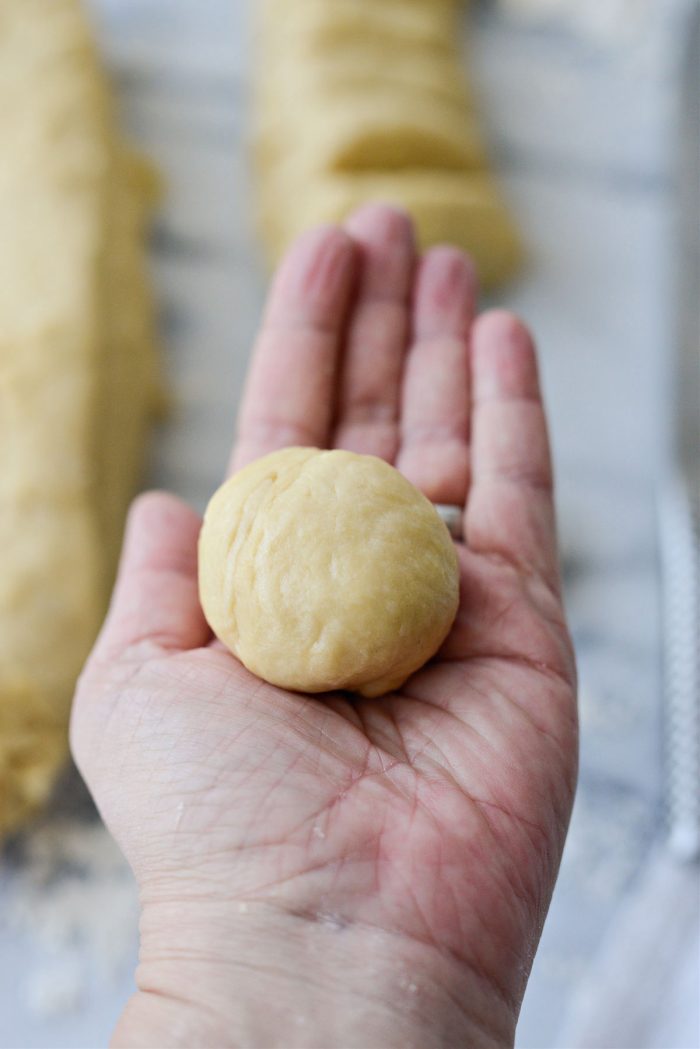
Working with one piece of dough at a time, gather the ends, pulling it back and pinch to expose a smooth surface.
Roll each piece of dough into a ball between the palms of your hands.
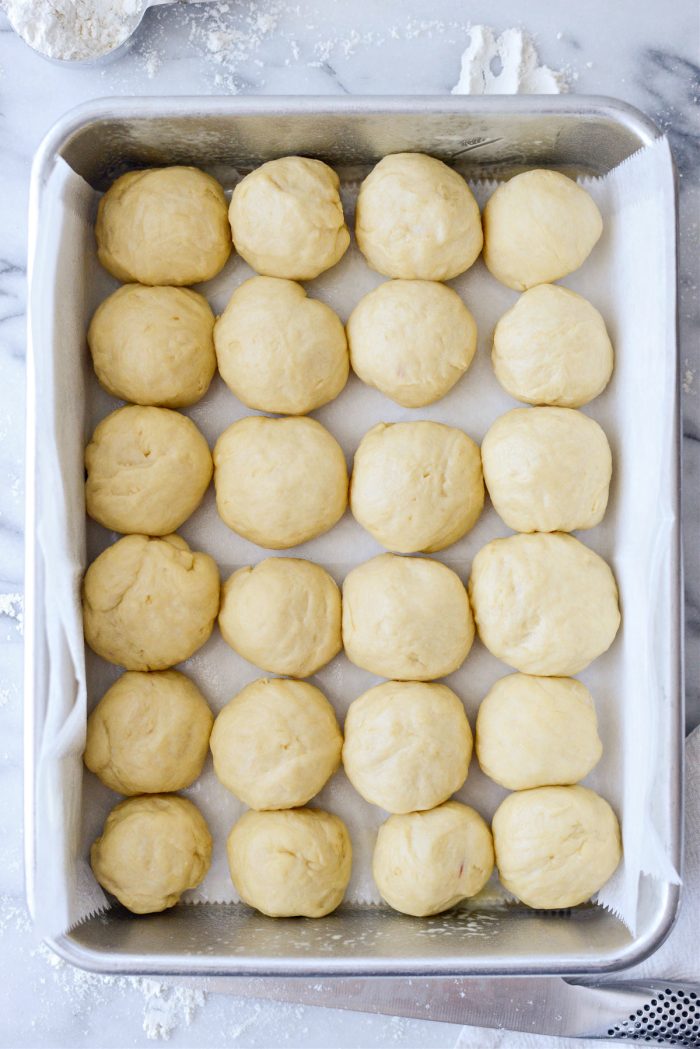
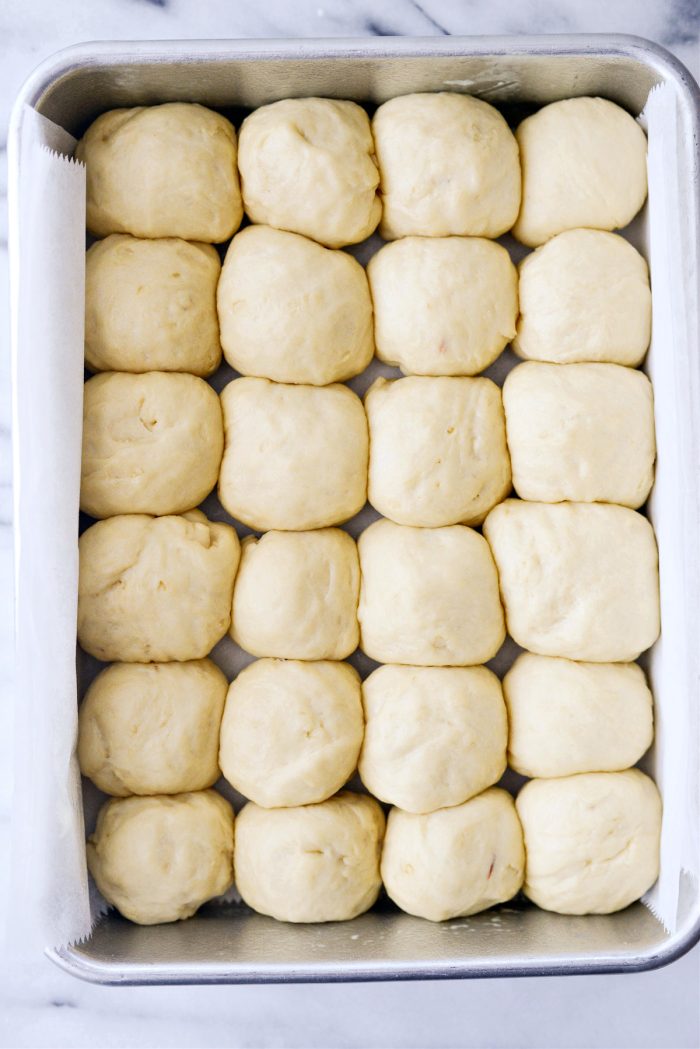
Place into the prepared pan and repeat. You should have six dough-balls going along the longer side of the pan and 4 along the shorter side of the pan.
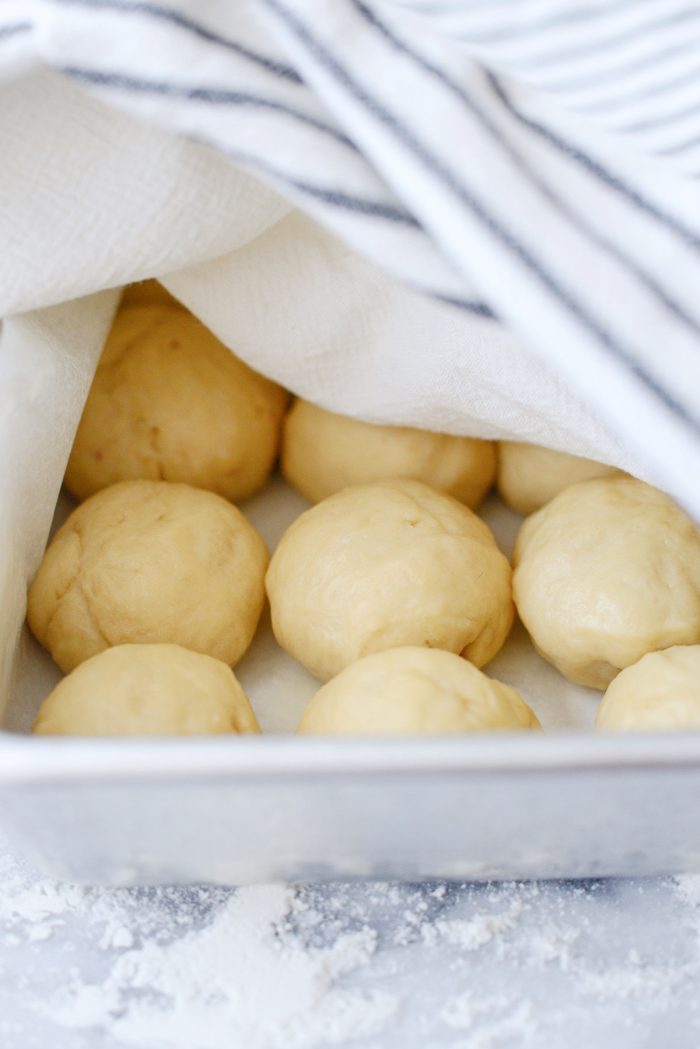
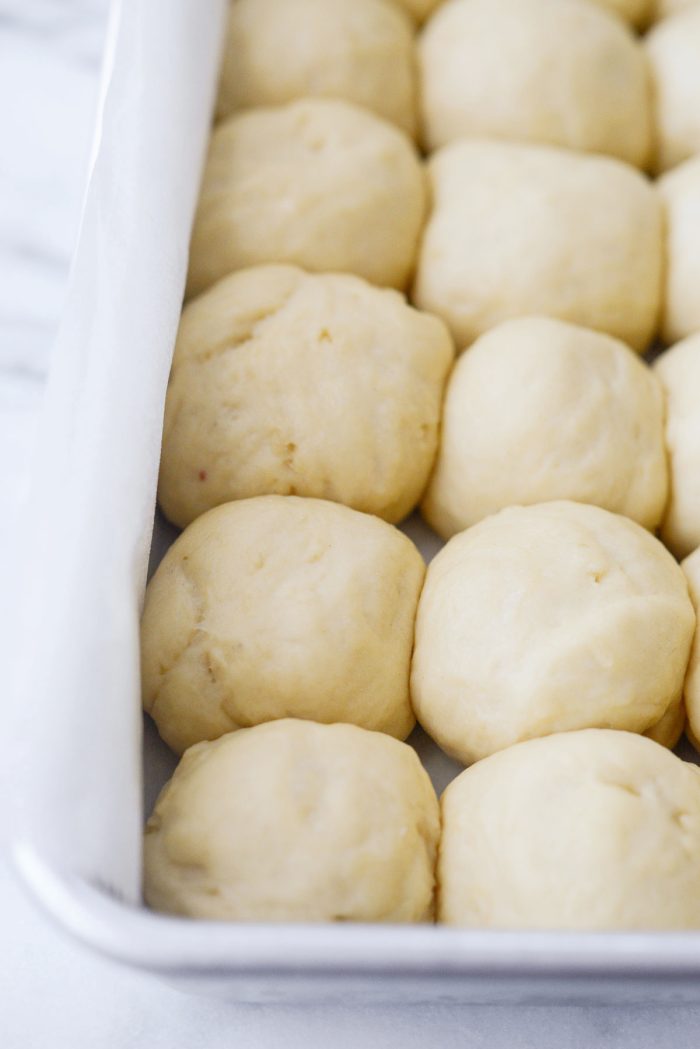
Cover loosely with a clean kitchen towel and let rise a second time for 1 hour in a warm spot.
Meanwhile position an oven rack in the lower third of your oven and preheat to 375°.
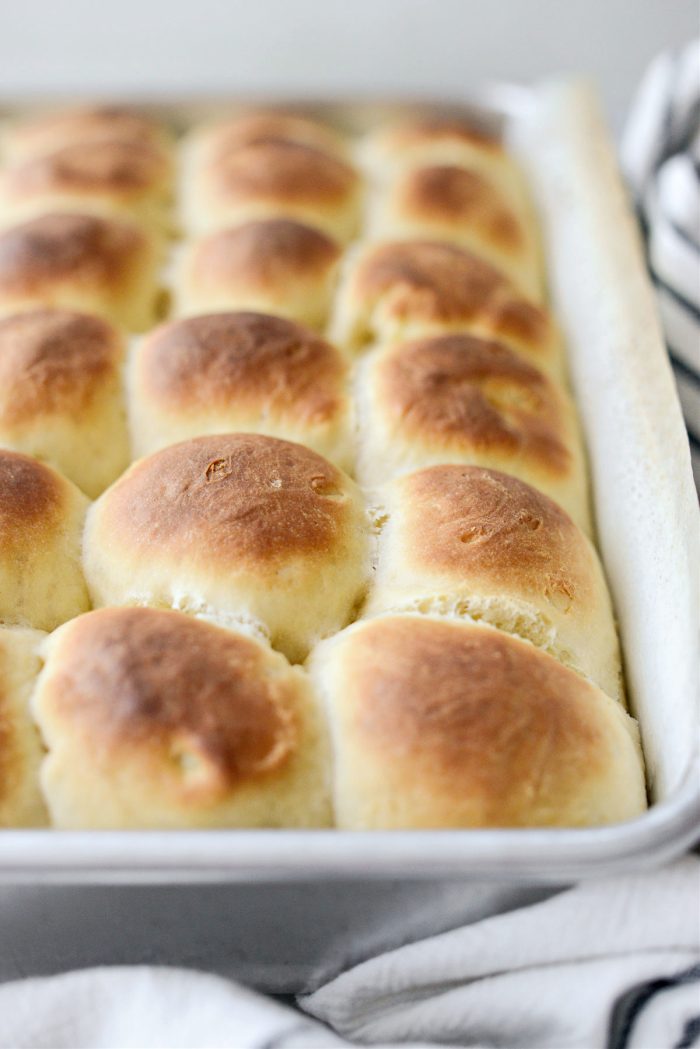
Once risen, bake the easy homemade dinner rolls for 20 to 22+ minutes or until golden brown. Be sure to rotate the pan-o-rolls half way during the baking time for even baking.
How do you Know When the Dinner Rolls are done?
Besides being golden brown, you can use a digital instant-read thermometer to check the internal temp. When inserted into the center of middle roll it should read about 190°. Be mindful not to have the thermometer touching the bottom of the pan.
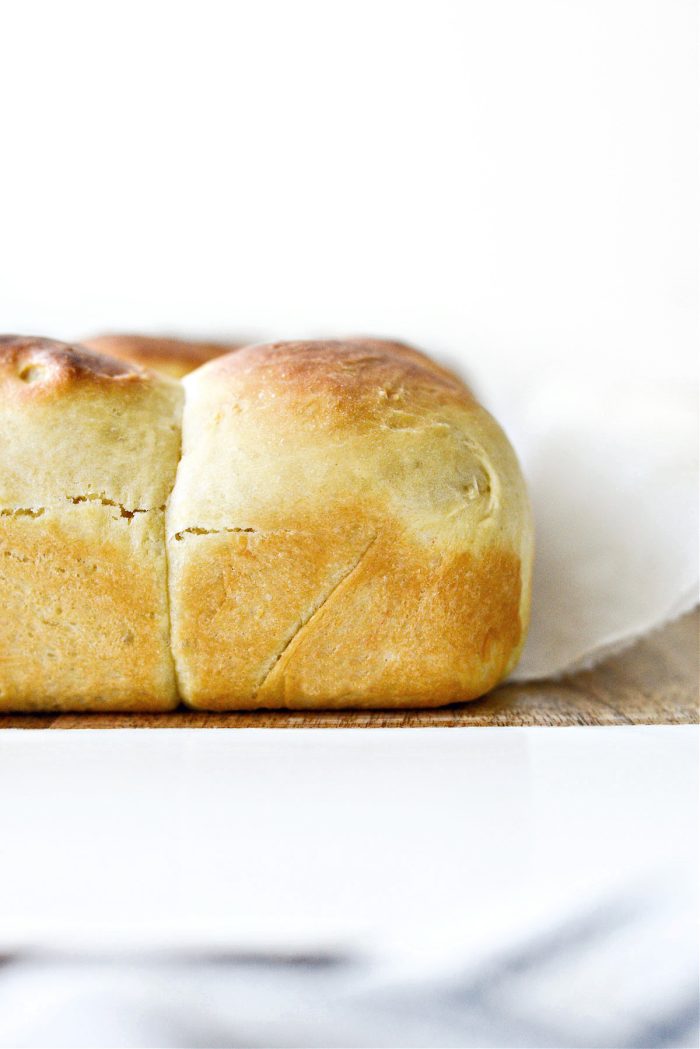
They should come out of the oven a deep golden color. Let them cool before removing, using the parchment paper for handles.
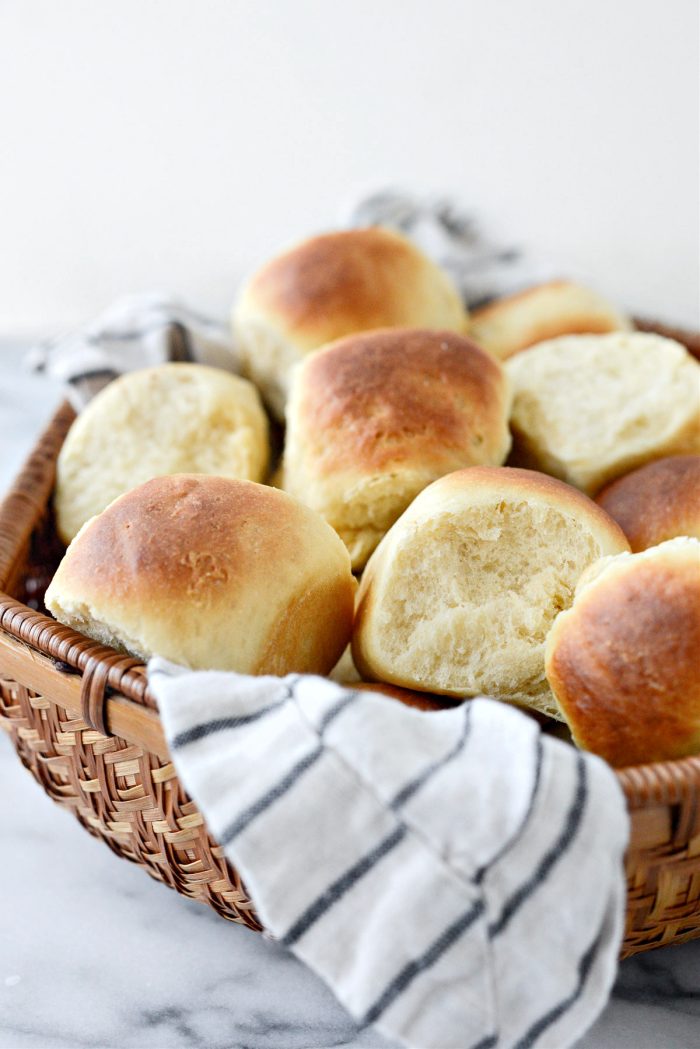
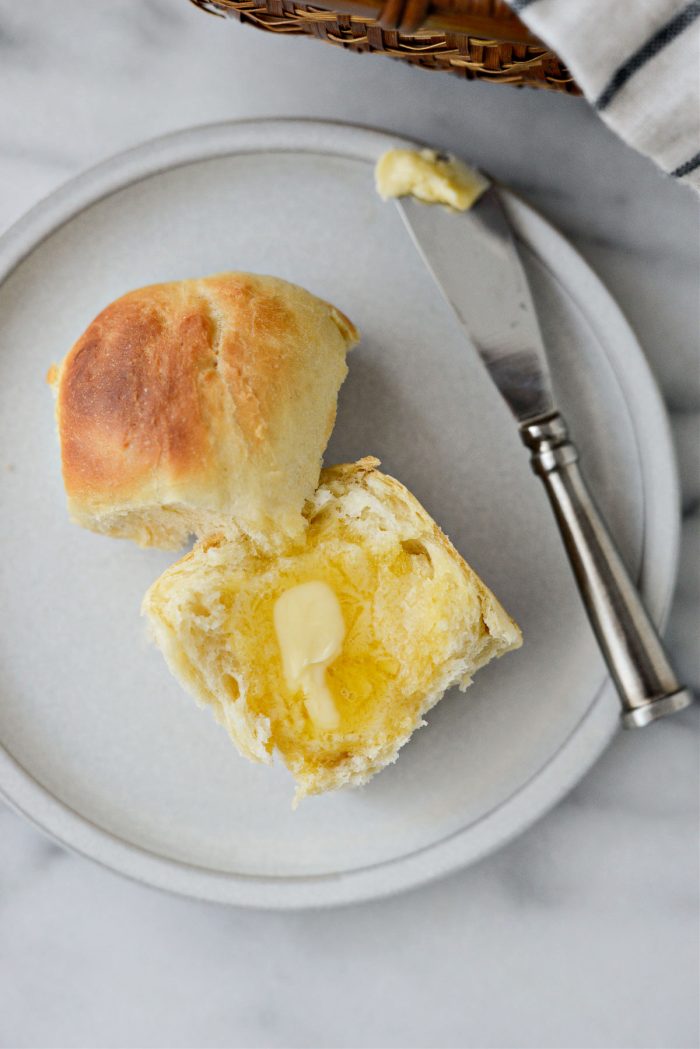
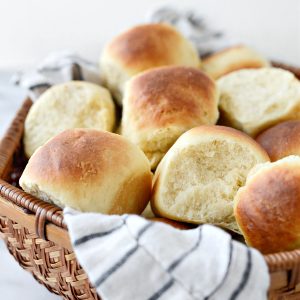
These pull apart dinner rolls pull apart so easy! Serve slightly warm in a towel lined basket.
One pan yields 24 dinner rolls so this recipe will feed a small crowd!
Enjoy! And if you give this Easy Homemade Dinner Rolls recipe a try, let me know! Snap a photo and tag me on twitter or instagram!
Easy Homemade Dinner Rolls
Ingredients
- 1 cup warm water, about 95 to 100°
- 4½ teaspoons active dry yeast (NOT quick rising), or 2 (1/4 ounce) envelopes
- 1/2 cup granulated white sugar
- 1/2 cup unsalted butter, melted and cooled slightly
- 3 large eggs
- 4¼ cups unbleached bread flour, plus more for dusting work surface
- 1 teaspoon fine salt
Instructions
- In a large bowl add the warm water and sprinkle the yeast over the top. Let it stand for a few minutes so the yeast can bloom.
- Combine bread flour with the teaspoon of kosher salt, and set aside.
- Once the yeast has bloomed, add in the sugar, (melted and cooled) butter and eggs. Whisk to combine.
- Gradually add in 1/3 of the flour mixture. Stir until just combined and then repeat with another third of the flour mixture, stir and repeat one last time with the remaining flour.
- When the dough comes together, form it into a large ball. Cover the bowl with plastic wrap or tea towel and pop it in the refrigerator to rise for 2-3 hours or overnight.
- When just about risen, line a 9×13 baking pan with parchment paper and grease with butter or spray with nonstick baking spray with flour.
- After the 2 to 3 hours your dough should have risen. Remove from the fridge, uncover and dust your work surface with some bread flour. Turn the dough out (using a spatula to scrape) onto the floured surface and knead the dough a few times until the dough is smooth.
- Gently roll and shape into symmetrical 12-inch by 3 to 4-inch log. Use a knife or bench scraper to divide the log in half lengthwise.
- Working with the first half of the log, cut in half (crosswise) and then each half into 6 equal pieces – yielding twelve pieces. Repeat this with the second half of the log, so you end up with 24 pieces of dough total.
- Working with one piece of dough at a time, gather the ends, pulling it back and pinch to expose a smooth surface. Roll each piece of dough into a ball between the palms of your hands. Place into the prepared pan and repeat. You should have six dough-balls going along the longer side of the pan and 4 along the shorter side of the pan.Cover the pan with a clean kitchen towel and let the rolls rise for 1 more hour.
- Meanwhile position an oven rack in the lower third of your oven and preheat your oven to 375° F.Uncover and bake the rolls for 20 to 22 minutes or until golden brown. Be sure to rotate the pan-o-rolls half way during the baking time for even baking.
- Allow the rolls to cool before using the parchment to lift the rolls out of the pan. Once cool enough to handle, pull apart the rolls and serve in a basket or bowl lined with a clean kitchen towel.
Notes
Buy the Cookbook: Simply Scratch : 120 Wholesome Homemade Recipes Made Easy Now available on Amazon »
THANK YOU in advance for your support!


I’m going to have to remember this recipe for thanksgiving!
These are beautiful! I love trying new dinner roll recipes, so I think I’ll give these a try tonight – they’ll go perfectly with potato soup!
Lovely blog, glad to find you on Facebook. 🙂
I love love love homemade rolls and these looks absolutely delicious! Can’t wait to try them out.
Perfect! I’ve never made dinner rolls before and these look delicious and easy! Rolls are my friend and my enemy(to my waistline), but I love them so much!
Ditto Haley! 🙂
would you recommend bread or all-purpose for this recipe?
Thanks!
Hi Johanna! Bread flour is what I use but Im sure AP flour could be used as well. 🙂
I could seriously eat an entire batch of these! They could not look more delicious.
These look Ahhhhhhmazing!
I love rolls too. So good!
Yes. These rolls. THE best. I love that it makes a big batch too. Can’t wait for these!
These look so good and easy! My mom used to make something very much like these except she would take each roll ball dough and break it into three, then she’d pinch them together at the bottom and place them into muffin cups for what she called clover rolls. MMMmmm… heavenly no matter what you call them.
I’m a roll hoarder too 🙂 these rolls are perfection!
they’re the most beautiful dinner rolls Ive ever seen! I want to dive right in!
“remember when laurie would eat all those rolls???” hahahahaha that reminds me of my family at the christmas dinner table saying “remember when sally used to eat ketchup on her steak????” I loved ketchup when I was little, I get it. I still love it. And rolls too, obviously… 😉
An entire tray of rolls?! You’d have to hide those from me or I’d eat them all!
I’m totally bringing this to Thanksgiving! I thank you in advance 🙂
I need these in my life IMMEDIATELY. They look so fluffy and delicious! I, too, am a roll-hoarder. Bread is just the best.
8-10 rolls at a time?
pfffffft…child’s play 🙂
I love rolls too…I’d skip the potatoes and veggies just to fit more rolls on the plate 🙂 These look perfect…and now I want 8-10 of them 🙂
I’m already planning my Thanksgiving for this year (My first year hosting -AHH) and these are so going to be on the table!! Cannot wait for the first bite…
HOLY PANTS! these look delicious! Give me a jug of gravy, a little butter and the entire tin of rolls and I’m set 🙂
wow, these look so fluffy and amazing! i love how smushed together they are in the pan and they come out so perfectly golden and soft! i need to make these soon!
I’m making these tomorrow! I can’t wait to slather these babies with butter!
There is nothing better than a homemade roll right outta the oven with some butta!!
Hi,
Can these be made eggless?
I too share your obsession with rolls. They’re just hot, fluffy, buttery goodness. I have to admit I may be a little spoiled…my mom worked in the school cafeteria in the days when they used to make those delicious scratch rolls. There’s nothing like smell and taste of homemade rolls!
My husband never had bread at dinner growing up. So sad I know! I quickly introduced him to the dark side and he hasn’t looked back since. Needless to say, we are both very excited for these rolls!!
These look amazing! I loved my elementary school cafeteria rolls, too! What was it about those sweet, yeasty balls of goodness?! 🙂
Your story sounds so familiar! Rolls are my security blanket too 🙂 I love this recipe and can’t wait to make them. Oooh, the golden tops are so tempting!!!
These look absolutely scrumptious. Have you ever tried making them ahead of time, freezing them, and reheating them later?
I love homemade rolls. They are the best!
These look so Delicious! I’ve never made homemade rolls before. Can the recipe ba halved or frozen? I’m only cooking for 2 these days….
That basket looks like it might be enough for the 3 of us in my house, might be close though!
Rolls of the homemade variety are one of life’s pleasures! At least, in MY world – LOL!
I love freshly made dinner rolls and it’s so easy to put down 6. Or 10. 😉 These look amazing and I’m featuring this post in today’s Food Fetish Friday (with a link-back and attribution as always). Thanks for always inspiring me with your creations…
These look so amazing! I’m lazy, and yet I always want to make my own bread. Because we eat a lot of bread, and we like the “good kind” (not sliced bread from the store!). 🙂 Your commentary made me laugh out loud…I have similar memories regarding rolls. The Christmas wreath comment? Hilarious! (Because I know you were being serious.) 🙂
I have some serious roll eaters in my house when I have company. My pop and boyfriend can throw down. I wish I could too but guilt would set in and drive me mad. I am in serious need of some yeast loving recipes and these easy rolls look perfect!
This makes me want some dinner rolls! So glad the holidays are coming up. Thank you!
HELP! I want to make these for a dinner I am having….How can I make them ahead of time? Can cut, form, place in pan, refridgerate overnight, then take them out an hour before baking? I love to cook, but am new to the bread making and baking world. Thanks!
Well if it was me, I’d probably go as far as rolling them in to the balls and placing them in the pan. Just cover with plastic wrap and keep them in the fridge until about a half an hour before baking. I hope this helps!!
Thanks Laurie! I appreciate the feedback, sounds like a plan. Can’t wait to play hostess and serve these!
I just made these for Thanksgiving dinner tomorrow and they are spectacular! So yummy, easy too. I’m so glad I found this recipe! Thanks for making my first Thanksgiving rolls a huge success!
I made these for Thanksgiving today and they are out of this world! So easy to make with incredible flavor! First time I made homemade rolls and they were a hit. Forgot to buy store bought ones so decided to try my hand at homemade ones. I LOVED the step by step directions WITH pictures- helps those like me who are visual learners to make it easier to follow the directions. I will be using this recipe time and time again!! Thanks so much!!
These look so wonderful! And thanks for keeping this recipe up! I needed it for Easter this year. One batch will feed the group, which is another huge help in this season of lots of baking. I think these will become a tradition and go-to fave recipe! Thanks so much and May God Bless You!
Has anyone tried this with gluten free all purpose flour instead??
Hi Rachel! If you do try these rolls with GF ap flour I would love to know how it worked. I’ll add it as a note for other GF readers! Thanks a bunch!
I have these waiting to rise as we speak, can’t wait to bake them and see how they turn out! I’m fairly new to baking breads with yeast… Why do you put it in the fridge to rise? All other recipes say to keep in a warm spot. Thanks!
Hi Lisa! I was once informed that it’s a good idea to do a cold rise when baking bread because a slower rise gives the bread better flavor, texture, and structure. Letting the dough rise in the fridge gives the yeast that extended period of time to work without over-proofing the dough. Hope this helps and I hope you love these rolls as much as we do! Have a great weekend!
wow so wonderful love it
Thanks Yalda!
Does the second rise need to be in the refrigerator too? This is my second time making these (everyone loved them at Easter!), and I did both rises in the refrigerator the first time. One hour is left o the first rise. Thanks!
Hi Elisabeth, Yes! Because letting the dough rise in the fridge gives the yeast that extended period of time to work without over-proofing the dough 🙂 Hope this helps!
I just made these to go along with some beef stew for dinner. They are SO good! So fluffy and just slightly sweet… Yum! I am definitely making these again (and again). 🙂
Thank you for all of these great recipes. My son is 6 years old and he’s allergic to tomato, all nuts, eggs, soy, soybeans, and eggs and oat. I know a lot of your recipes do require many of these ingredients but I have learned that I can substitute most the things that he’s allergic to. I made the French Bread and I must say WE all loved it. Next up Ketchup with out tomato paste.
Thank you
And that compliments just keep coming! STUNNING! I presume that the butter in the dough is enough to brown these without having to brush them with butter or milk or egg wash before they go into the oven? I mean, I know you don’t say to, but I’m just that needy! 😉 Thank you!
You can definitely brush with butter or an egg wash… but there’s no such thing as too much butter right?! 😉
I want to make these this weekend, however I do not have packaged yeast, I only have yeast in a jar. How much should I use?
Hi Lakeisha! One packet is equal to 2 and 1/4 teaspoons. 🙂
Hi Laurie,
Quick question…I’ve tried a roll recipe that used milk instead of the water. Can you explain what the difference could be? I read thru the comments above and found your explanation for cold refrigeration rising very interesting. Thanks!
Rani
Hi Rani! Great question… from what I’ve been told, milk not only adds flavor but will yield a softer, tender bread. It has something to do with the fat of the milk binding to the gluten for a softer bread {that won’t dry out as fast} and the lactose increasing the flavor. I’m not a professional baker by any means. I’ve just learned along the way. It’s also my understanding that you can’t just substitute milk for water in any recipe. I hope this helps! 🙂
Laurie,
Thank you! Made them today and your instructions were easy to follow! Yum! How can u eat just one???
Can I make these ahead? Leave in frig for 24 hours before baking?
I would like to know if you can freeze the dough? It’s just the two of us.
Hi, I am making a bunch of freezer meals for friends and for future new moms with babies, meals. I’d like to freeze them, is it best to bake then freeze? or could I freeze then bake for fresher rolls?
Thank you! Making these tomorrow!
Hi! I would freeze them just after turning the dough out and placing the dough balls into the pan but before allowing them to rise.
I made these rolls for Thanksgiving 2014. They were super easy and amazingly delicious! Soft and buttery. 10 people, 24 rolls – all gone within minutes. I made them the night before and reheated in a turned-off oven (that had been heated to 375F) for about 10 minutes, right before dinner was served. They were still great reheated, but the texture was slightly better fresh (no surprise). Next year, I think I will make them the morning of Thanksgiving since it really doesn’t require much effort, just time. This recipe is also going into my dinner repertoire. Thanks for a great recipe!
I recently lost my job and have extra time on my hands. So to take my mind of the job hunt, while waiting for callbacks i’ve been cooking. These rolls are GREAT. The first time I made them, I noticed the next day my husband had been in to them. I asked him when he got home from work if he had them for breakfast. he said, “Not that many, just probably 5”. Ha!
We had smaller crowd for Christmas & Thanksgiving this year. So I followed your suggestion in the comments above. Cooked a dozen fresh for Thanksgiving. Then formed the other dozen into balls and froze them raw. I let them thaw / rise in the refrigerator on Christmas. Turned out great.