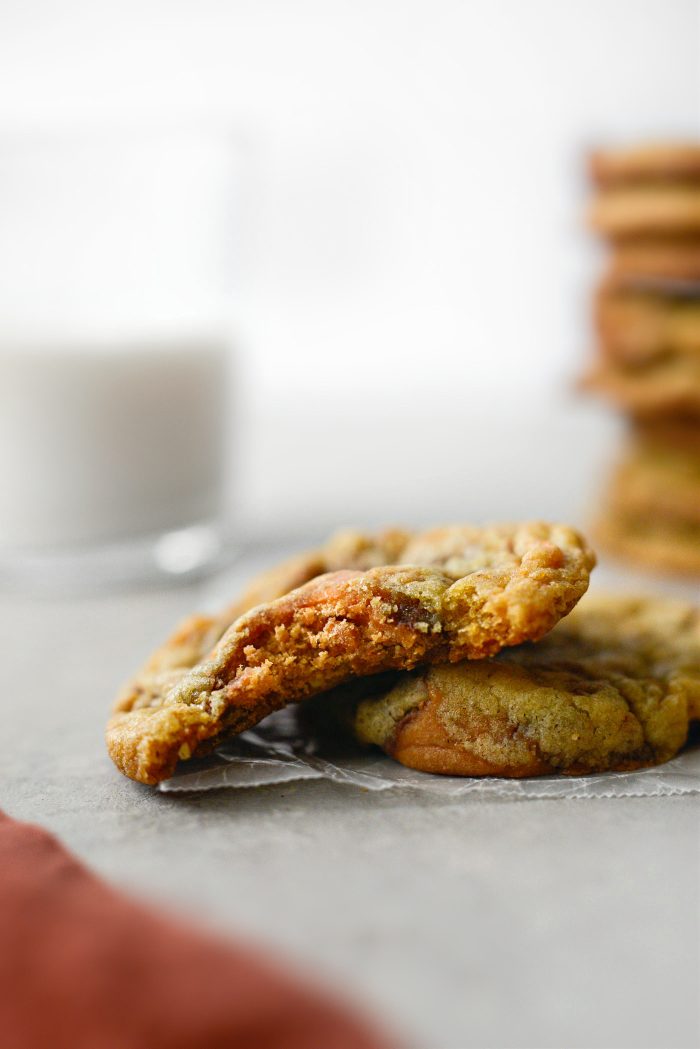
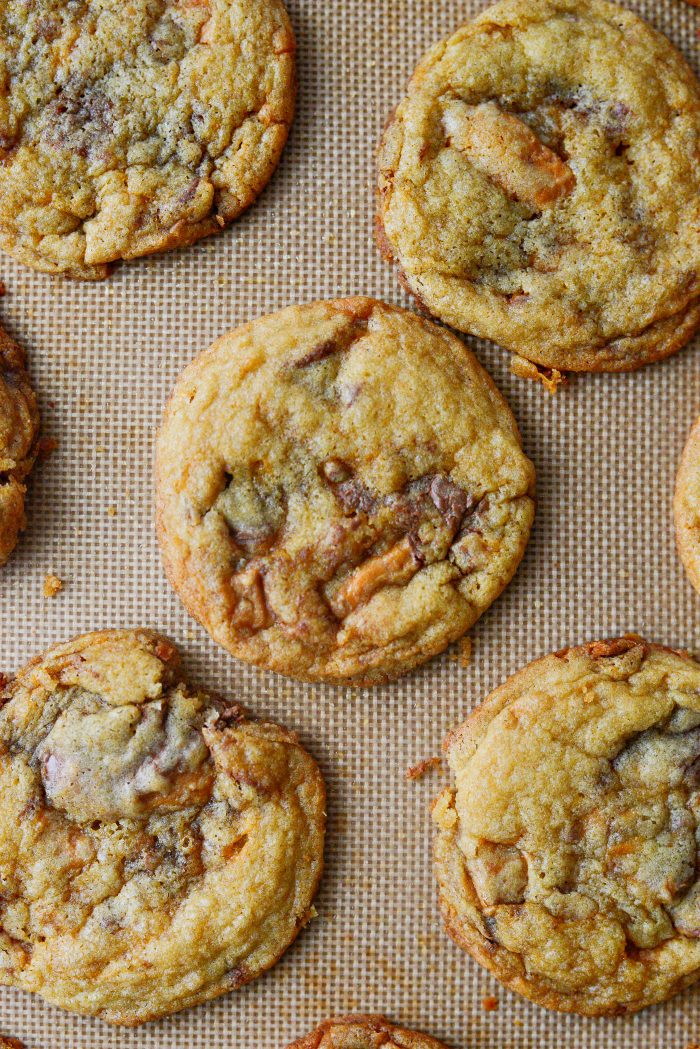
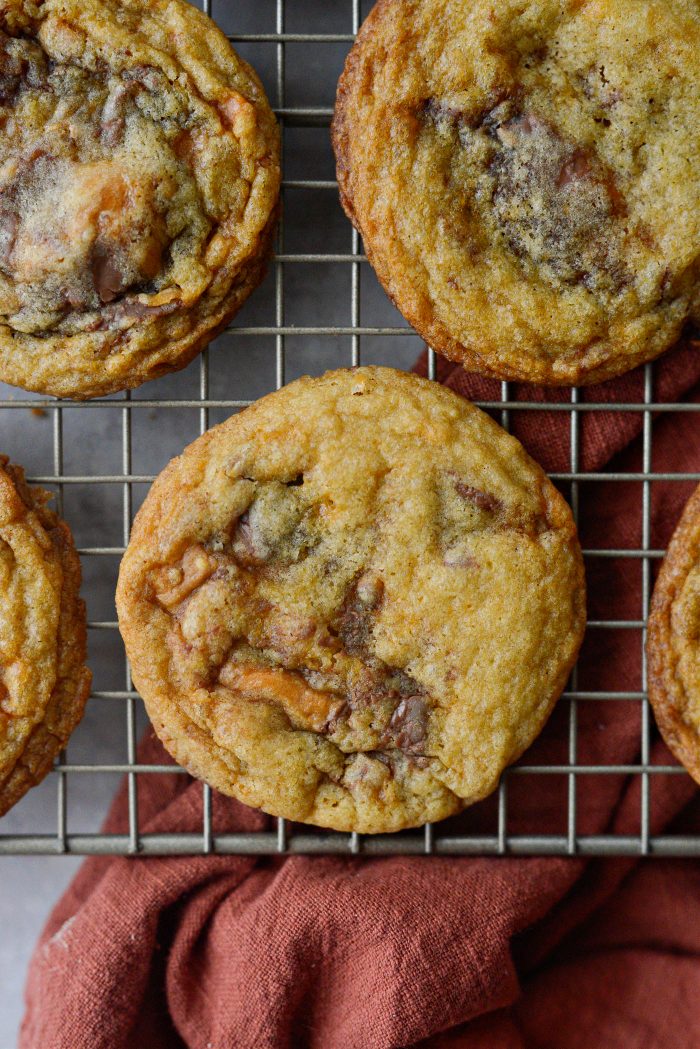
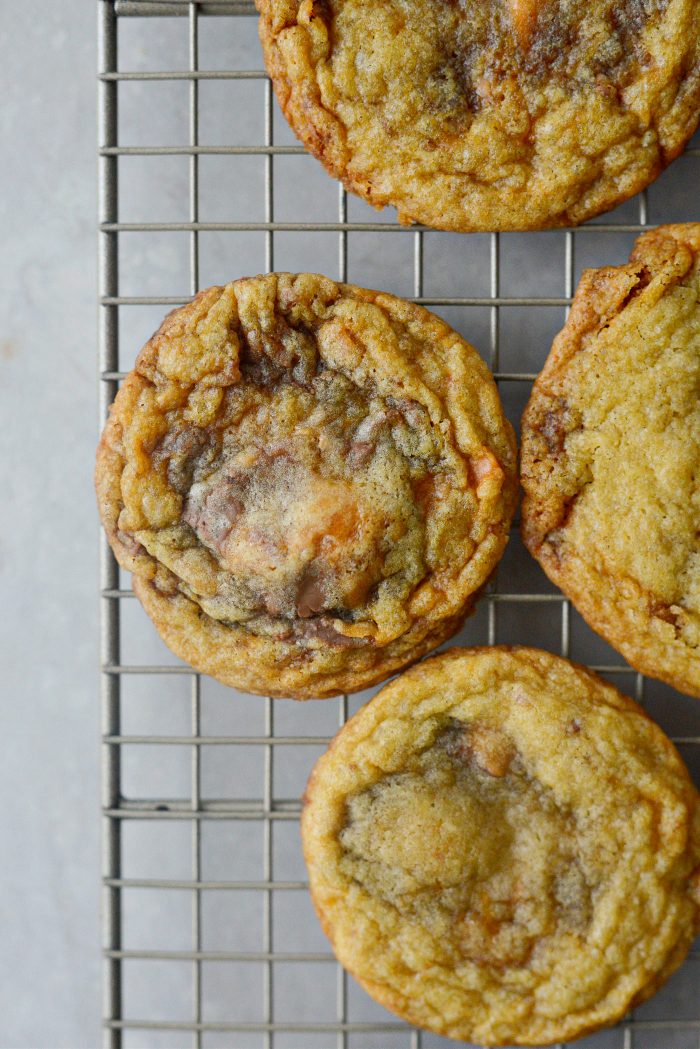
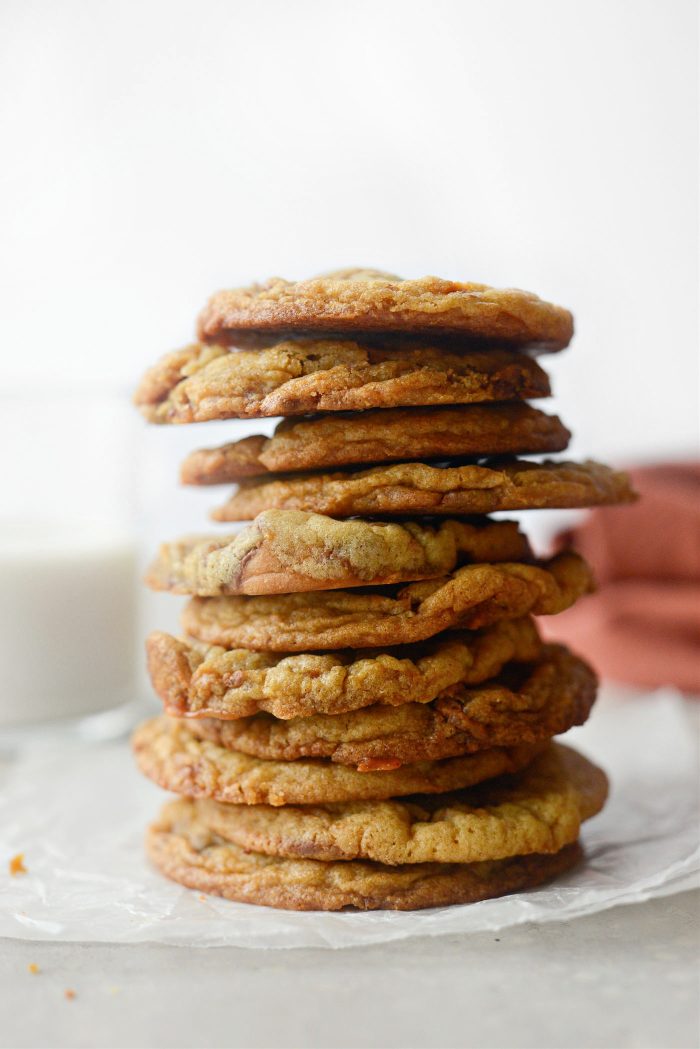
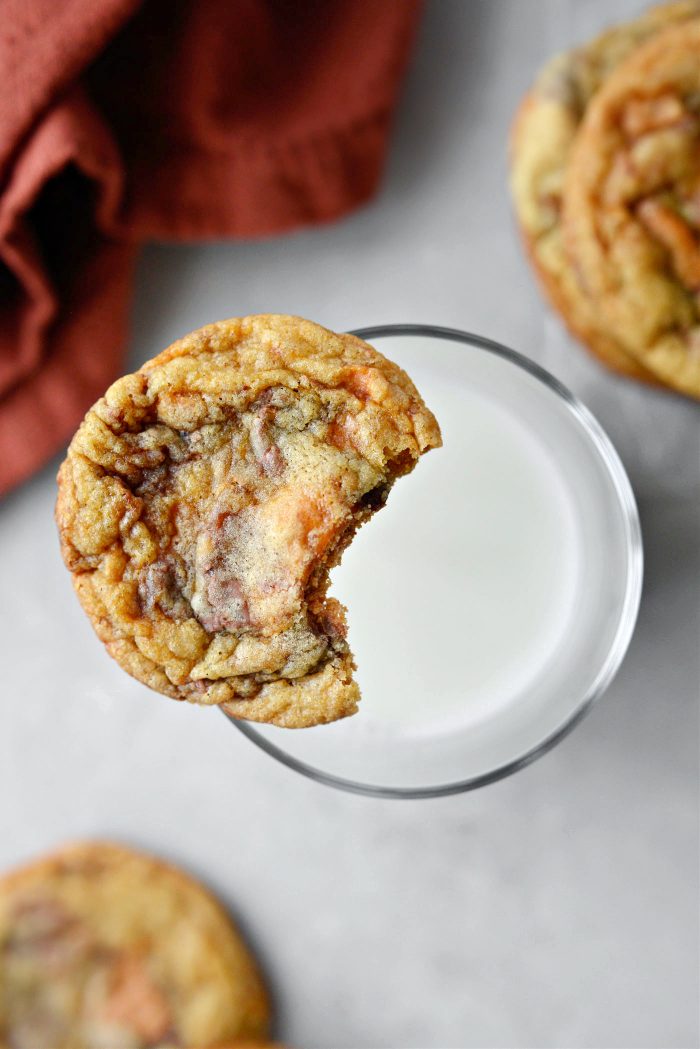
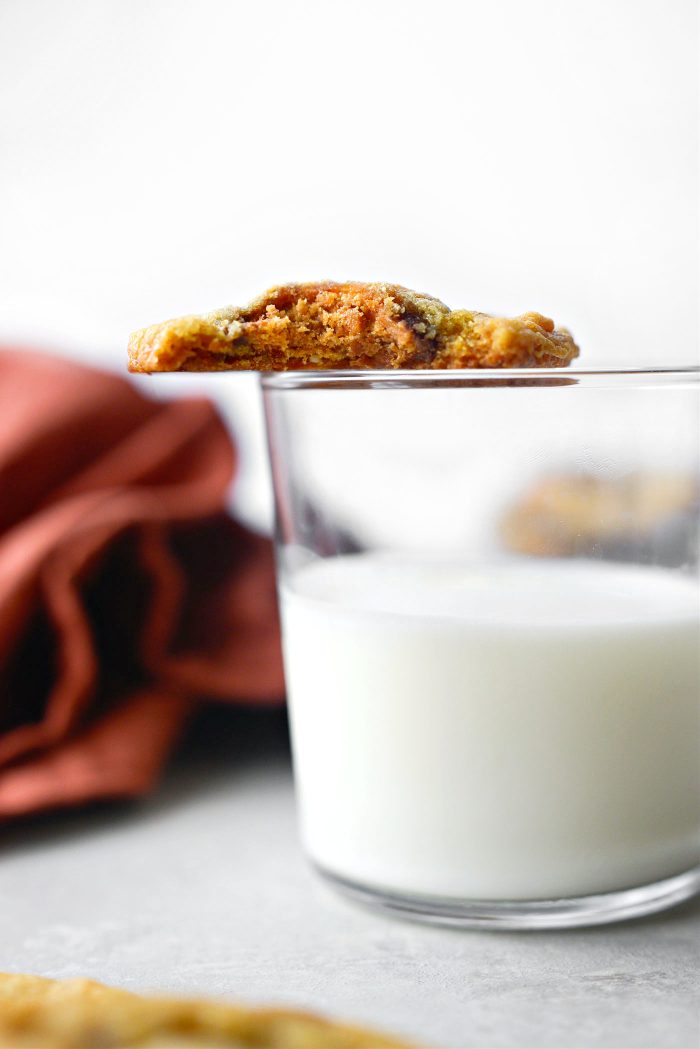
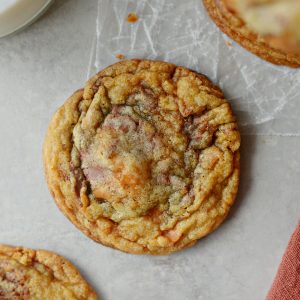
These Butterfinger Cookies have crisp buttery edges, a soft and chewy middle and are loaded with chopped butterfinger candy bar pieces. This recipe will yield 40 cookies.
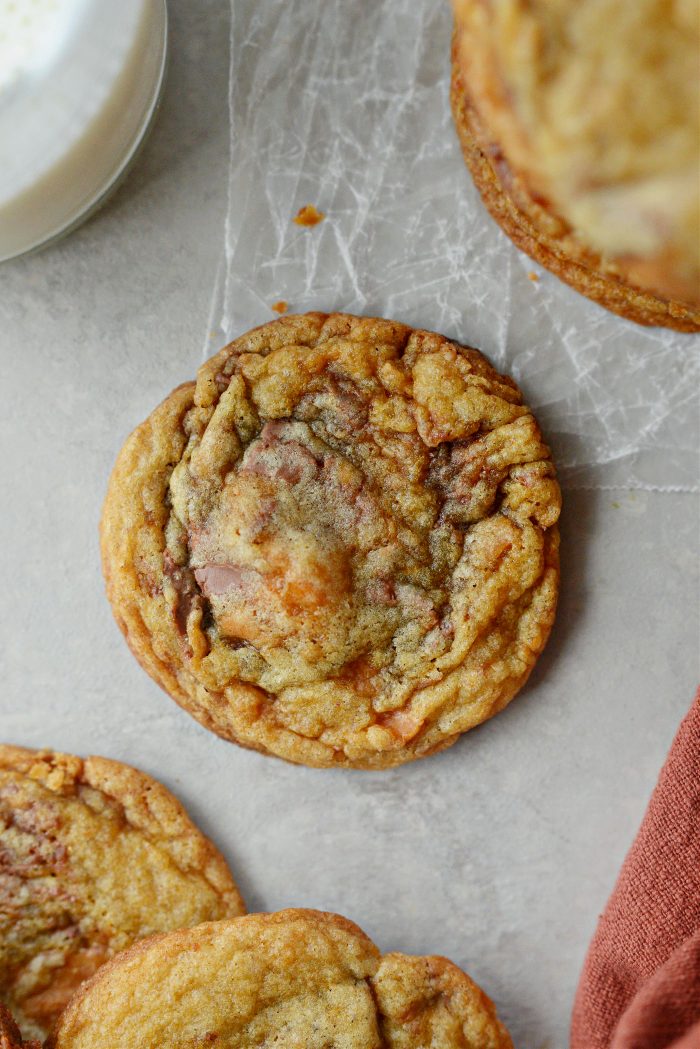
Love butterfinger candybars? I’ve got you.
If you happen to find your self with a few extra butterfinger candy bars, I highly suggest your make these cookies. I was going to write that these cookies are a great way to use up leftover butterfingers… but I don’t even know what that means. lol.
So incredibly simple. Basically, it’s just a a soft, chewy cookie studded with big hunks of Butterfinger candy bars.
What’s not to love?
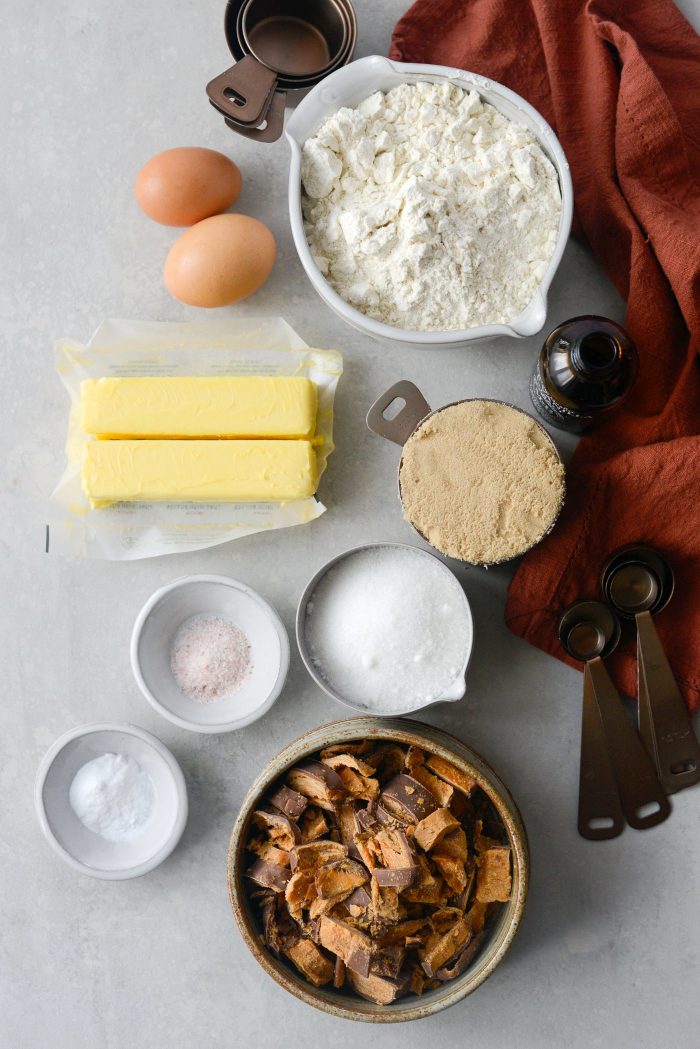
To Make These Butterfinger Cookies You Will Need:
- unbleached all-purpose flour – The base for the cookie dough.
- baking soda – Creates a gas while baking which helps the cookies rise.
- fine salt – Use either sea salt or pink himalayan.
- unsalted butter (softened/room temperature) – Lends richness, tenderness and structure to cookies.
- light brown sugar – Adds sweetness and gives the cookies a chewy texture.
- granulated sugar (white) – Also lends sweetness but will give the cookies a crispy edge.
- pure vanilla extract – Adds warmth and enhances all of the other flavors in this recipe.
- eggs – Add structure, leavening and flavor.
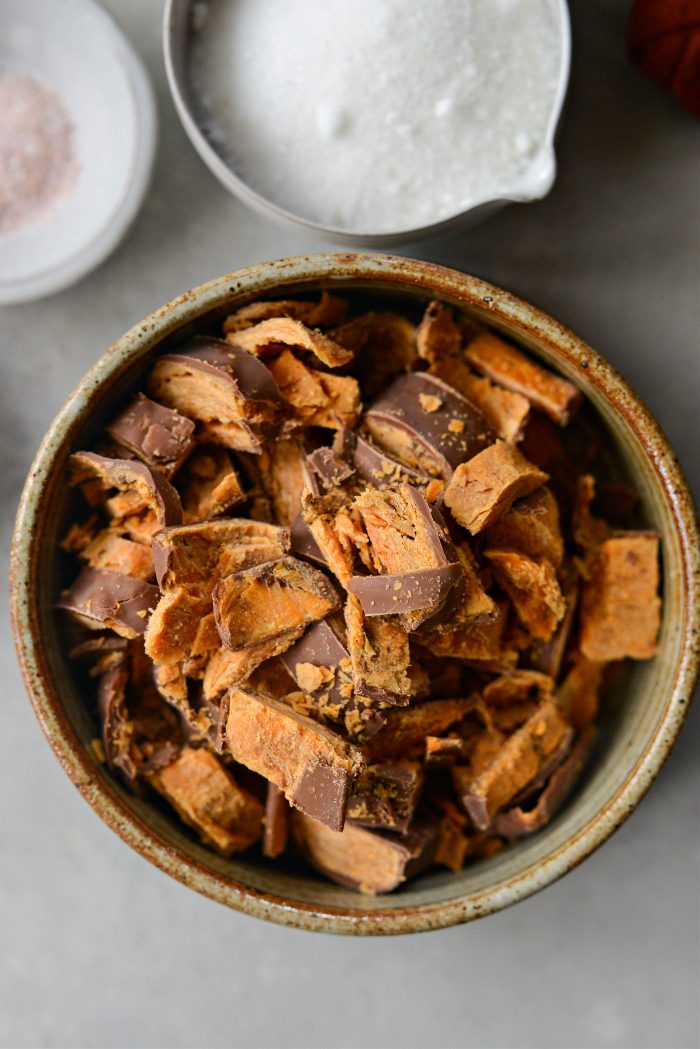
- butterfinger candy bars – You will need 6 bars total. More on this below.
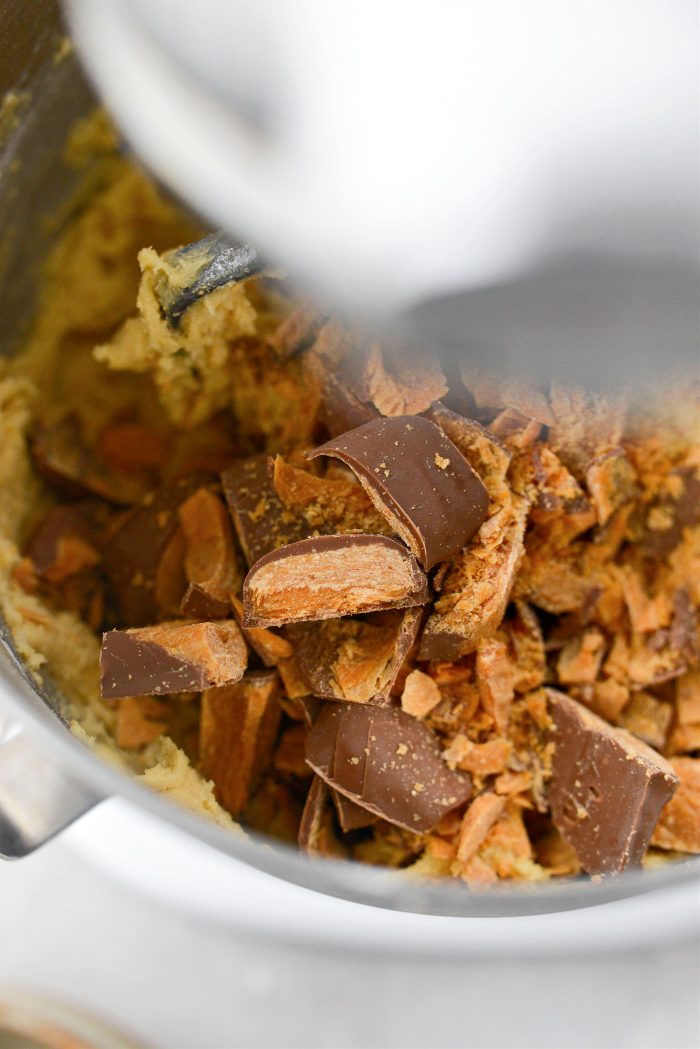
For this recipe, I use roughly 12 ounces very coarsely chopped butterfinger candy bars, which is about 6 full-size bars or about 16 “fun size” (not-so-fun-size if you ask me) candy bars. I chop them into 3/4 to 1 inch pieces because we like big pieces in our cookies and they will break up more when you mix them into the cookie dough.
Preheat your oven to 350℉ (or 180℃).
Line 2 rimmed baking sheets with silicone baking mats or parchment paper
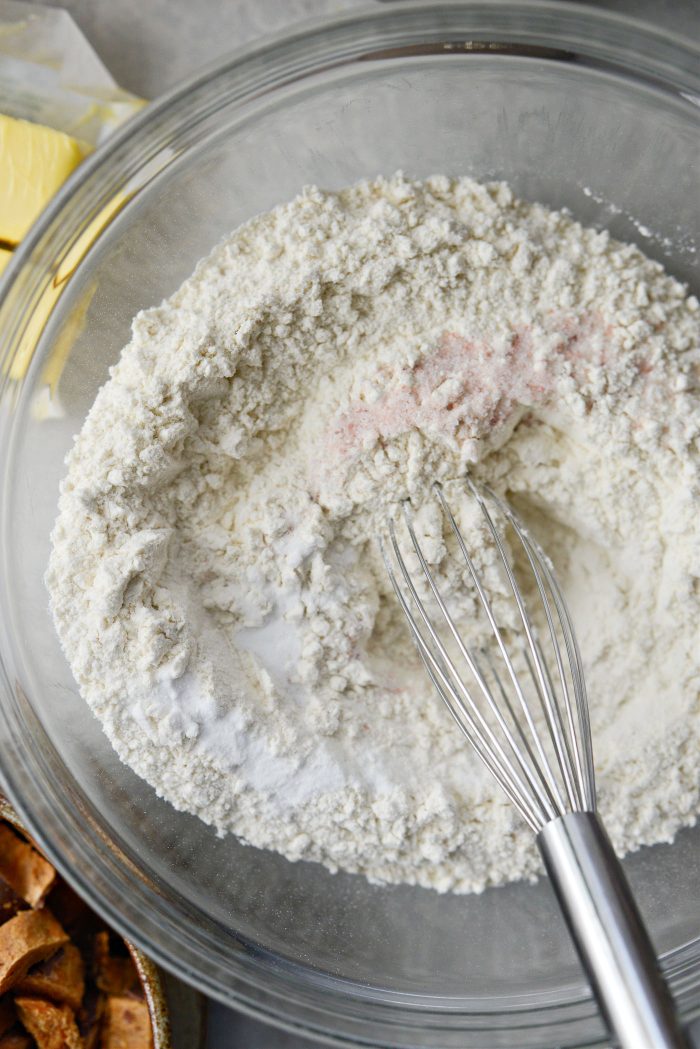
Start by measuring 2-1/4 cup unbleached all-purpose flour, 1 teaspoon baking soda and 1 teaspoon fine salt into a medium mixing bowl.
Use a whisk to stir and combine. Set this off to the side.
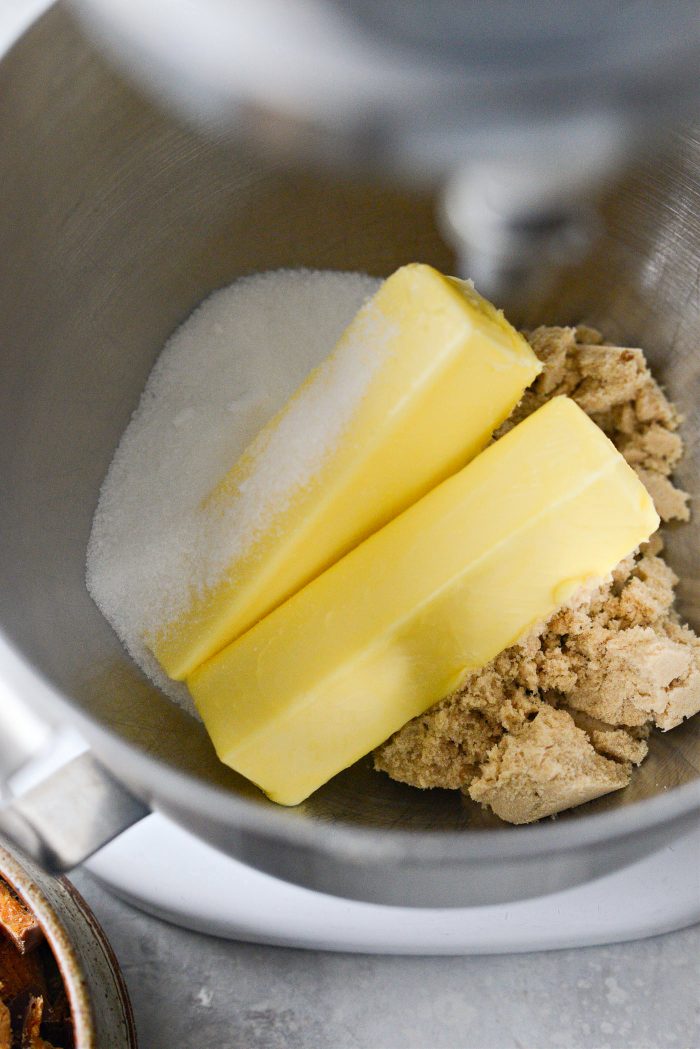
In the bowl of your stand mixer, fitted with the paddle attachment, add 1 cup (room temperature) unsalted butter, 1 cup light brown sugar and 1/2 cup granulated (white) sugar.
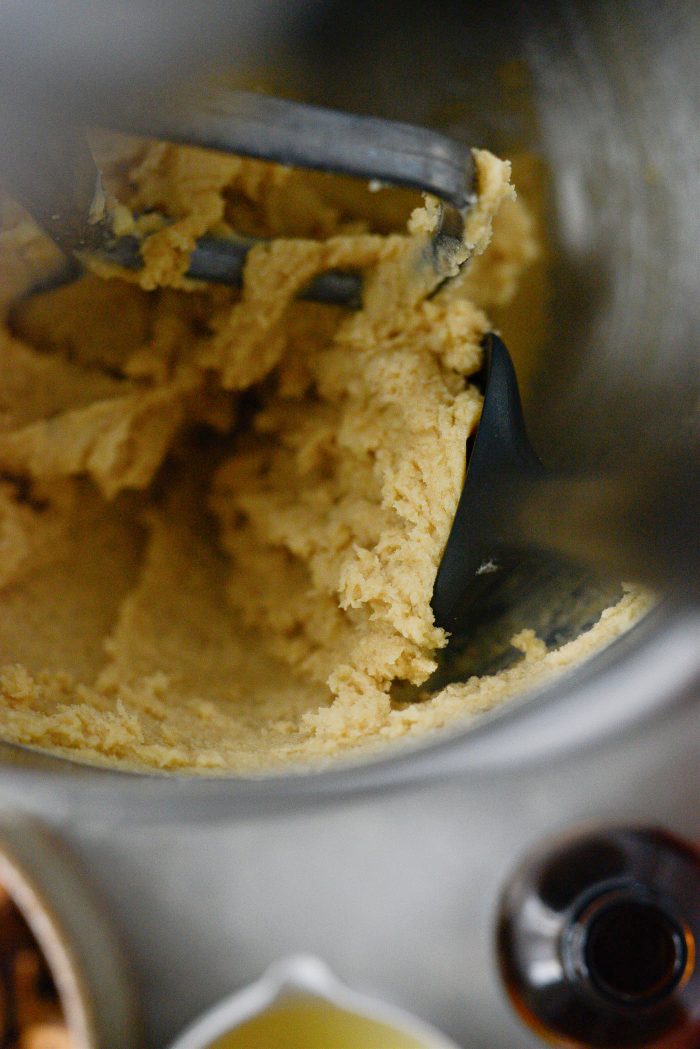
Mix on low to medium-low speed for 3 to 4 minutes until light and fluffy.
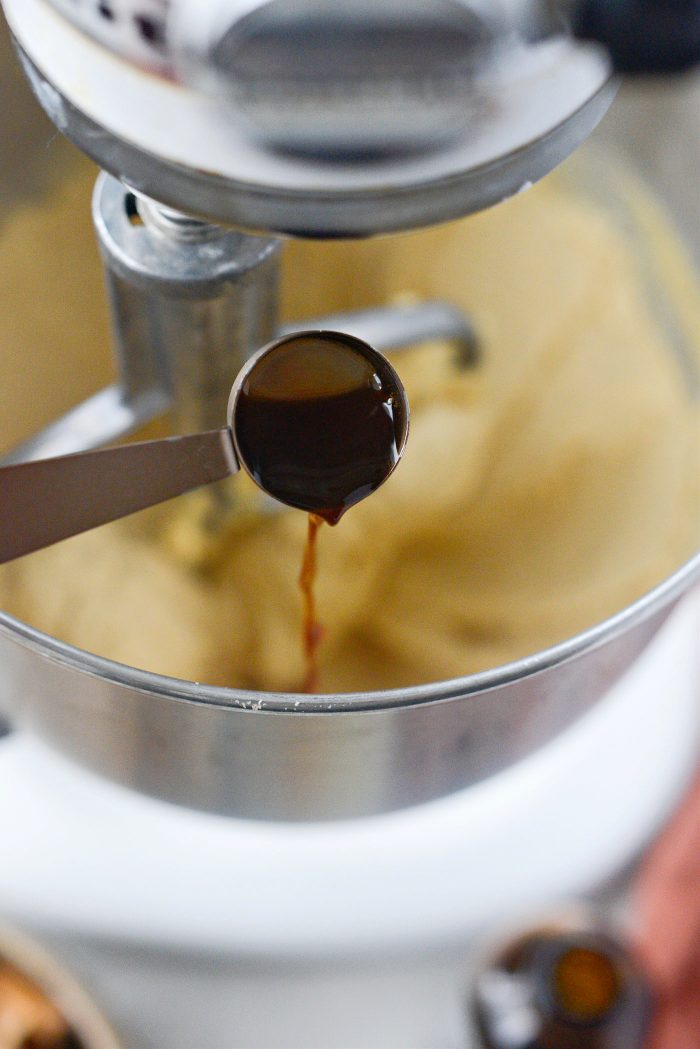
Next, measure and add in 1 teaspoon of pure vanilla extract.
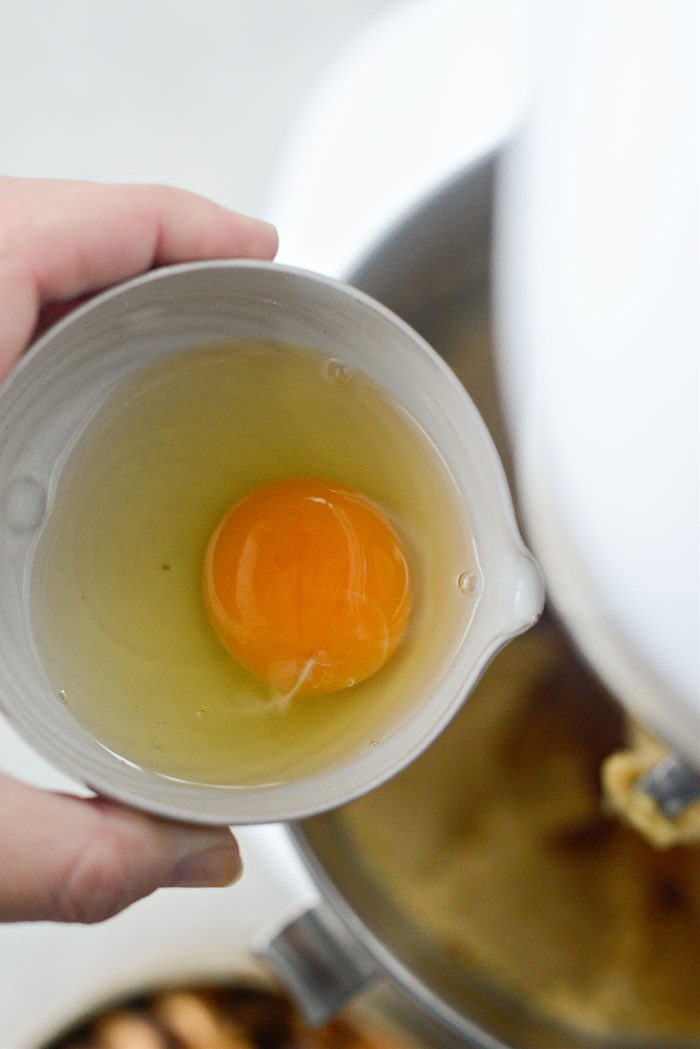
With the vanilla, add in the first egg and mix until incorporated. Then add in the second egg and mix well to combine.
Use a rubber spatula to scrape the sides and bottom of the bowl.
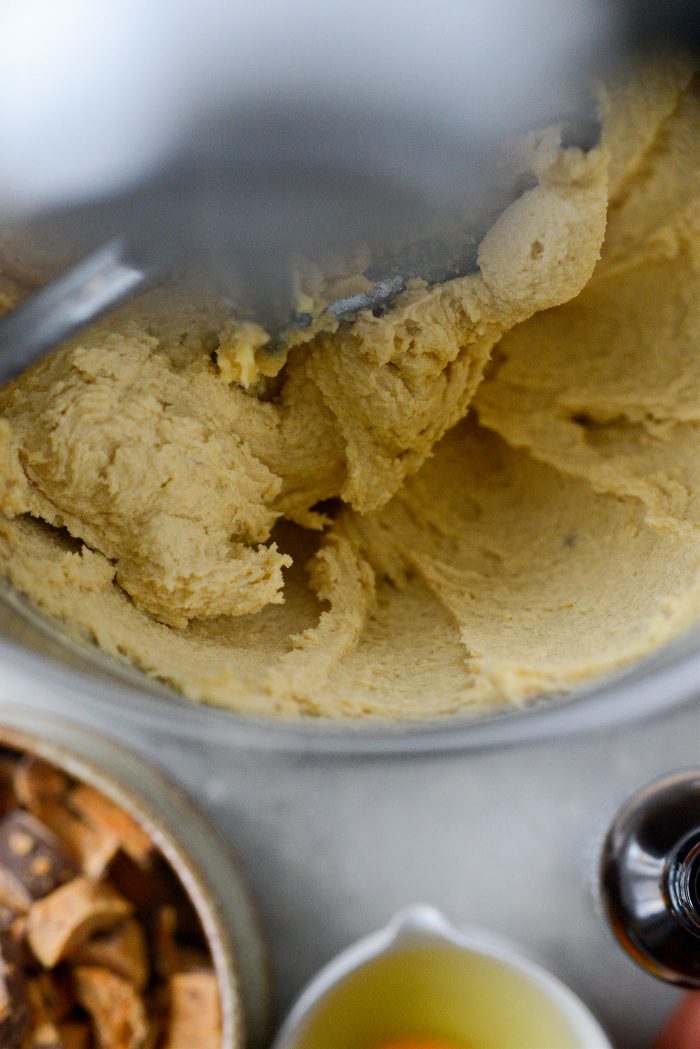
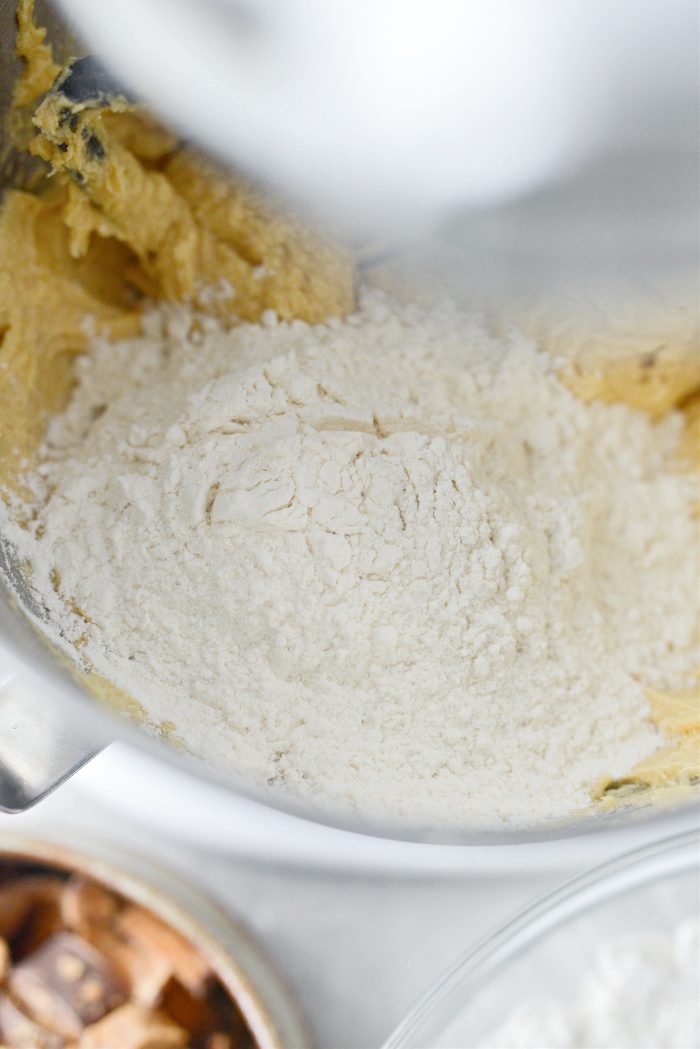
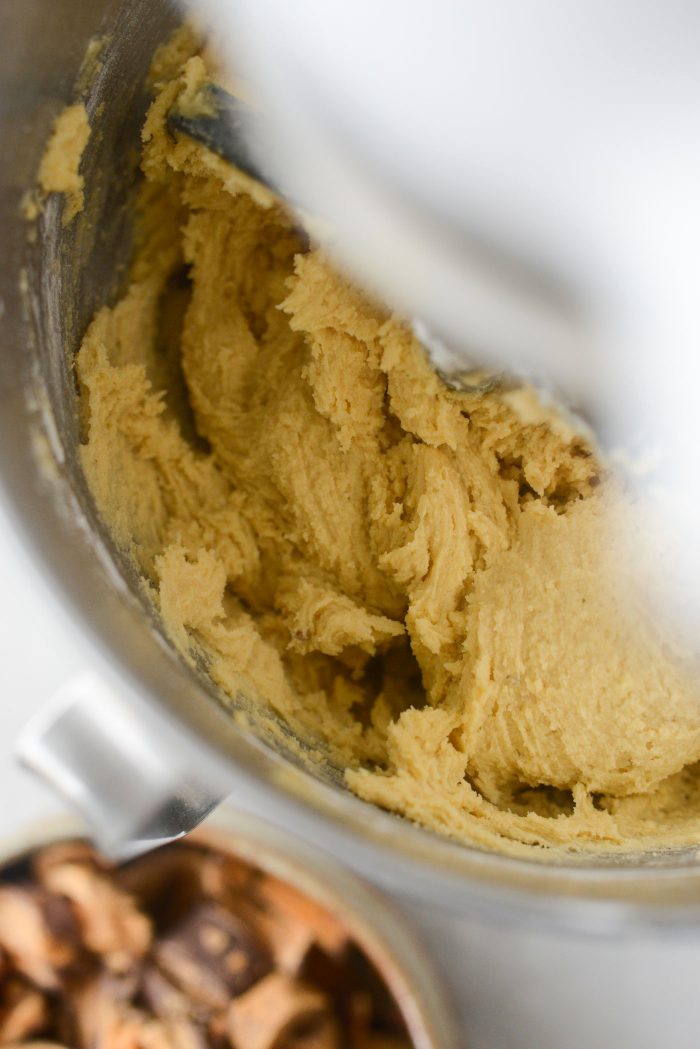
Gradually add in the dry ingredients. Again, stop to scrape down the sides and bottom of the bowl after each addition. Stop mixing once the flour is incorporated.
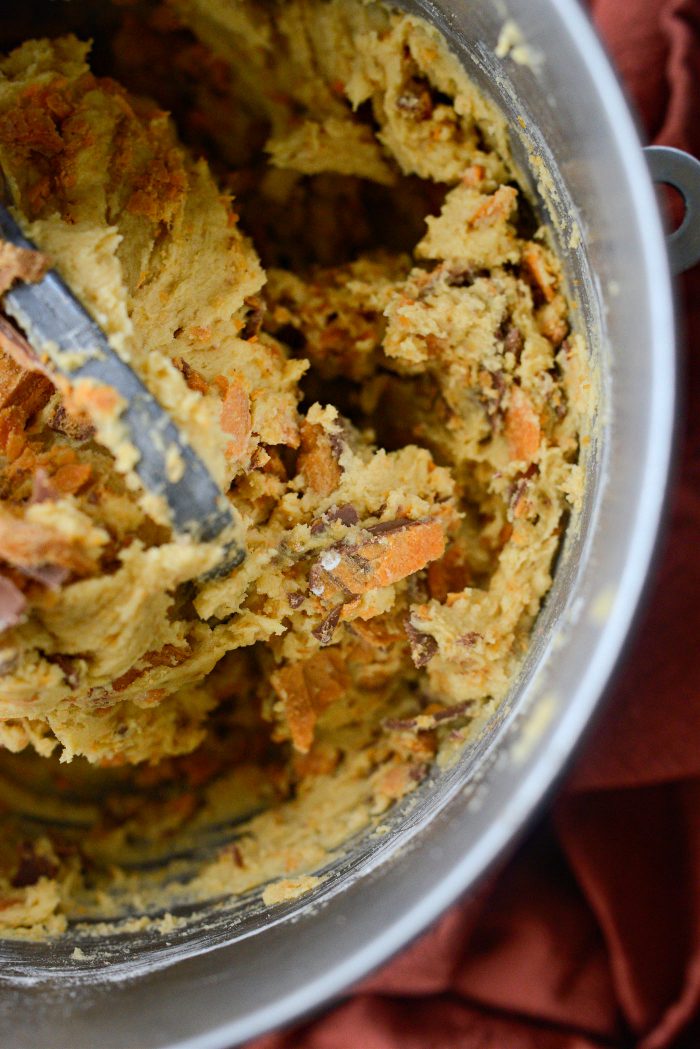
The dough should be creamy and light in color.
Next, add in 12-ounces roughly chopped butterfinger candy bars.
Give a quick mix just to get the pieces throughout the dough. I like big pieces of butterfinger in my cookies, so I literally only mix it a few times. Alternatively, you could do this step by hand.
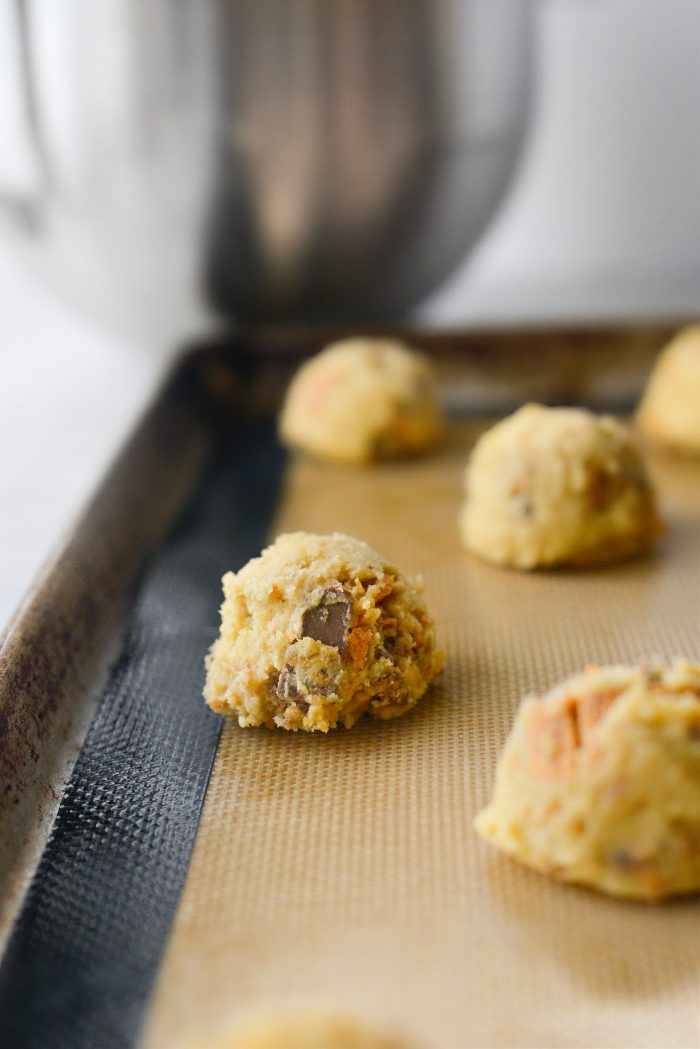
Working in batches, use a 2-tablespoon scoop to measure out the dough. Place them a few inches apart onto your prepared pan.
I bake 10 cookies per pan at time to avoid them touching while they bake and spread in the oven.
Slide the baking sheet onto the middle rack of your preheated oven and bake for 10 minutes or until the edges are crisp and slightly golden.
Allow the cookies to cool for a few minutes on the pan before transferring the cookies to a wire rack to finish cooling.
Repeat with the remaining cookie dough.
How to get perfectly shaped cookies?
If perfect circular cookies is what you’re after, this is a trick, or should I say hack, that I only recently leaned. Once you’ve removed the pan of cookies from the oven, working quickly, use a wide mouth drinking glass and place it over a misshapen cookie and swirl the glass. The edge of the cookie will smooth out and in turn, you’ll have a perfectly circular cookie. Repeat with the rest of the cookies. If you need a visual, click here and scroll down a bit.

I love these butterfinger cookies warm out of the oven. However, the day after when the Butterfinger candy pieces have returned back to being their crispy-flaky-selves while suspended in all that delicious cookie goodness – isn’t to shabby either.
My favorite candy bar in cookie form, I can’t believe I didn’t think of this sooner.
HOW TO STORE BUTTERFINGER COOKIES:
Once the cookies have completely cooled, store them in an air-tight container for up to a week.
HOW TO FREEZE BUTTERFINGER COOKIES:
Portion out the dough and freeze the raw dough as is, placing them closed together on a lined baking sheet. Place into your freezer and freeze until frozen solid. Transfer to a freezer safe container or baggie and store up to 2 months. Bake desired amount of cookies following the recipe instructions. There’s no need to thaw before baking.
FOR MORE COOKIE RECIPES CLICK HERE.
Enjoy! And if you give this Butterfinger Cookies recipe a try, let me know! Snap a photo and tag me on twitter or instagram!
Butterfinger Candy Bar Cookies
Ingredients
- 2¼ cups unbleached all-purpose flour
- 1 teaspoon baking soda
- 1 teaspoon fine salt, sea salt or pink himalayan
- 1 cup unsalted butter, softened at room temperature
- 1 cup light brown sugar
- 1/2 cup granulated sugar
- 1 teaspoon pure vanilla extract
- 2 large eggs
- 6 full size Butterfinger candy bars, coarsely chopped (or 16 "fun-size")
Equipment
Instructions
- Preheat your oven to 350℉ (or 180℃).Line two rimmed, metal baking pans with silicone liners or parchment paper.
- In a medium bowl, whisk together the flour, baking soda and salt. Set aside.
- In the bowl of your stand mixer, cream the butter with both sugars until light and fluffy. About 3 to 4 minutes.
- Add in the vanilla and one egg at a time, mixing and scraping down the sides of the bowl after each one.
- Gradually add in the dry ingredients, scraping down the sides and bottom of the bowl after each addition. Mix until the flour is incorporated. Add in the chopped candy bars and mix a few times until through the dough - for large chunks of candy bar in your cookies, be careful not to over mix.
- Use a 2-tablespoon scoop and place rounded scoops of dough onto prepared pans. I do 10 cookies per pan.
- Bake on the middle rack of your preheated oven for 10 minutes or until the edges of the cookies are lightly golden brown.
- Remove the cookies from the oven and let cool on the pan for 5 minutes before transferring to a wire rack. Repeat with remaining dough.
Notes
Buy the Cookbook: Simply Scratch : 120 Wholesome Homemade Recipes Made Easy Now available on Amazon »
THANK YOU in advance for your support!


each stick of butter, how much gram?
I believe one stick is 113 grams. 🙂
Butterfingers are the best candy ever bar none. But in cookie form? What, my head in spinning. Laughed at your v-ball story. My husband is a volleyball coach and yes, that paperwork, Ha, is so important. He might be going to states this year with his team they are so good. But sports are beyond my understanding, would rather make cookies!!
That’s awesome Laura! And I totally agree… butterfingers are the best! 🙂
Gosh when you said everything you touched broke, I wasn’t expecting it to be literally and quite so dramatically. Geez the glass thing in your kitchen that is dang scary! But look at this lovely cookies–switching to the positive. Smiles—-
Cookies have a way with making everything better 🙂
I had a pie plate explode like that several years ago. Earlier this year I took a casserole dish out of the cupboard and had two pieces. Sounds like pyrex has changed its formula and they are now more prone to breaking.:-(
I’ve heard of glass/pyrex exploding but I kind of thought it was a myth or the whole cold pan/hot oven situation. But apparently it’s true and is pretty darn scary!
Bad days deserve cookies like these. They look perfectly gooey and amazing. RIP glass measuring cup.
So true… thanks Jennie! <3