
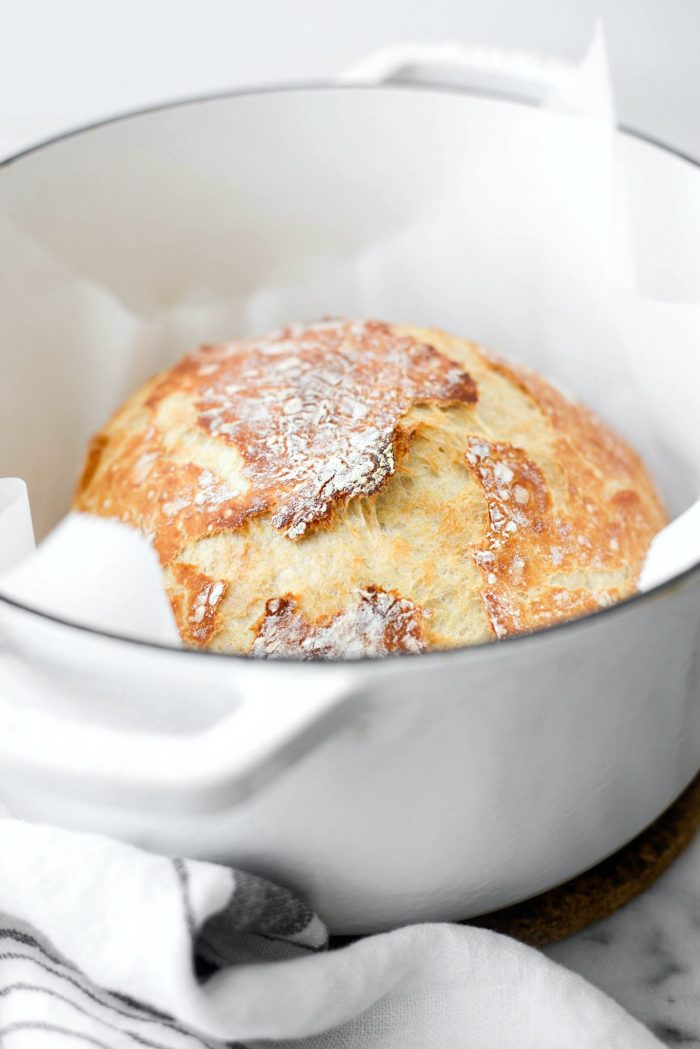
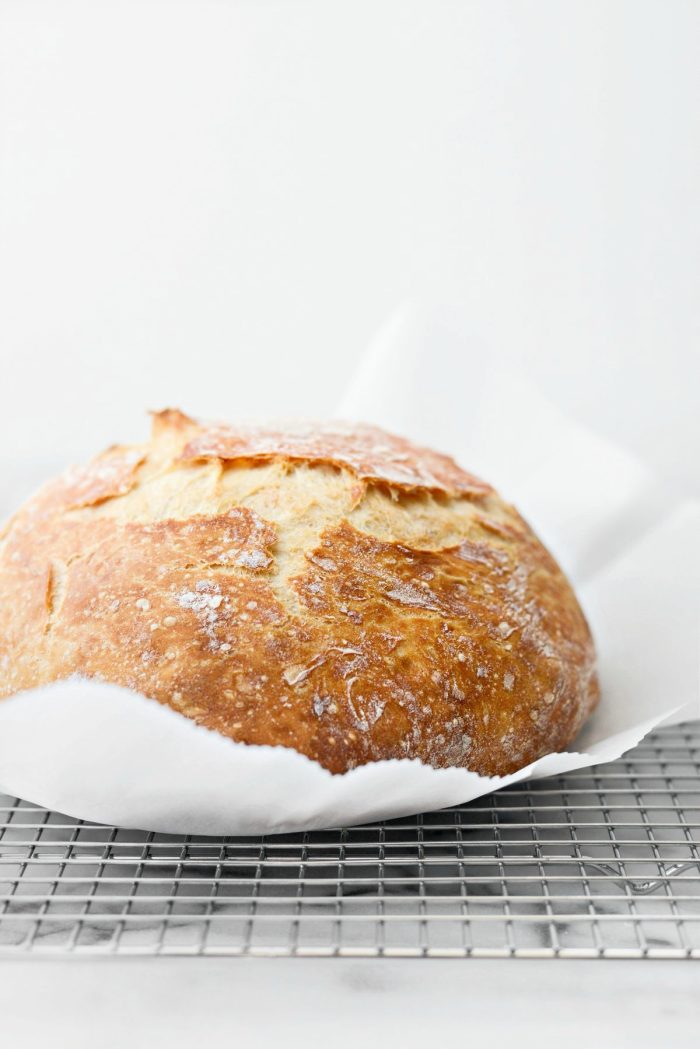
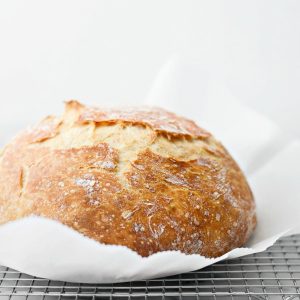
4 ingredients + 24 hours + a hot dutch oven = 1 crusty and rustic loaf of bread.
I have literally purchased bread that looked exactly like this. However this no-knead bread tastes a gazillion times better. Plus what’s better than the smell of bread baking in your home?
Answer: Nothing.
The crust is crisp and even has those tiny little air bubbles on the exterior. The inside is tender and soft with lots of chewy goodness and just waiting for a slather of butter and/or jam.
Got 24 hours? Make this rustic bread or maybe ciabatta?
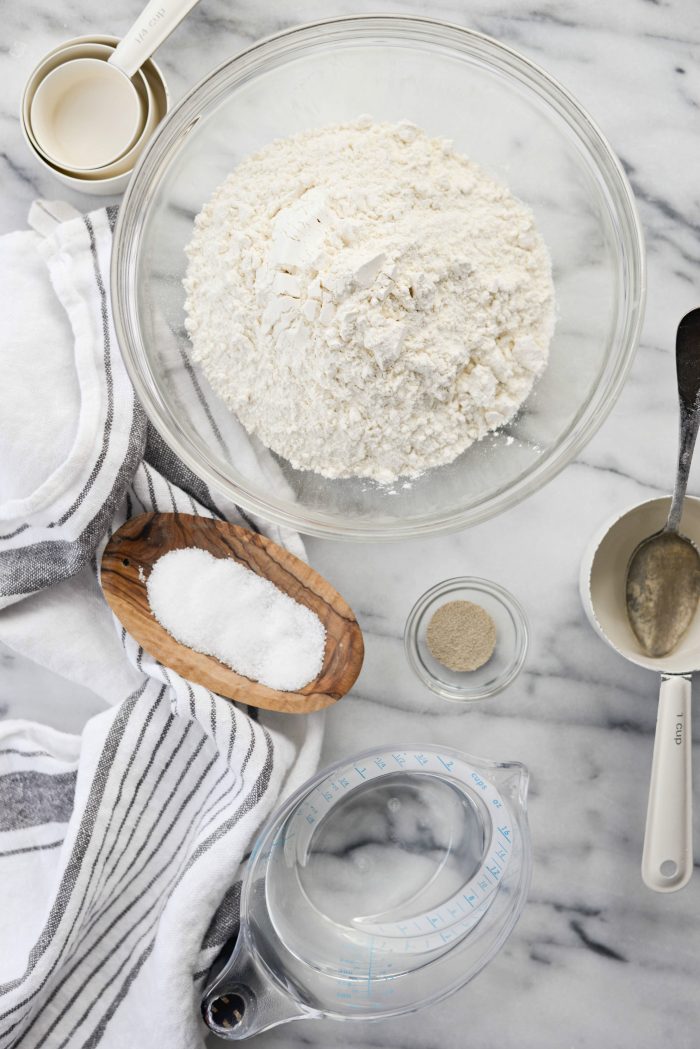
To Make This Rustic Bread Loaf You Will Need:
- unbleached all-purpose bread flour – Has higher protein that all-purpose flour which lends better texture and chew.
- kosher salt – Enhances the flavors in the recipe.
- active dry yeast – Lends flavor and helps baked goods rise.
- warm water – Should be around 110-115℉ (or 43-46℃).
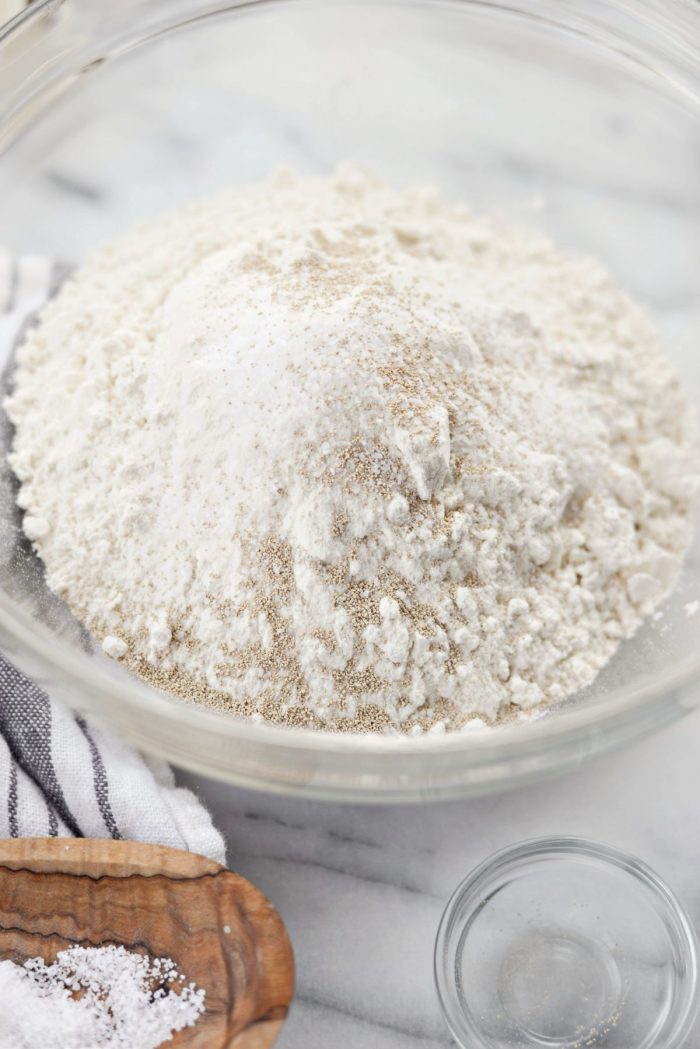
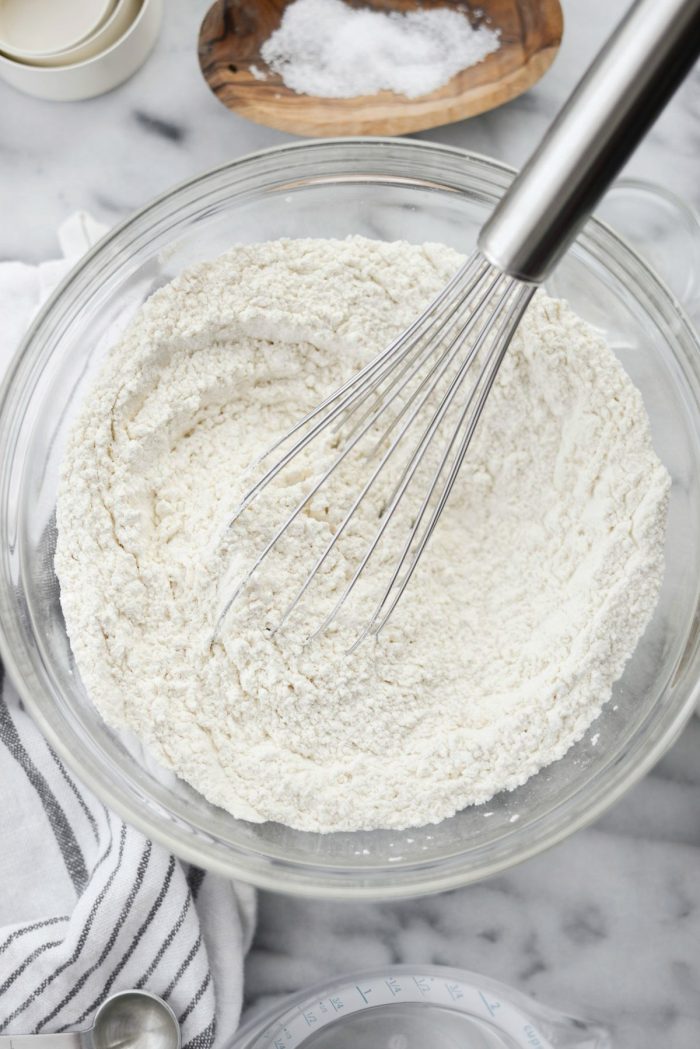
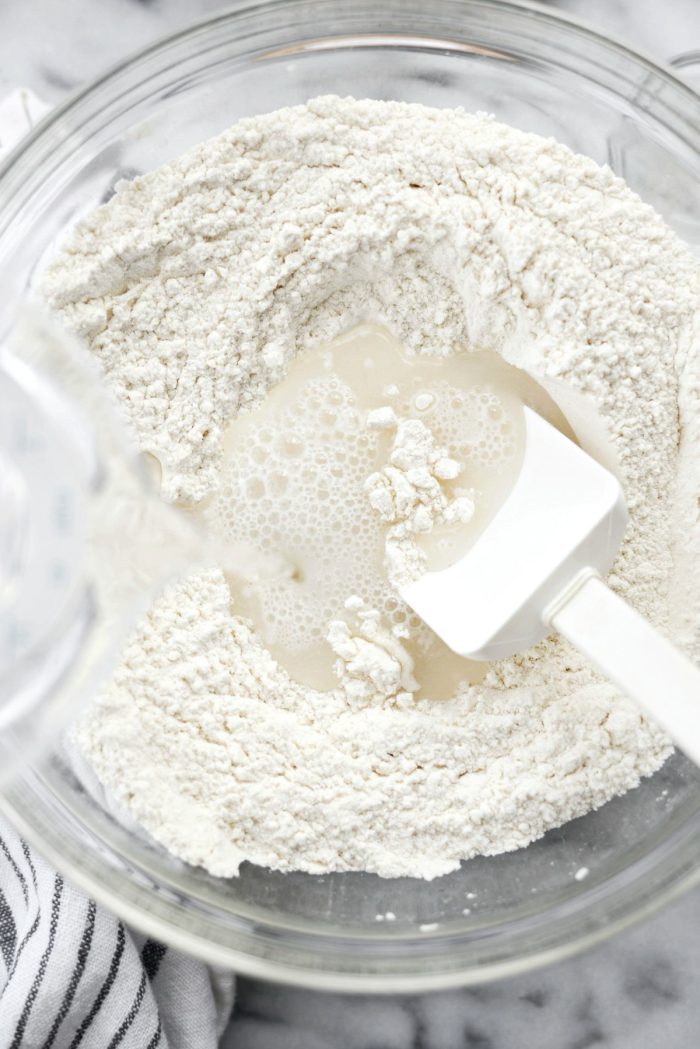
Combine The Dry Ingredients:
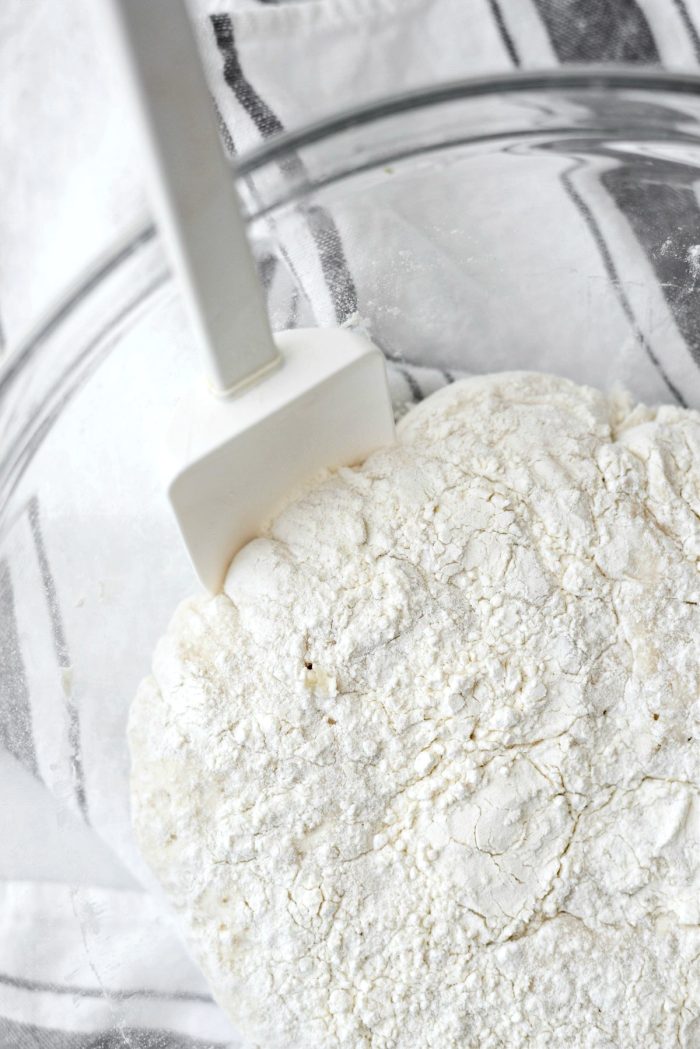
First, in a large mixing bowl, measure and add in 3 cups bread flour (why bread flour? see next step), 1-1/2 teaspoons kosher or sea salt and 3/4 teaspoon active dry yeast. Then whisk to combine.
What is the Difference between All-purpose vs. Bread Flour?
It all boils down to high protein. Protein content will affect many aspects of the flour and doughs/batters such as water absorption, cohesiveness, viscoelasticity, dough strength, texture, loaf volume, and crumb grain. <—I learned that from the bakerpedia.com. Typically (not always) if a recipe is yeast leavened (i.e breads) you should use bread flour. If a recipe is chemically leavened (baking powder and/or baking soda) it will need less protein and all-purpose flour is usually called for. Like in biscuits, cakes and cookies, for example.
What Is the Best Way to Dry Measure Flour?
Give the flour a quick stir to fluff it up a tad. Spoon flour into measuring cup and then level it off with a dull knife.
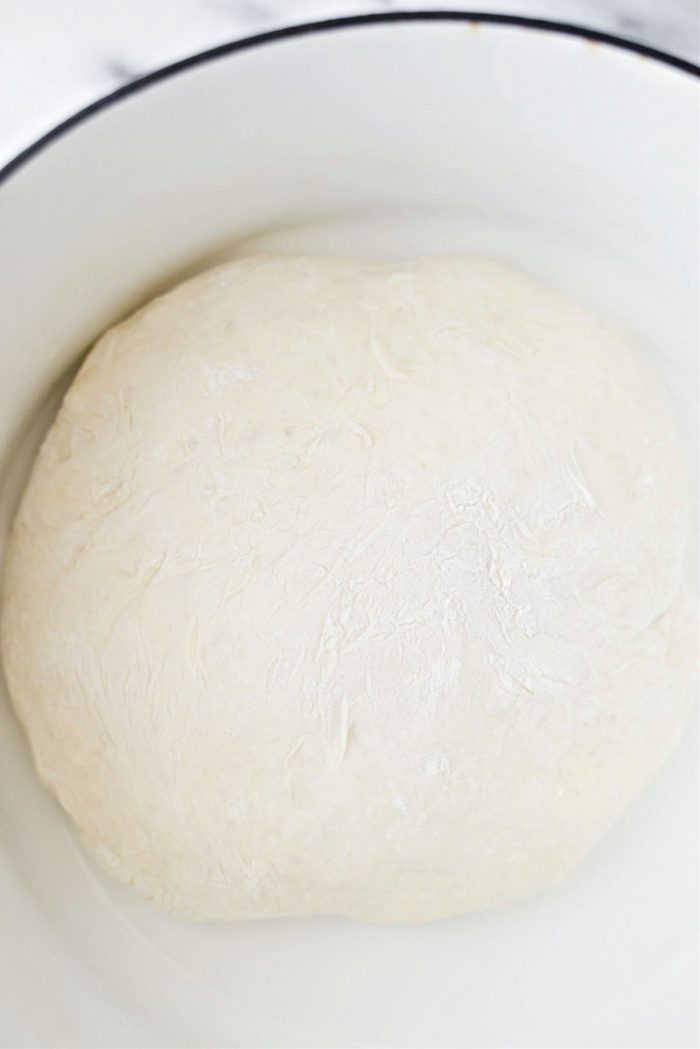
Make The Dough:
Next pour in the water and use a rubber spatula and mix.
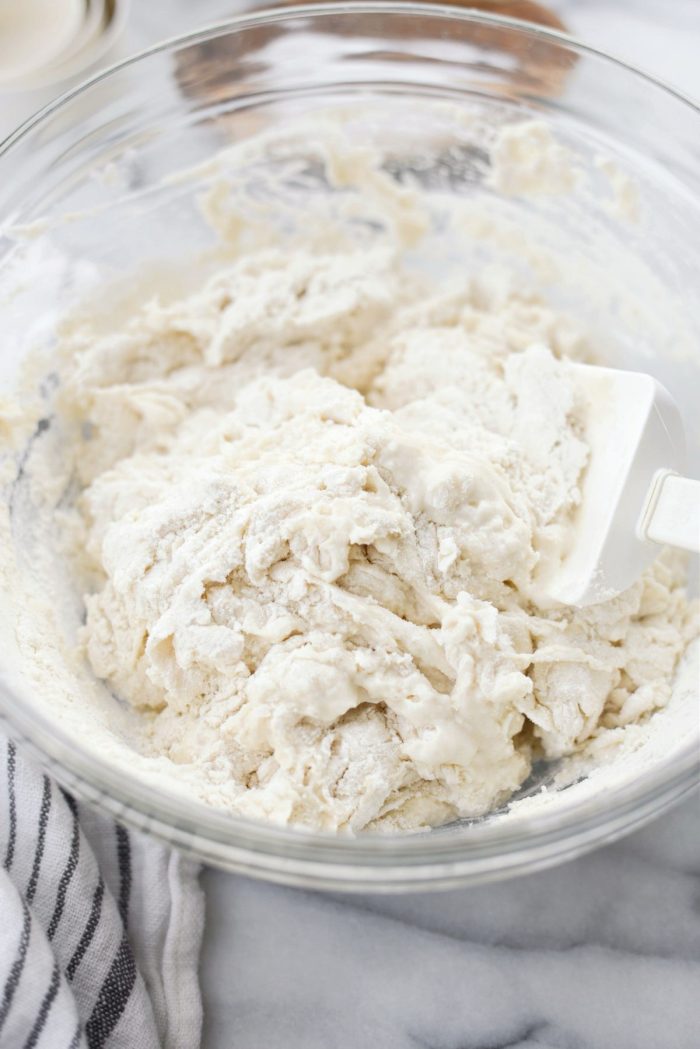
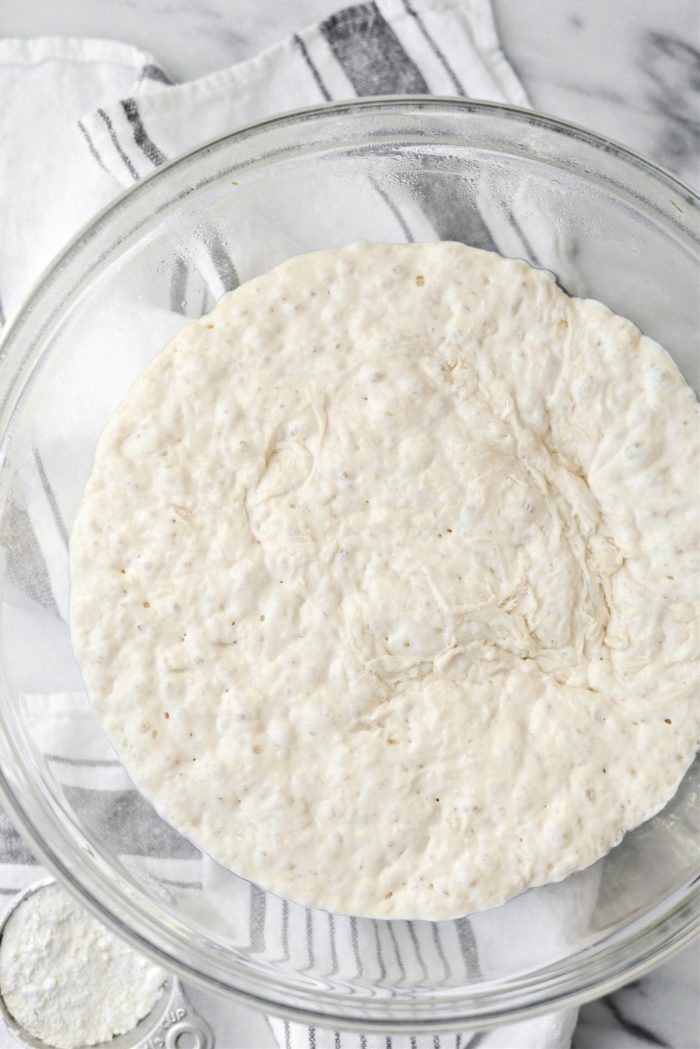
It should start to form a shaggy dough.
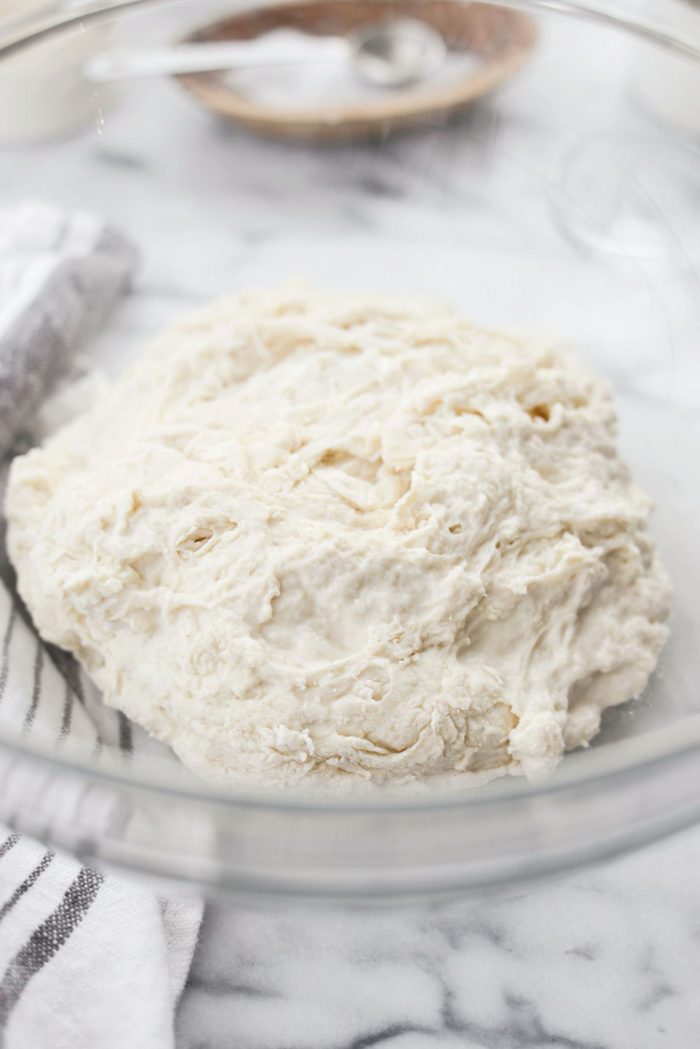
Keep going until all the flour is incorporated.
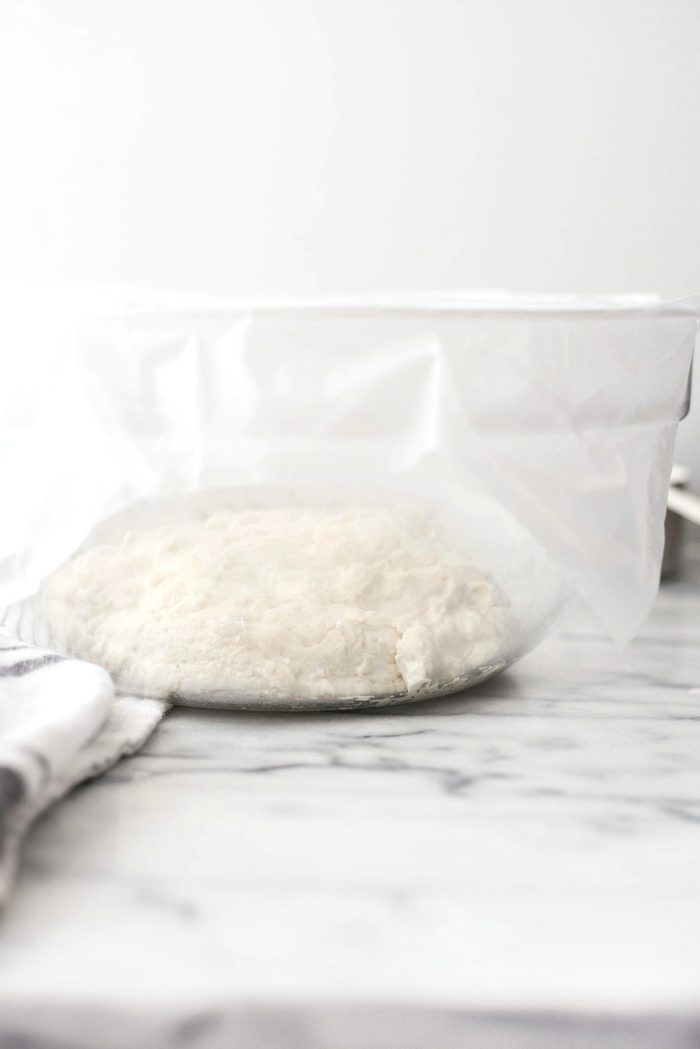
Lastly, cover the bowl tightly with plastic wrap and set it out on your counter for 18 to 24 hours. No more mixing, stirring and definitely no kneading until tomorrow.
The Next Day:
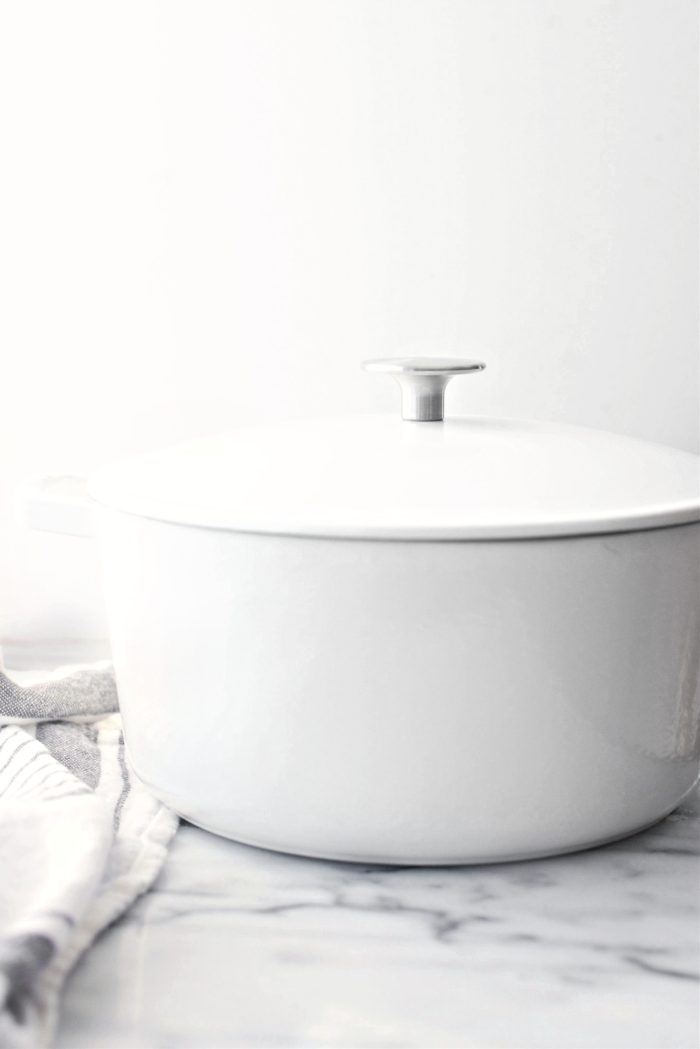
Place a round dutch oven (with lid) on the lowest rack of your oven. Then preheat your oven (with the dutch oven inside) to 450℉ (232℃). I set a timer for 20 minutes from the very start to make sure the pot gets hot.
Meanwhile, remove the plastic wrap.

The dough will be pretty sticky, therefore sprinkle with a few tablespoons of flour over top of the dough.
Then use a rubber spatula to scrape the sides of the dough, working your way around and underneath.
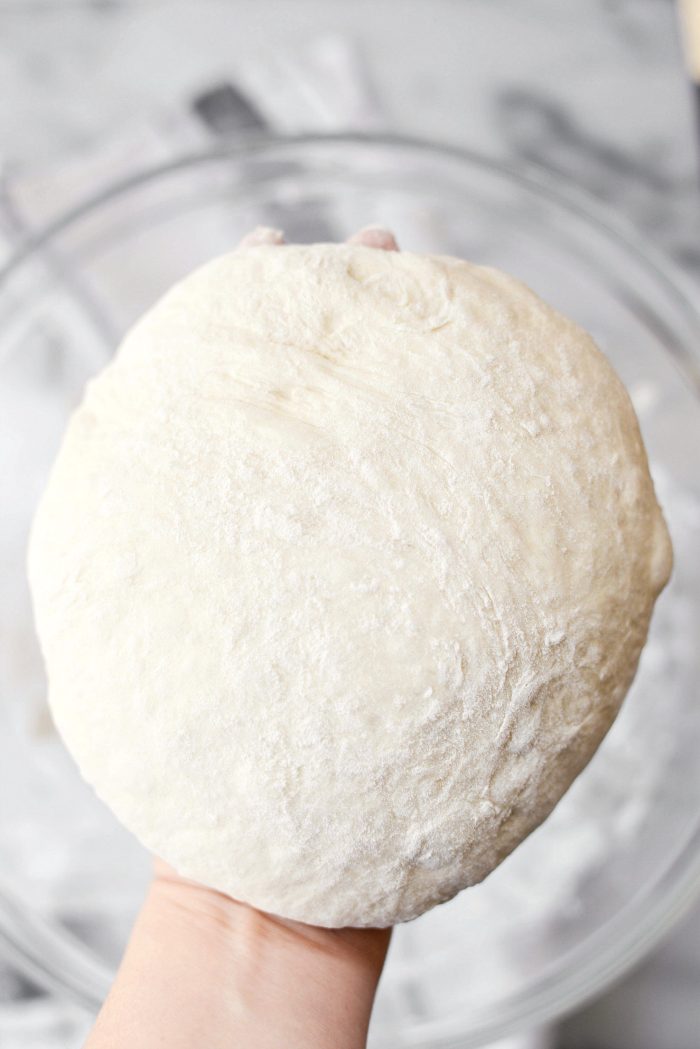
Next, with floured hands, shape it into a ball.
Then, using oven mitts, remove the dutch oven and the lid. Next, carefully place the loaf into the hot dutch oven and because the pot is still hot, use mitts, replace the lid and slide the covered pot back into your oven to bake for 30 minutes.
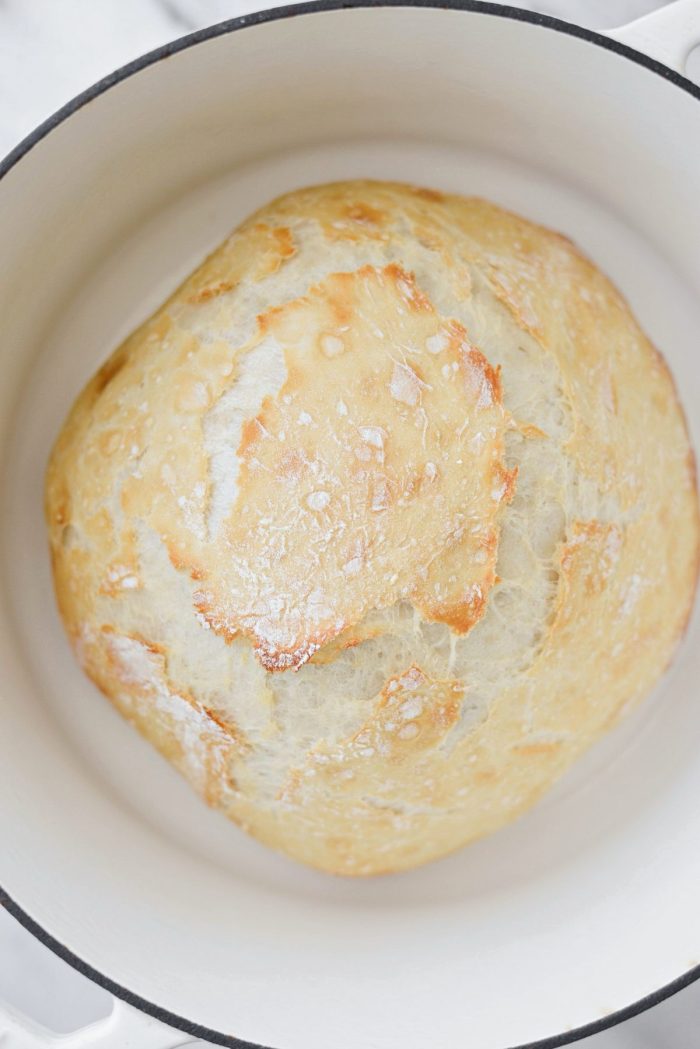
No need to oil your enameled dutch oven as it won’t stick.
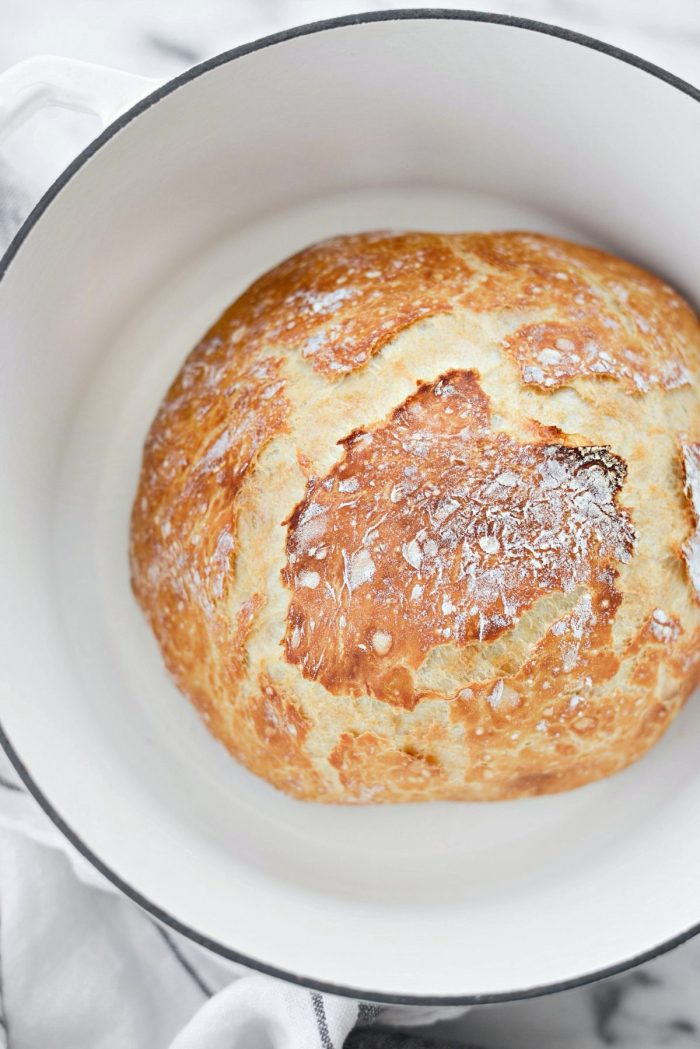
After baking the bread for 30 minutes, remove the lid to the dutch oven and continue to bake for 15 to 20 minutes or until the exterior is deeply golden brown.
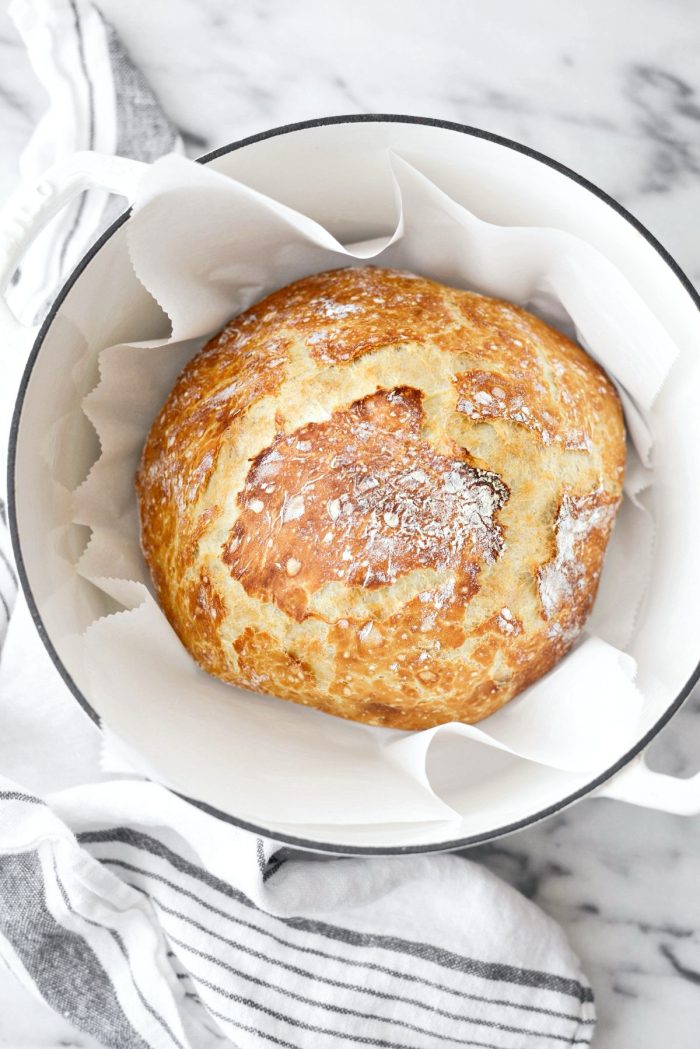
Next, remove and transfer the loaf to a wire rack and cool completely. Because the dutch oven is screaming hot the bread should’t stick.
It’s pretty magical, I’m not going to lie.
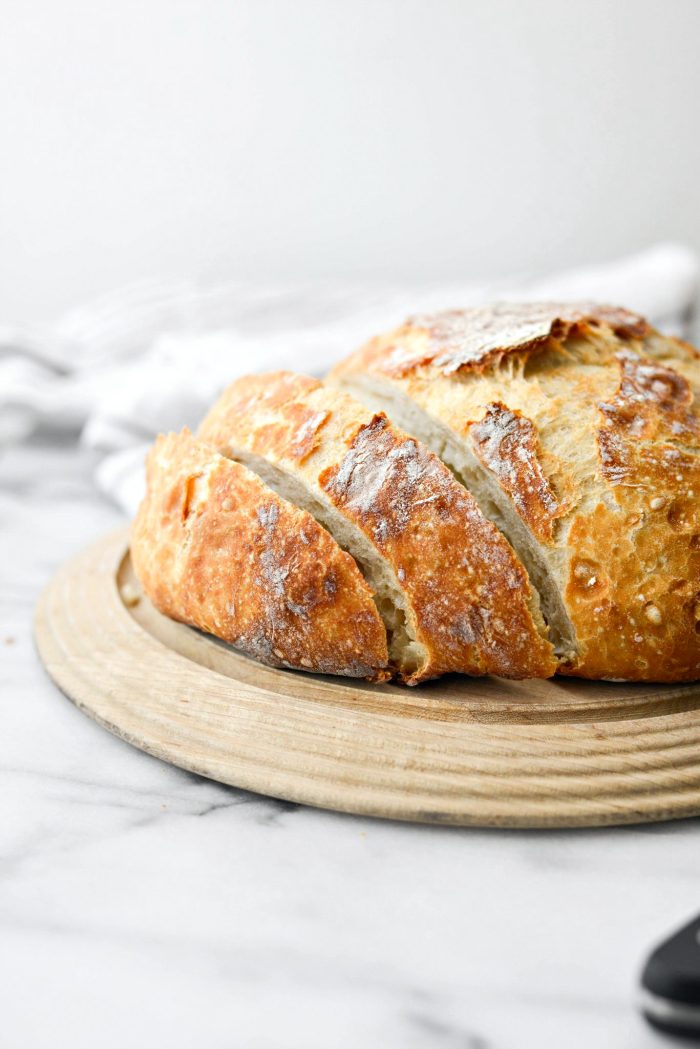
Lastly, once the rustic bread loaf has cooled, use a bread knife and slice before swiping in butter 😉
Click Here For More No-Knead Recipes!

Enjoy! And if you give this Rustic Bread Loaf recipe a try, let me know! Snap a photo and tag me on twitter or instagram!
No-Knead Rustic Bread Loaf
Ingredients
- 3 cups bread flour
- 1½ teaspoons kosher salt
- 3/4 teaspoon active dry yeast
- 1½ cups water, warm (around 110°)
Equipment
- Lodge Round Dutch Oven 6-Quart Enameled Cast Iron
Instructions
THE DAY BEFORE - Make The Dough:
- In a large mixing bowl, combine the flour, salt and yeast,
- Pour in the water and use a rubber spatula and mix until combined.
- Cover the bowl tightly with plastic wrapped let it rest on your counter for 18 to 24 hours.
THE DAY OF - Make the Bread:
- Place a round dutch oven (with lid) on the lowest rack of your oven.Preheat your oven (with the dutch oven) to 450℉ (232℃).I set a timer for 20 minutes from the very start.
- Meanwhile, dust the top of the dough with a few tablespoons of flour. Use a rubber spatula to scrape the sides of the dough, working your way around and underneath.
- With floured hand, pick up the dough and shape into a ball.
- Use oven mitts to remove the dutch oven and the lid. Carefully place the loaf into the hot dutch oven (seam side down) and, using mitts, replace the lid and slide the pot with the bread back into your oven for 30 minutes.
- Then remove the lid and continue baking the bread for 15 more minutes or until the top is golden and crusty.
- Then carefully remove the bread, it should come out easily, to a wire rack to cool completely before slicing.
Notes
This recipe was originally posted on March 13, 2019 and has been updated with clear and concise instructions, new photography and helpful information.
Buy the Cookbook: Simply Scratch : 120 Wholesome Homemade Recipes Made Easy Now available on Amazon »
THANK YOU in advance for your support!


hello, would love to try this, however, my Dutch oven is square and what capacity should it be?
Many Thanks
Janice
Hi Janice! 5 to 6 quarts is perfect. Enjoy!
Loved this, came out perfect! Would it be possible to double the recipe and make a larger loaf? Any recommendations for doing that or would it be better just to make two loaves? Thanks
Hi Dana! Unfortunately without testing it, I can’t give you an answer. I’d hate to tell you yes and have you get the opposite result. However, if you do try it, I’d love to hear how it works out for you!
Now I just want bread!!!
That’s me all day everyday!
I made your No Knead Rustic bread but used WW flour and it turned out fabulous! Thank you! I would like to post a picture but not sure where?
That’s great, Sandra! SO good to know!
Wondering if you can make this with flour other than white flour? Whole wheat or sprouted or ?
Hi Kim! I personally haven’t tested it, but another reader (Sandra) made it with whole wheat flour with success. However, I’m not sure if she substituted all or a portion of the flour.
What if you don’t have a Dutch oven? Any ideas?
I tried this with the following combination:
1/4 wholewheat bread flour, 1/4 sourdough flour mix, 1/2 unbleached bread flour. I also tried it with 1/3 sourdough and 2/3 unbleached bread. Very versatile.
Great! Thanks for sharing, E!
Hi! Can I double this recipe for a larger loaf in a larger oval covered baking dish?
Hi Cindy! Without testing it, I cannot say for sure if the baking times would still be the same. I would hate for you to go through the trouble of making it and it not turn out. If you do decide to give it a try, I’d love to know how it turns out for you!
I have made this bread again for the second time. It is so easy and wonderful. My husband loves it so much I don’t think we will buy bread again from the store. Thank you for the recipe!
Why do the pictures show the bread on parchment paper but, it’s not in the written recipe? Thank you.
Just read this and LOVE that I can do some today and the rest tomorrow. Yay!
How much water do you use?
Hi Joann! 1-1/2 cups! The full recipe can be located at the bottom of the post (just above the comments). Enjoy!
Why does one shot show bread on parchment paper, in Dutch oven?
I have a cast iron dutch oven, not an enamel one. Will that work?
Just came to ask the same question. Did you ever try to make in a cast iron dutch oven?
I did an 8 hour proof. Came out great will try 24 next.
This was wonderful!! Fabulous crust, great flavor…will continue to make over and over – my family insists! Lol