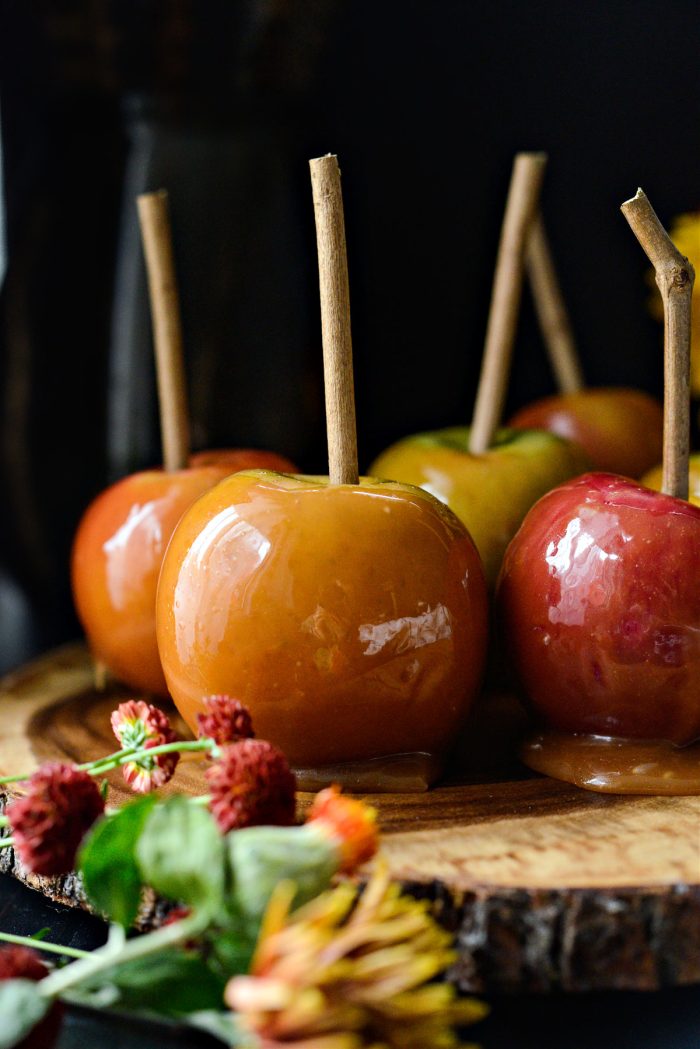
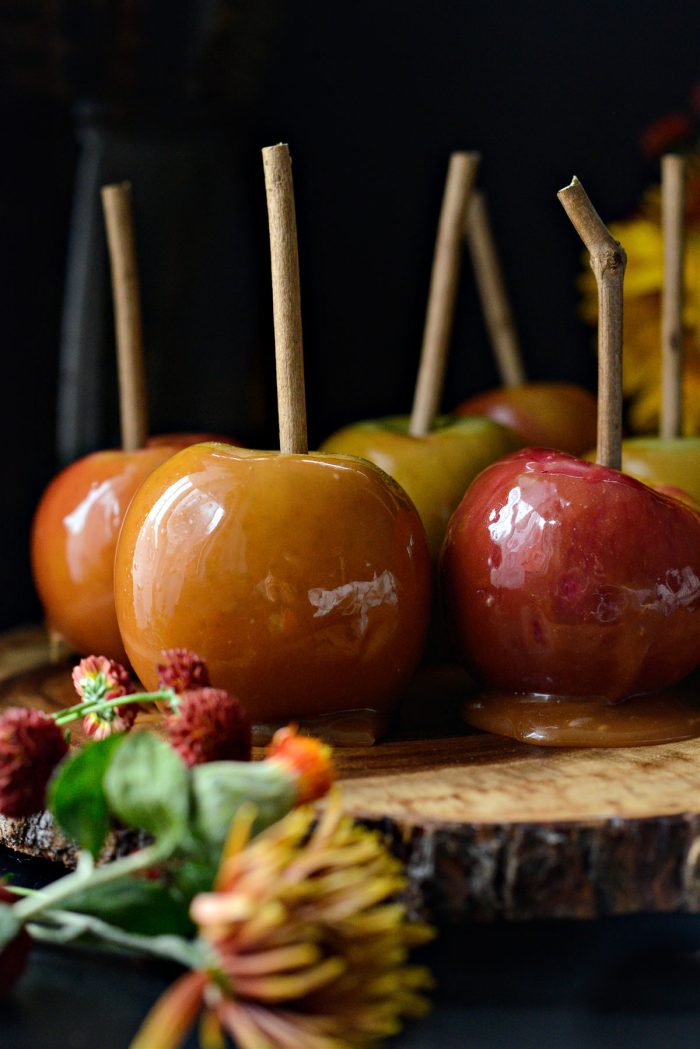
Sweet crisp apples dipped in homemade caramel! These Easy Homemade Caramel Apples are sticky, sweet and absolutely incredible while also being pretty simple to prepare. I encourage you to read this entire post to ensure your caramel apple making is a success! Yields 8 to 10 apples depending on apple size.
I love a caramel apple.
And when I say good, I’m not talking about the ones you find in the grocery store in a clamshell container. You’re likely to break a tooth on those things! Plus I think we all can agree that homemade caramel is superior. Growing up I remember melting those individually wrapped Kraft caramels and waiting for forever of them to melt in a double boiler. While good, they aren’t my favorite.
I’ve tested a few different recipes and methods for making homemade caramel apples. This one was by far the easiest and with the least amount of risk of ruining by either by sugars crystalizing or burning. All in all it was pretty stress free and the end results were delicious!
Now if I could only find some patience when waiting for the caramel to cool. The struggle is real.
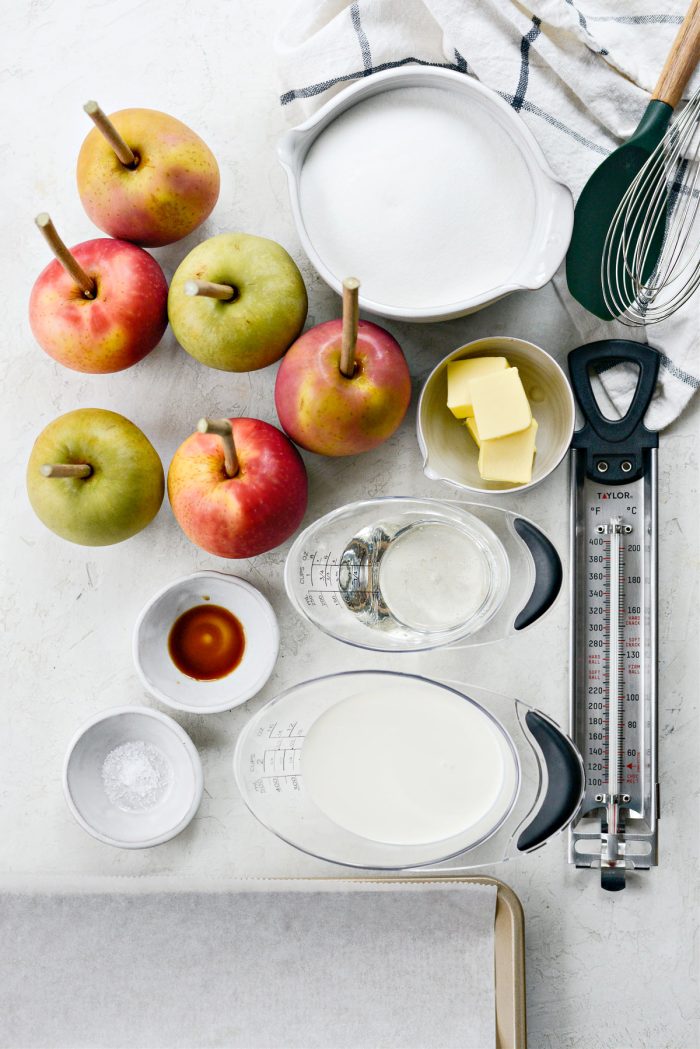
To Make These Easy Homemade Caramel Apples You Will Need:
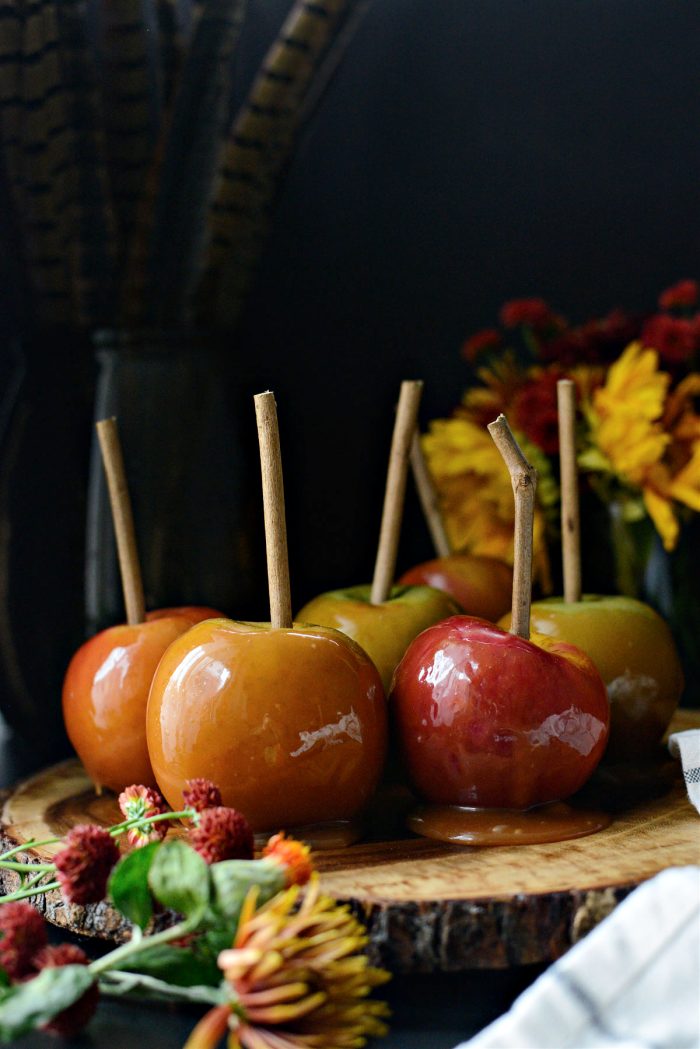
- apples – I like to use a variety of apples like granny smith, fuji and sweet tango or honeycrisp and pink lady.
- sticks or twigs – Either from amazon (linked in recipe printable) or foraged in your backyard. Popsicle sticks or wooden skewers can also be used.
- sugar (white granulated) – As it breaks down it will turn a dark brown color with a deep rich flavor.
- corn syrup – Corn syrup will help keep the sugar from crystalizing. (This should not to be confused with high-fructose corn syrup as they are not the same. (Read this to learn more)
- butter – Use unsalted butter and have it at room temperature.
- kosher salt – Will enhance the flavor of the caramel.
- heavy cream – Have it come up to room temperature before using.
- pure vanilla extract – Adds depth and warmth to the caramel.
Tips For Caramel Apple Success:
- Prep, prep, prep! Set out ingredients to come up to room temperature, prepare apples, measure ingredients, pull out necessary tools (whisk, spatula, trivet etc), line pans and prep and toppings.Have everything organized nearby and ready to go because this can go quickly so being prepared helps everything run smoothly.
- Remove the waxy coating on apples, wash and dry well. Otherwise you risk the caramel not sticking.
- Sift any overly hard or clumpy sugar through a mesh sieve beforehand.
- Use a candy thermometer! Unlike caramel sauce, it’s a total must for this recipe to ensure accurate temperatures. You really can’t (or shouldn’t!) make caramel for caramel apples without it.
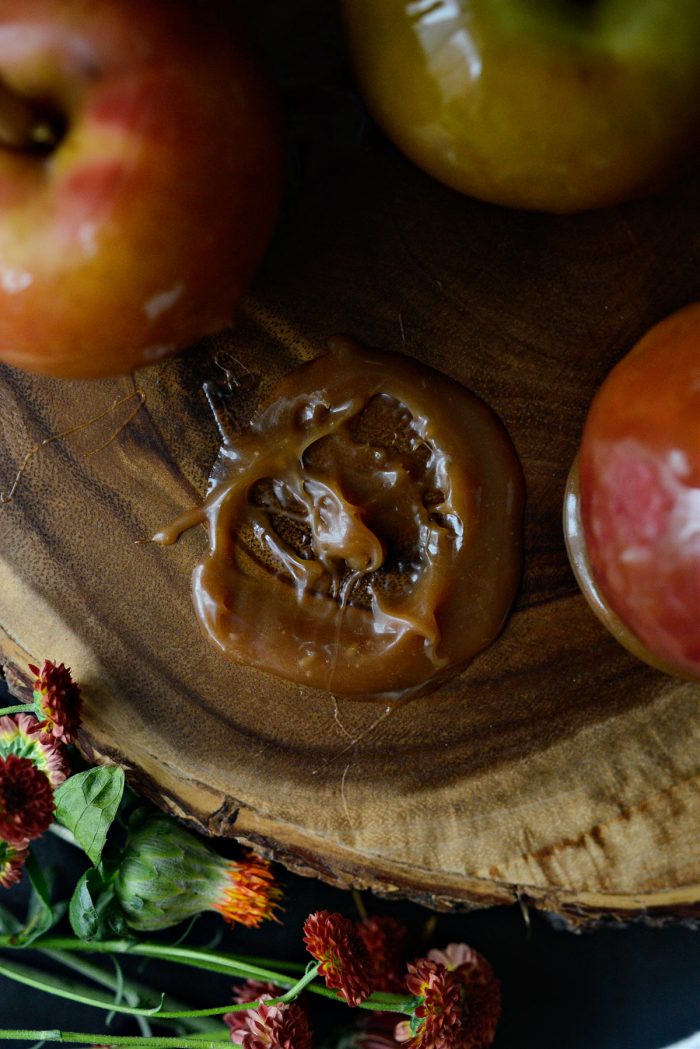
- Allow the caramel to cool for at least 40 to 45 minutes before dipping apples. It’s tempting to jump right in, but if the caramel is too warm it will run off the apple and pool underneath. This is me every single time I make them – I’ll probably never learn.
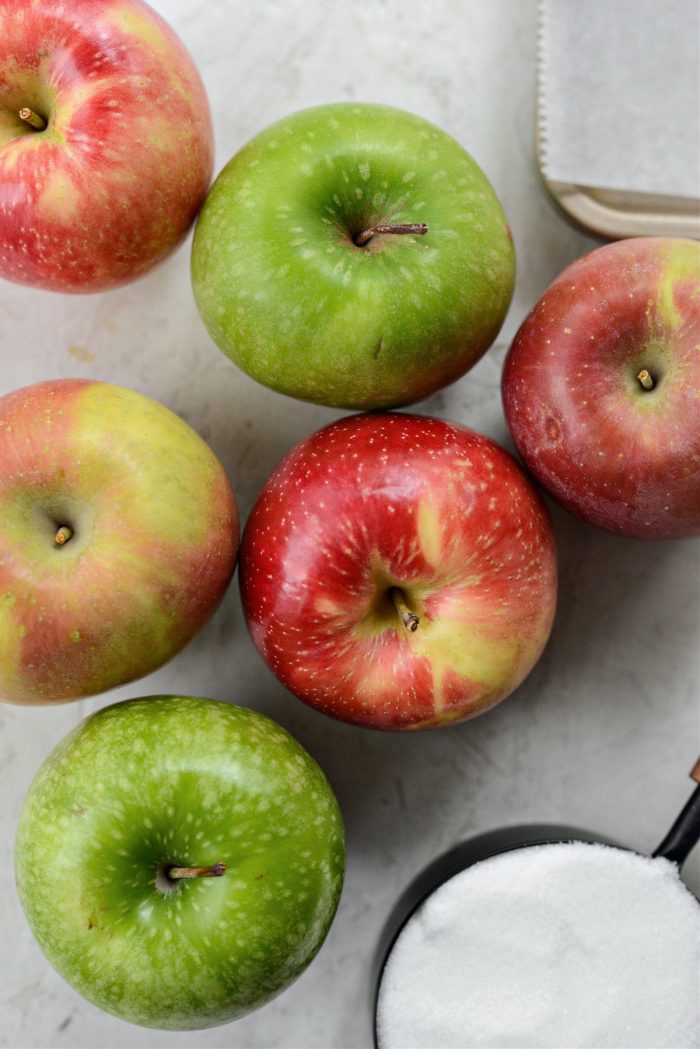
What Type Of Apples Should You Use For Caramel Apples?
- granny smith
- honeycrisp
- fuji
- pink lady
- sweet tango
Look for small to medium (for better caramel to apple ratio!) size apples that are symmetrically round and that don’t have any bruising or soft spots.
Most apples you find in grocery stores and markets are sprayed in a synthetic (edible) wax. The wax helps retain freshness and is also why they look so bright and shiny compared to apples you might find at an apple orchard or cider mill. With that said, if you want to better your odds of the caramel sticking to your apples, I highly recommend using one of these two methods for removing wax from the apple skin.
How to remove wax from apples:
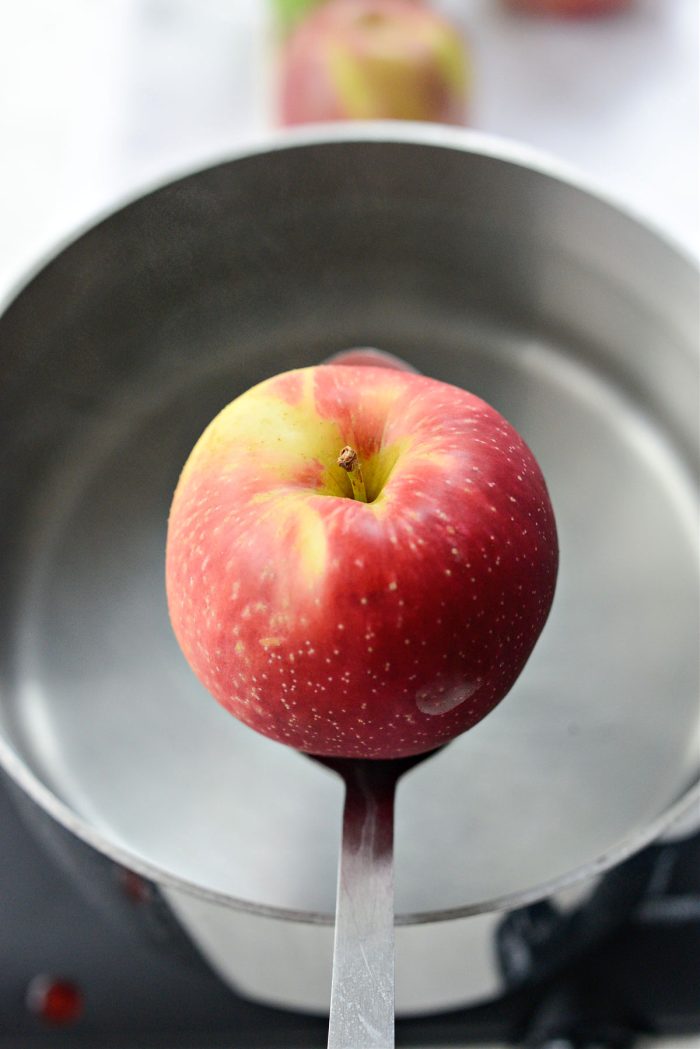
- Bring a pot of water to boil. Use a slotted spoon or steel spider strainer and add one apple at a time into the boiling water for 5 seconds. Lift out and set onto a clean kitchen towel or paper towel. Repeat with the remaining apples and then wash all apples and dry well. This is the method I like to use. OR
- Dip apples in a mixture of 1 tablespoon each lemon juice (or vinegar) and baking soda. Scrub with a vegetable brush and rinse and dry well.
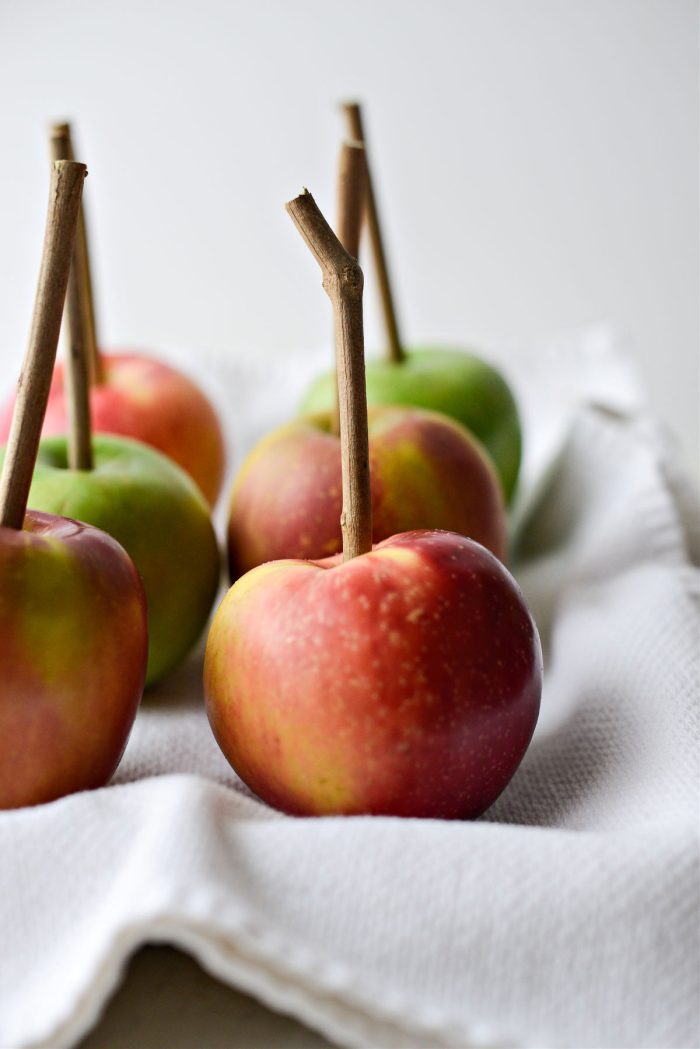
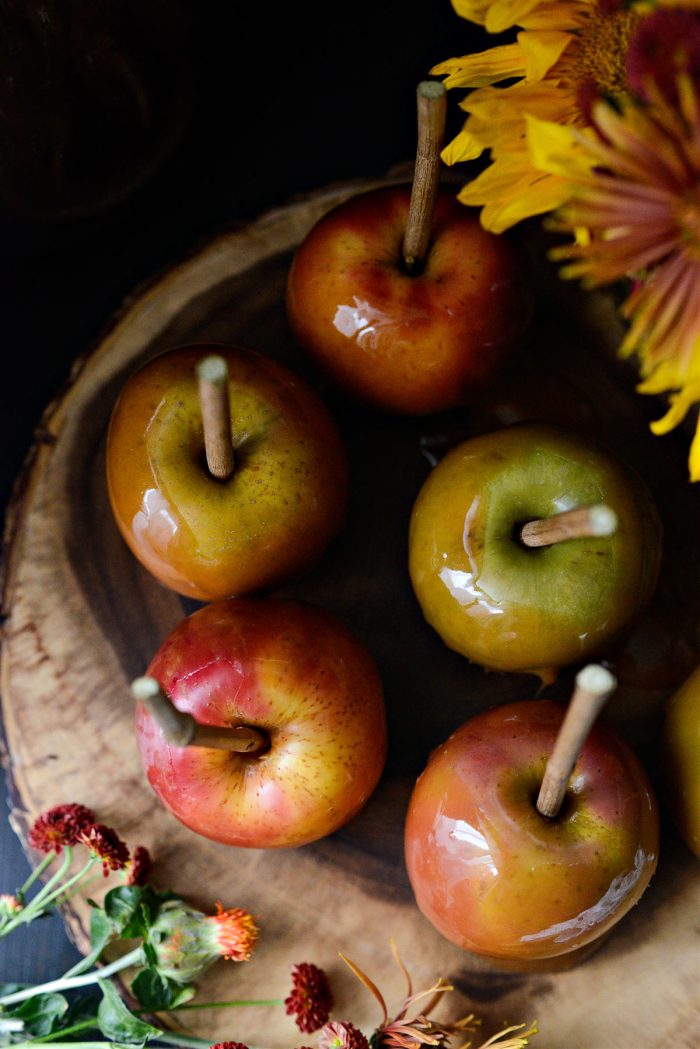
Remove stems (if possible) and insert sticks, skewers or popsicle sticks. The sticks I used are pretty blunt, so I used a wooden skewer to make a pilot hole first. Refrigerate the apples until ready to use and then quickly wipe with a kitchen towel before dipping. Also, chilled apples helps set the caramel faster!

Make The Caramel:
Meanwhile off the heat, measure and add 1/2 cup corn syrup and 2 cups granulated sugar into a 2 to 3-quart saucepan. Use a wooden spoon or stiff spatula to stir until combined.
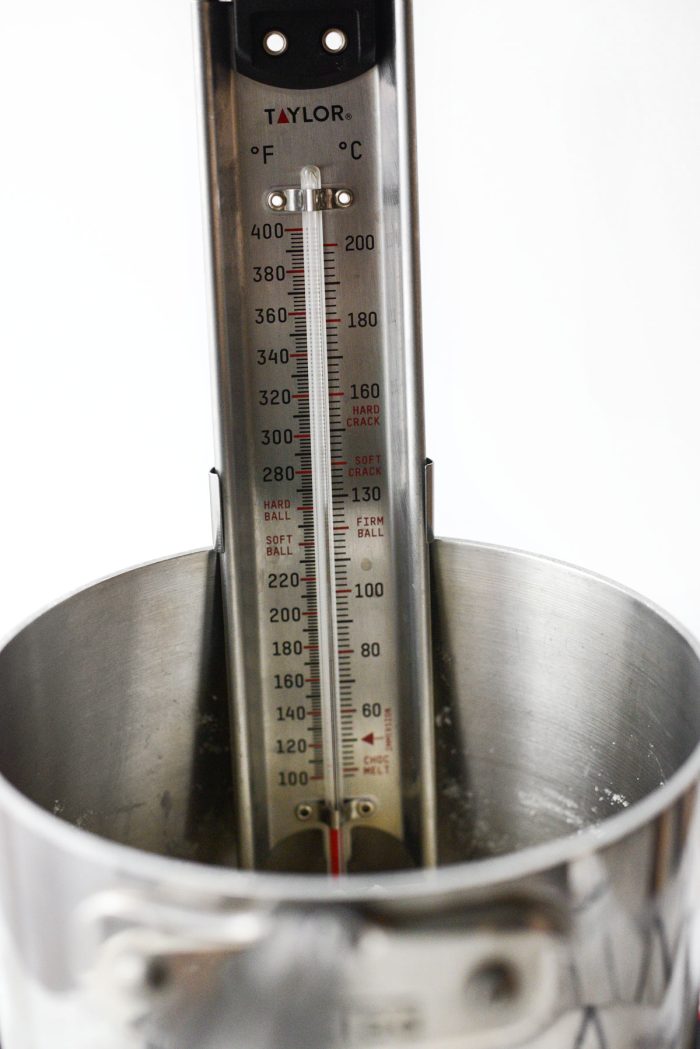
Attach a candy thermometer to the pot and heat on medium to medium-low heat. From here on out, DO NOT STIR. You can swirl the pan but absolutely do not stir as you will risk the sugar crystallizing.
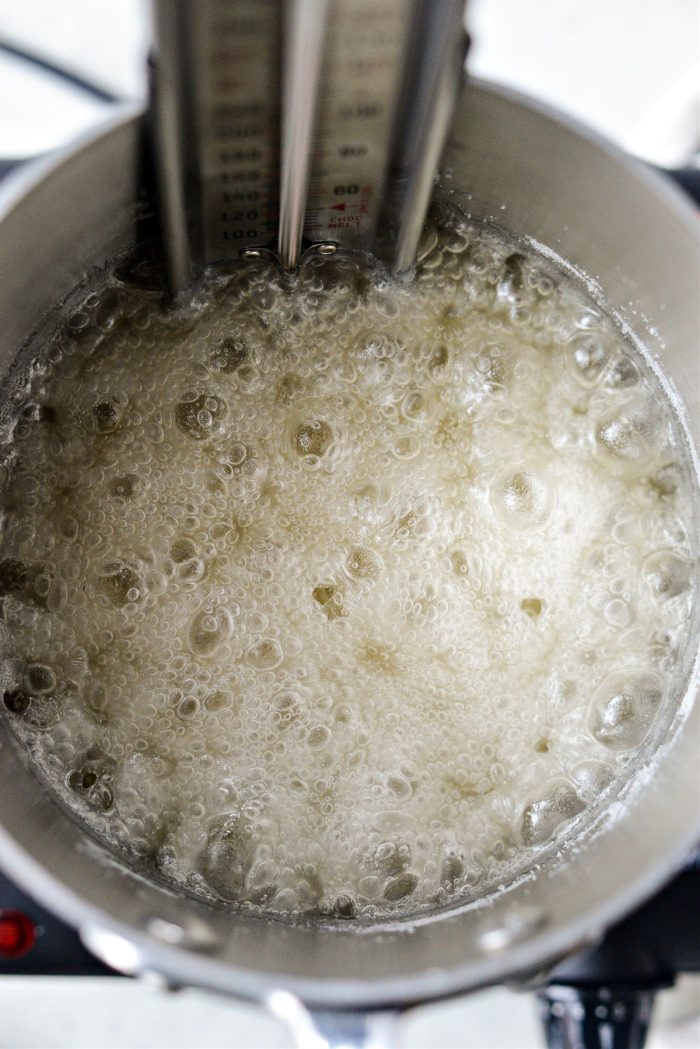
After a few minutes, you will notice the sugar will start to deepen in color. This can happen fast so stand close and don’t walk away.
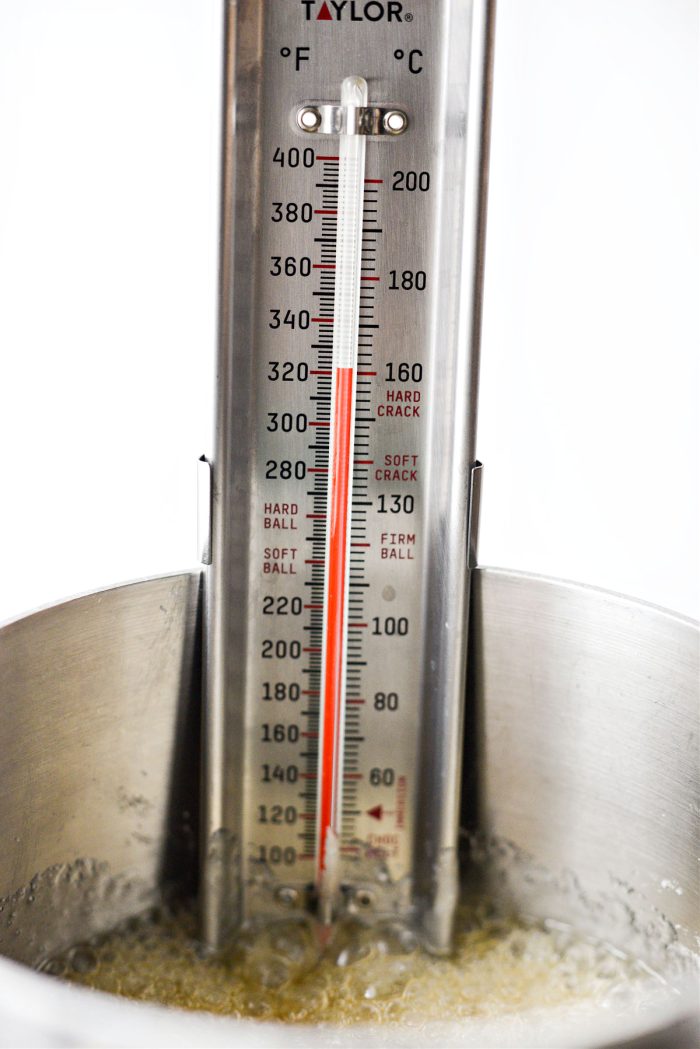
At 300 to 325° the caramel should be a deep golden brown – any darker and you risk burning the caramel. It’s hard to gauge how long this will take and truly depends on your stove/burner. So stay close and keep a watchful eye.
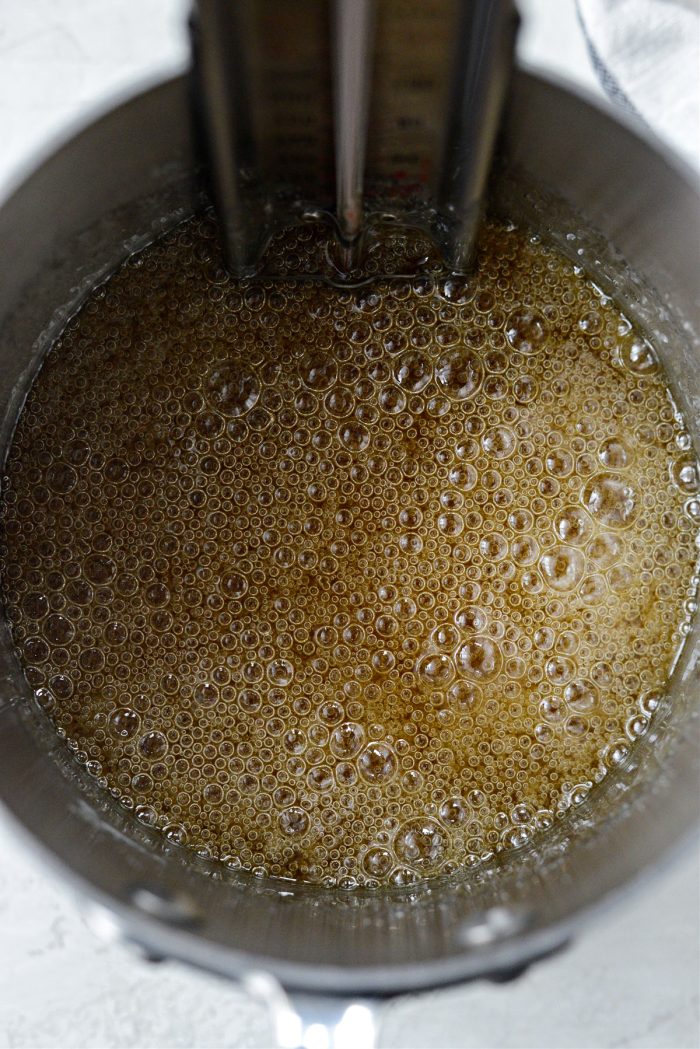
With that said, I did once read that at this stage it should resemble the color of an old rusty penny.
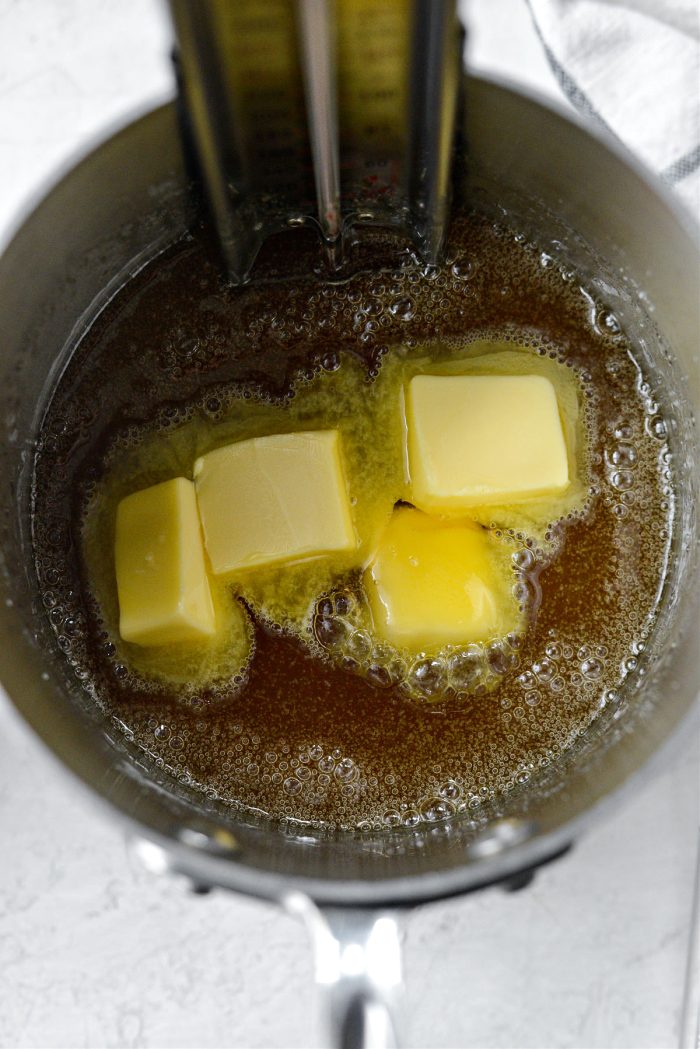
Remove off the heat and carefully add in 4 tablespoons of room temperature unsalted butter and 1/2 teaspoon kosher salt.
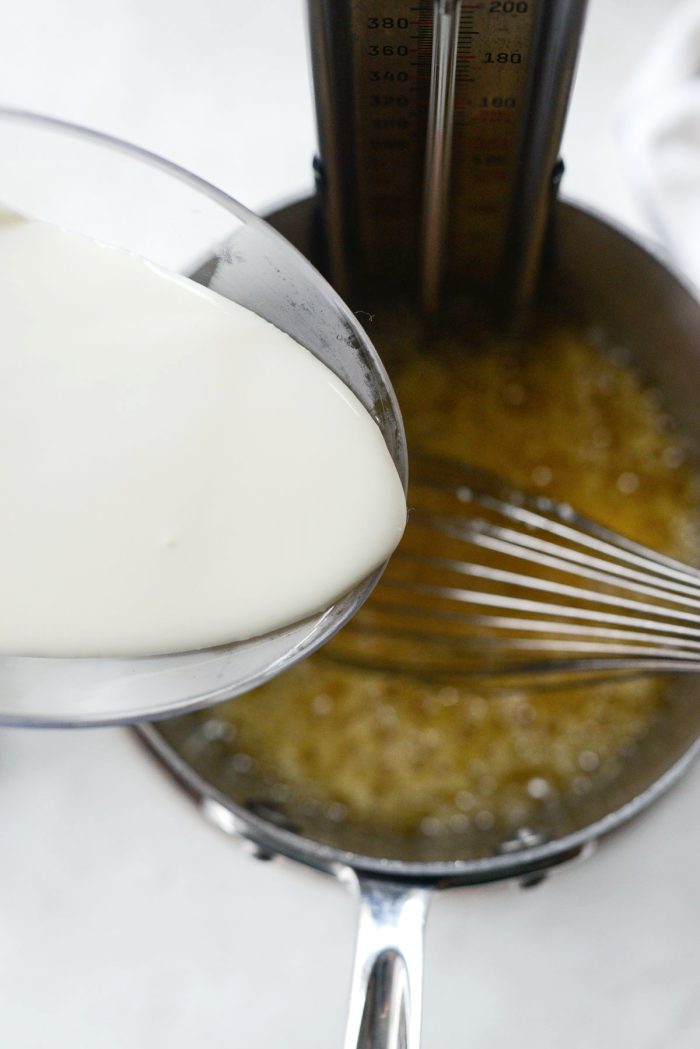
Carefully pour in 1 cup heavy cream, stirring often until combined. BE CAREFUL the hot caramel likes to bubble up so you need to whisk well while also avoiding being hurt from the hot steam. Wearing an oven mitt or glove would help!
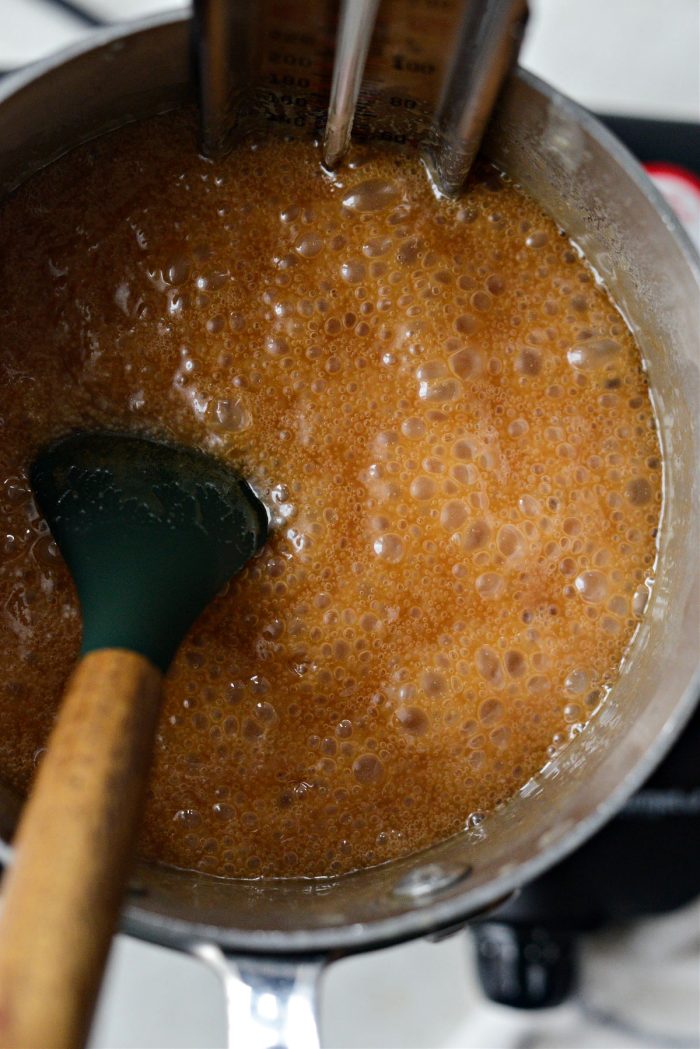
Return the saucepan to the burner and continue cooking the caramel until it reaches around 230°.
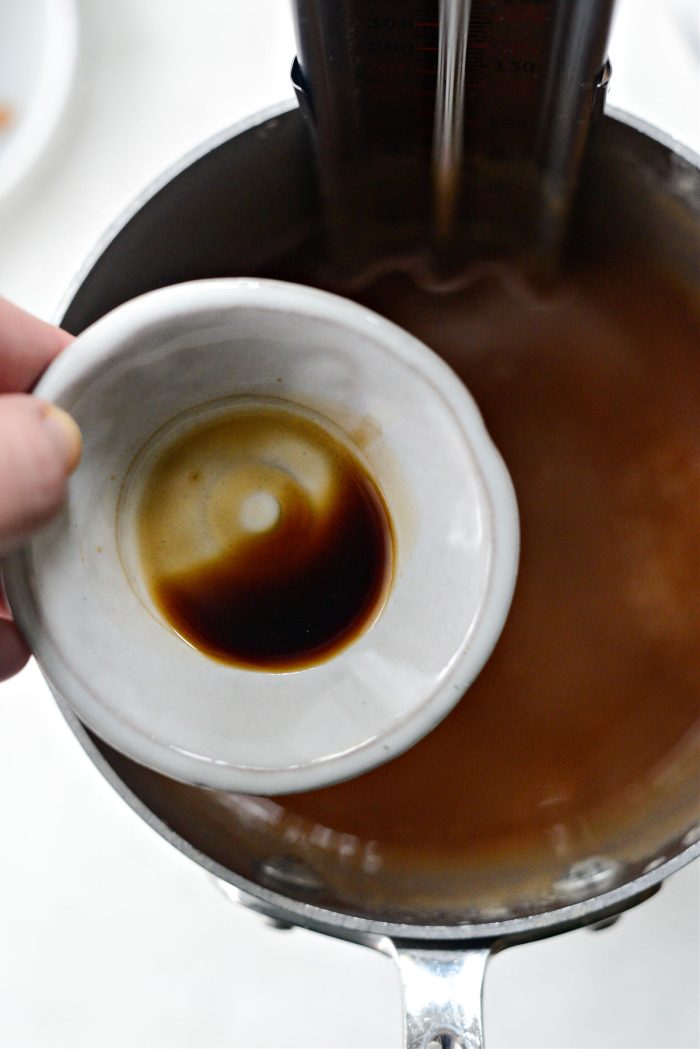
Remove off of the heat and let cool to 200° before stirring in a 1/2 teaspoon vanilla extract.
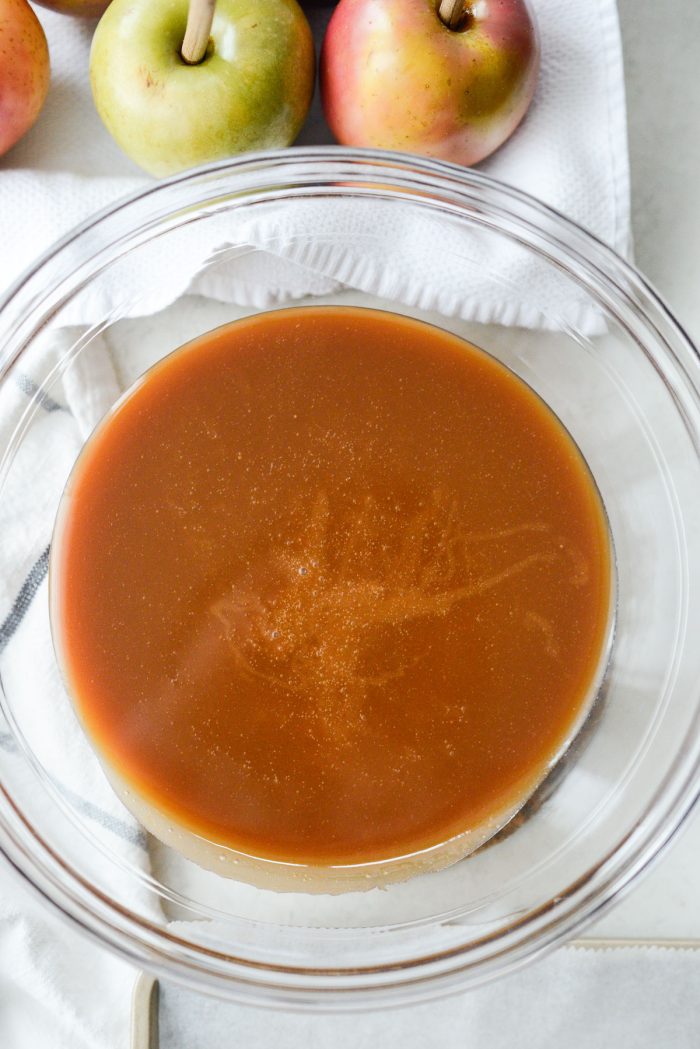
Pour the caramel into a heat safe bowl and let cool (40 to 45 minutes) until thickened. Stir occasionally.
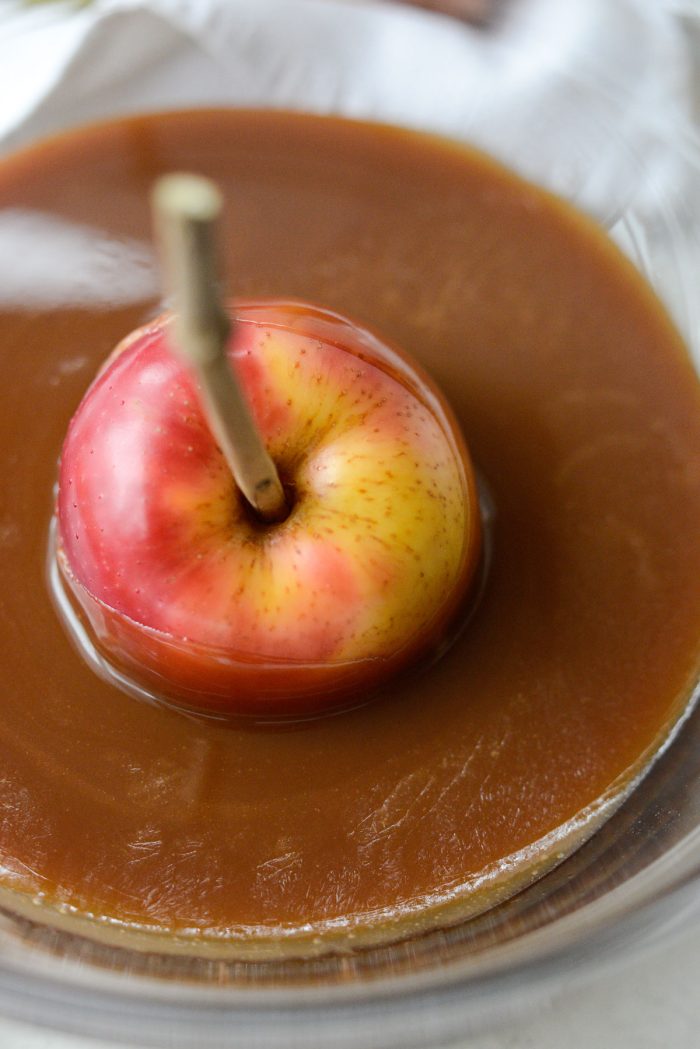
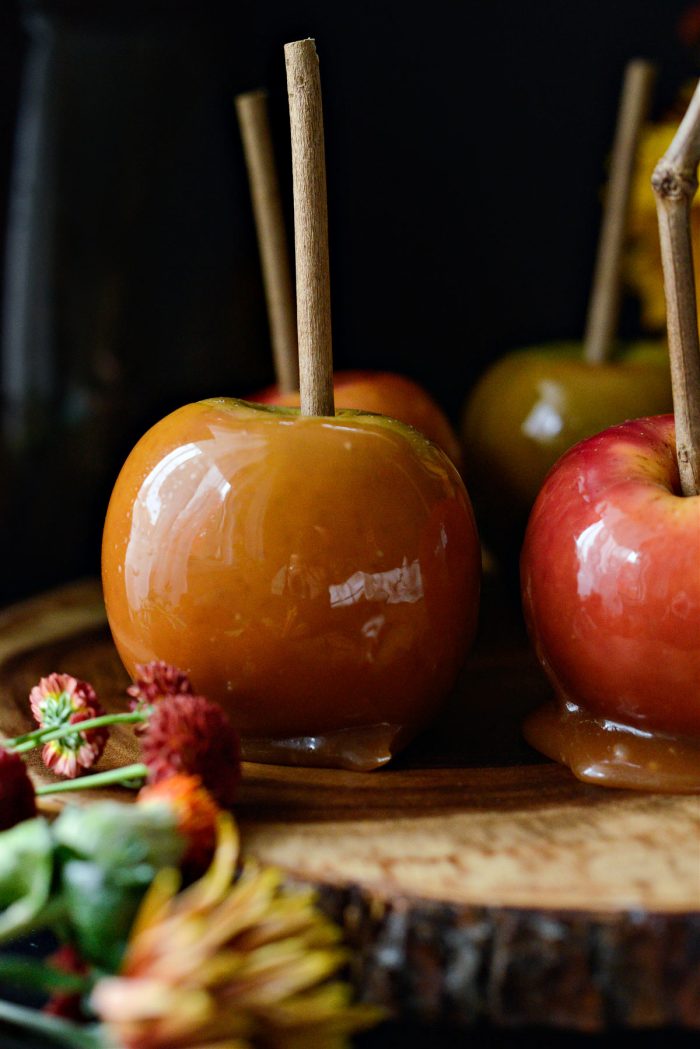
Dip apples into the caramel swirling until the caramel nears the stick. Lift and let any excess drip back into the bowl. Transfer to a wax paper or silicone mat line rimmed sheet pan and repeat with the remaining apples. Refrigerate until set.
If caramel is too thin (ie still too warm) you can re-dip apples once it has cooled more.
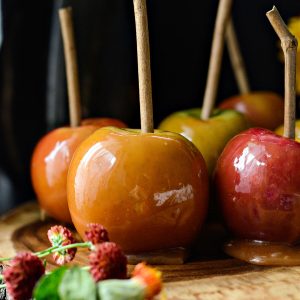
Gorgeous!
Once all of the apples have been dipped, you can then dip into any desired “toppings” like nuts, sprinkles or shredded coconut, mini chips or marshmallows or chopped dried cherries or craisins.
Serve on a tray lined with wax paper as they still like to stick even after they’ve set. Caramel apples are best if enjoyed the day of but can be loosely covered and stored in the refrigerator for up to 1 week.
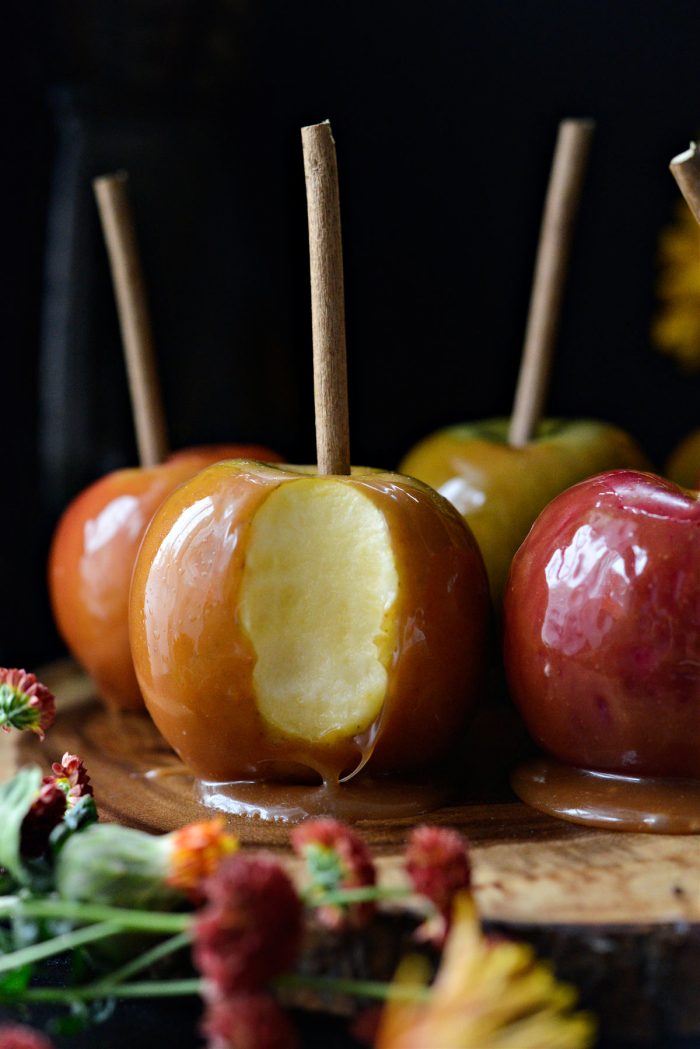
Now from here you can simple bite into it or slice it off the stick. Either way, you will love these homemade caramel apples.
Enjoy! And if you give this Easy Homemade Caramel Apples recipe a try, let me know! Snap a photo and tag me on twitter or instagram!
Easy Caramel Apples Recipe
Ingredients
- 8 cold apples, 6 to 10 apple depending on size
- 8 sticks or sturdy twigs, see notes
- 1/2 cup corn syrup
- 2 cups granulated sugar
- 4 tablespoons unsalted butter, at room temperature
- 1/2 teaspoon kosher salt
- 1 cup heavy whipping cream, at room temperature
- 1/2 teaspoon pure vanilla extract
Instructions
Prep:
- Set out ingredients to come up to room temperature, prepare apples, measure ingredients, pull out necessary tools (whisk, spatula, trivet etc), line pans and prep and toppings.Have everything organized nearby and ready to go.
FOR THE APPLES:
- Bring a pot of water to boil. Use a slotted spoon or steel spider strainer and add one apple at a time into the boiling water for 5 seconds. Lift out and set onto a clean kitchen towel or paper towel. Repeat with the remaining apples and then wash all apples and dry well. Refrigerate for at least 30 minutes. (This is the method I like to use) orDip apples in a mixture of 1 tablespoon each lemon juice (or vinegar) and baking soda. Scrub with a vegetable brush and rinse and dry well.
- Remove stems and insert sticks, skewers or popsicle sticks. Refrigerate until ready to dip. (Chilled apples helps set the caramel faster!)
FOR THE CARAMEL:
- Meanwhile off the heat, measure and add corn syrup and granulated sugar. Use a wooden spoon or stiff spatula to stir until combined.
- Attach a candy thermometer to the pot and heat on medium to medium-low heat. From here on out, DO NOT STIR. You can swirl the pan but absolutely do not stir as you will risk the sugar crystallizing.
- After a few minutes, you will notice the sugar will start to deepen in color. This can happen fast so stand close and don’t walk away. At 300 to 325° the caramel should be a deep golden brown. Remove off the heat and carefully add in the butter and salt.
- Carefully pour in the heavy cream, stirring often until combined. BE CAREFUL the hot caramel likes to bubble up so you need to whisk well while also being mindful of the hot steam.
- Return the saucepan to the burner and continue cooking the caramel until it reaches around 230°. Remove off of the heat and let cool to 200° before stirring in the vanilla extract.
COOLING CARAMEL AND DIPPING:
- Pour the caramel into a heat safe bowl and let cool until thickened - about 40 to 45 minutes.
- Dip apples into the caramel swirling until the caramel comes as close to the stick as possible. Lift and let any excess drip back into the bowl. Transfer to a wax paper or silicone mat line rimmed sheet pan and repeat with the remaining apples. Refrigerate until set.If caramel is too thin (ie still too warm) you can re-dip apples once it has cooled more.
- Once all of the apples have been dipped, you can then dip into any desired "toppings" like nuts, sprinkles or shredded coconut, mini chips or marshmallows or chopped dried cherries or craisins.Serve on a tray lined with wax paper as they still like to stick once set.
- Caramel apples are best if enjoyed the day of but can be loosely covered and stored in the refrigerator for up to 1 week.
Notes
This recipe was originally posted on October 19th, 2022 and has been updated with clear and concise instructions, new photography and helpful information.
Buy the Cookbook: Simply Scratch : 120 Wholesome Homemade Recipes Made Easy Now available on Amazon »
THANK YOU in advance for your support!


Leave a Reply