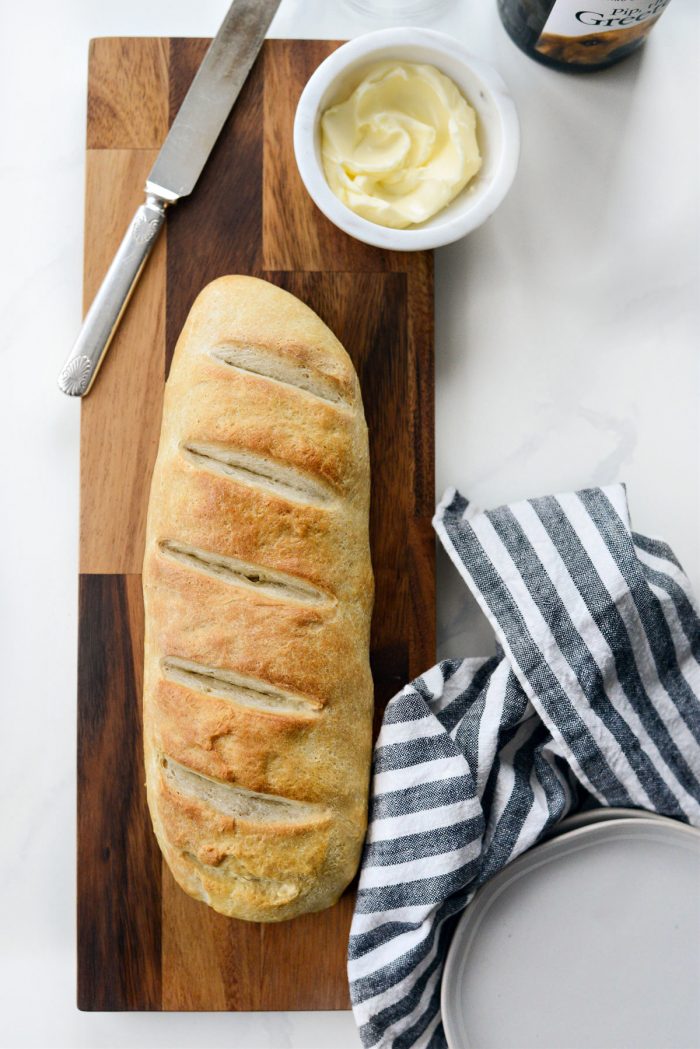
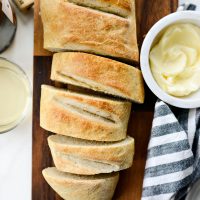
Easy Homemade French Bread recipe that can be made in the comfort of your home! Great served warm with butter or use it to make garlic bread, French bread pizzas and homemade croutons! Yields 1 loaf.
Who doesn’t love the smell of bread baking?
It’s better than any smell a nose could possible… uh, smell. But don’t get me wrong I also love the aroma onions sautéing in butter, chocolate chip cookies baking and of course, sizzling bacon. However nothing, and I mean nothing, compares to the smell of bread in the oven.

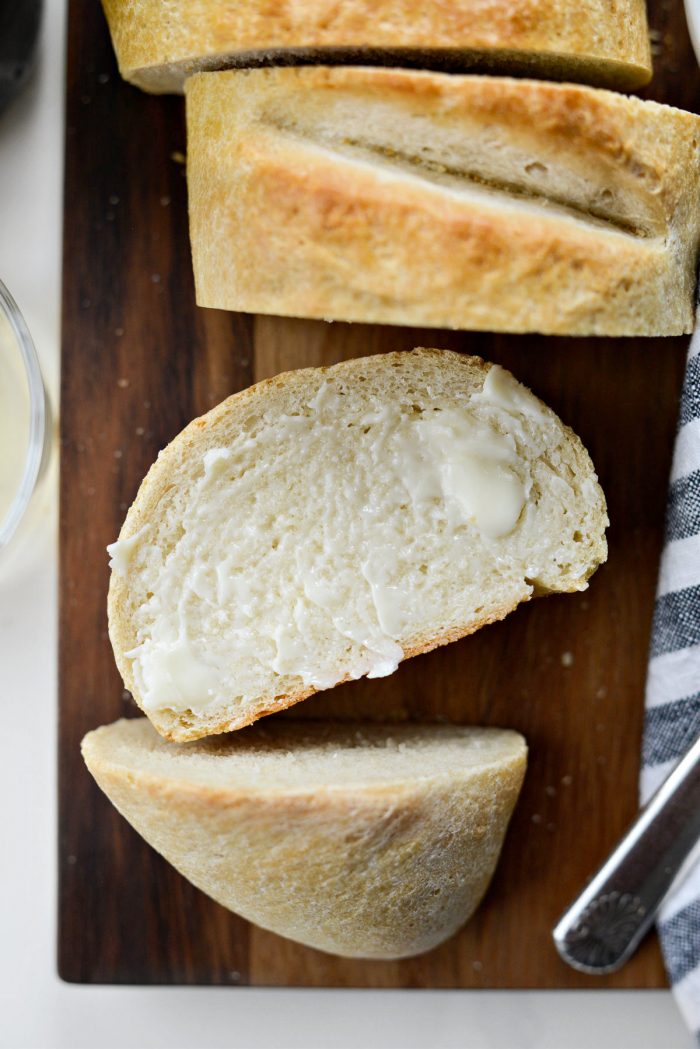
And this homemade french bread recipe is SO easy! Crisp crust, soft chewy center and full of delicious and addictive carbs. Serve warm slices with salted butter or use it to make French bread pizzas, garlic bread, croutons and more!
Looking for a more traditional bread? Click here for my no-knead French bread recipe.
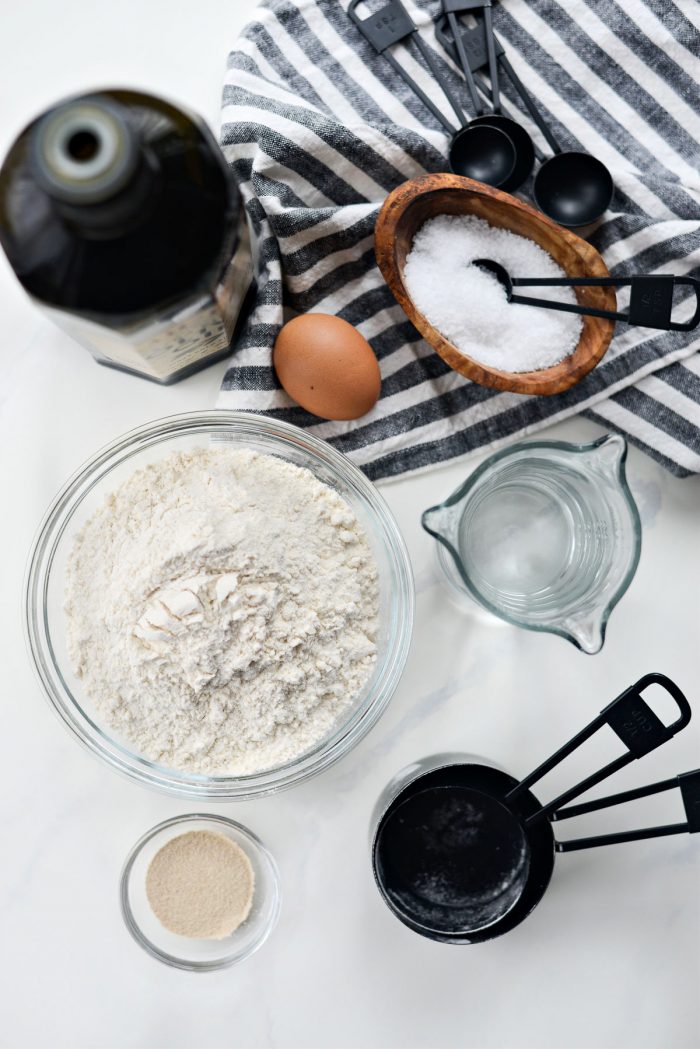
To Make This Easy Homemade French Bread You Will Need:
- warm water – Should be around 110-115℉ (or 43-46℃).
- rapid rise yeast – Best for quick baking projects as the granules are smaller and activate faster.
- bread flour – Has higher protein than regular flour which will produce more gluten to achieve a better rise in bread.
- kosher salt – Enhances the flavor of this recipe.
- olive oil – Lends flavor, moisture and helps give the bread a crisp outer texture.
- egg wash – Helps to give a nice golden outer crust.
Rapid rise yeast is CRUCIAL to making this bread quick and effortless, being that you can totally skip the first rise if in a rush. Easy-peasy!
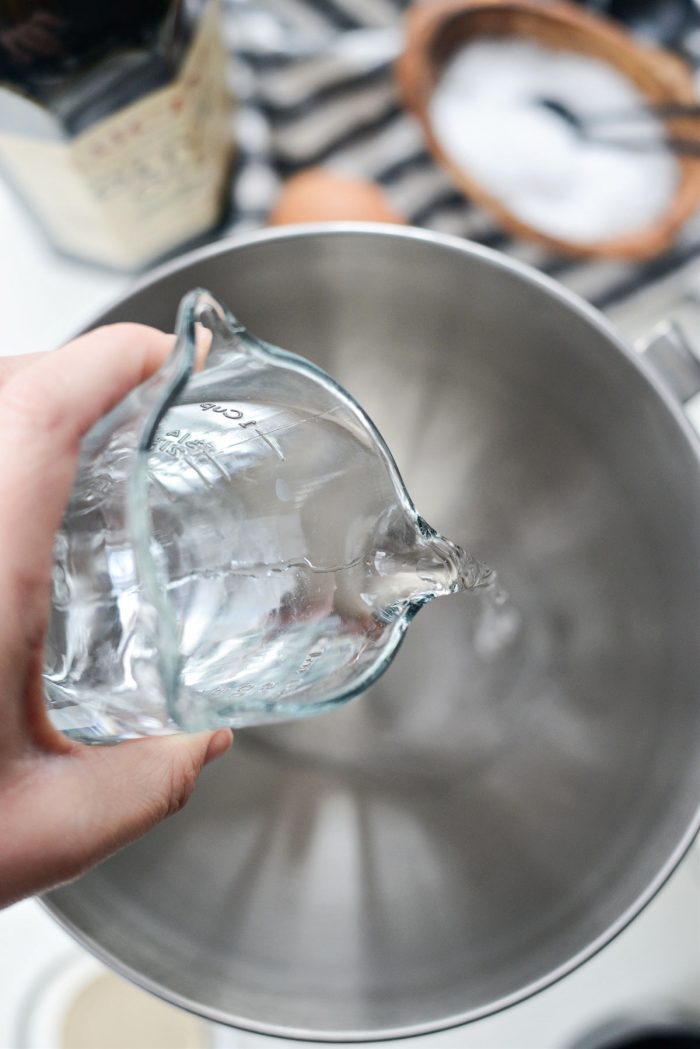
Add 1 cup warm water (about 110-115℉ (or 43-46℃)) into the bowl of your stand mixer.
Too hot of water can kill your yeast.
For a while I would use an instant read thermometer to get an accurate temperature of my water.
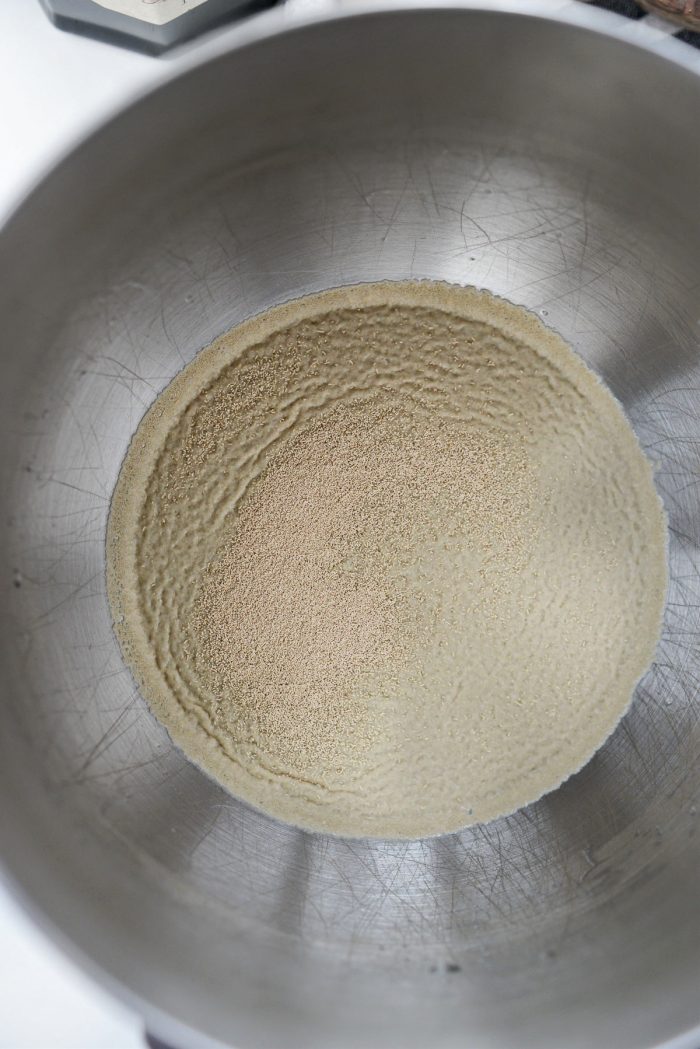
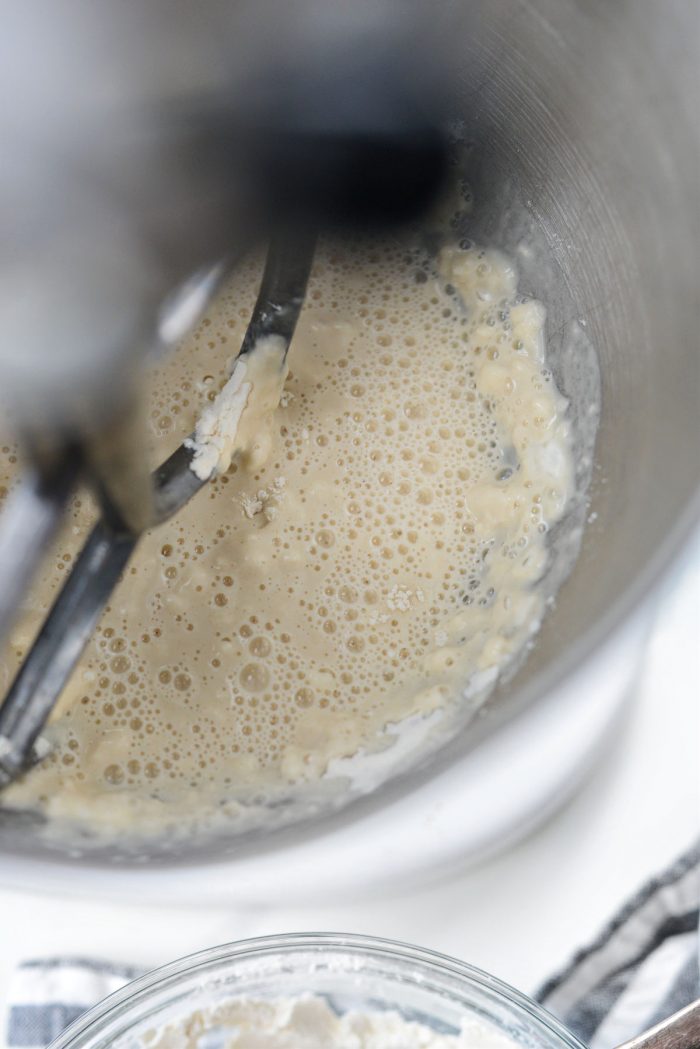
Sprinkle 2-1/4 teaspoon (or one 1/4 ounce envelope) rapid rise yeast over top and watch it bloom.
Am I the only crazy one or are there others out there that love the smell of yeast? I just wish it was called something else, like anything else but yeast.
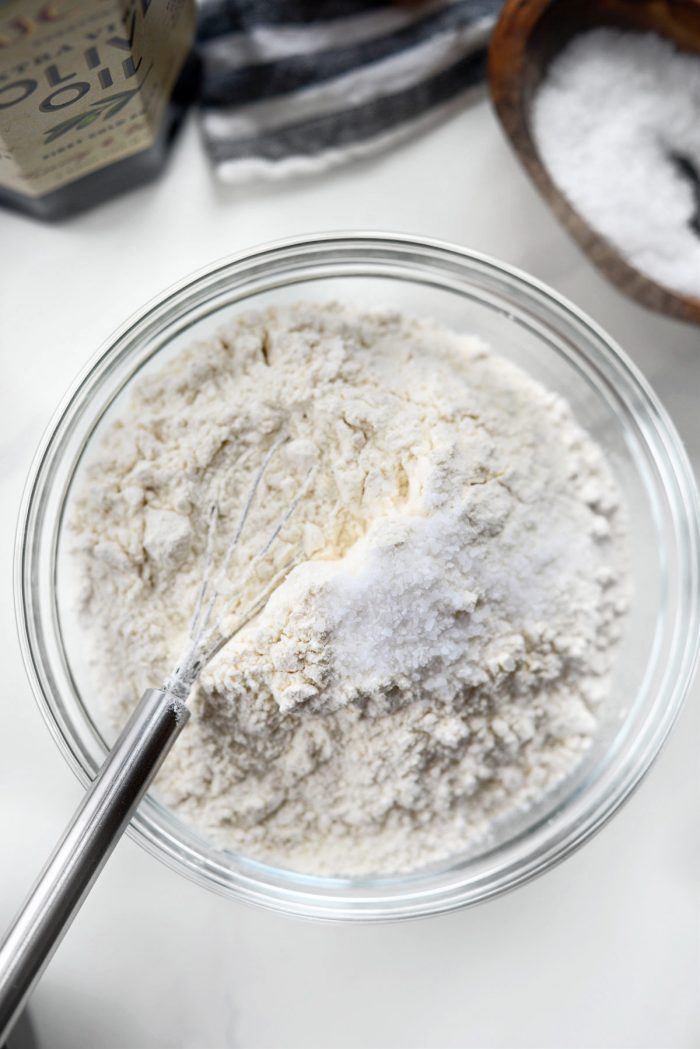
Next, while the yeast does its thing, in a bowl add 2-1/2 cups bread flour and 1 teaspoon kosher salt. Give it a quick whisk to combine. In a pinch, all-purpose flour can be used.
However the crumb or texture of the bread will be different than if you used bread flour.
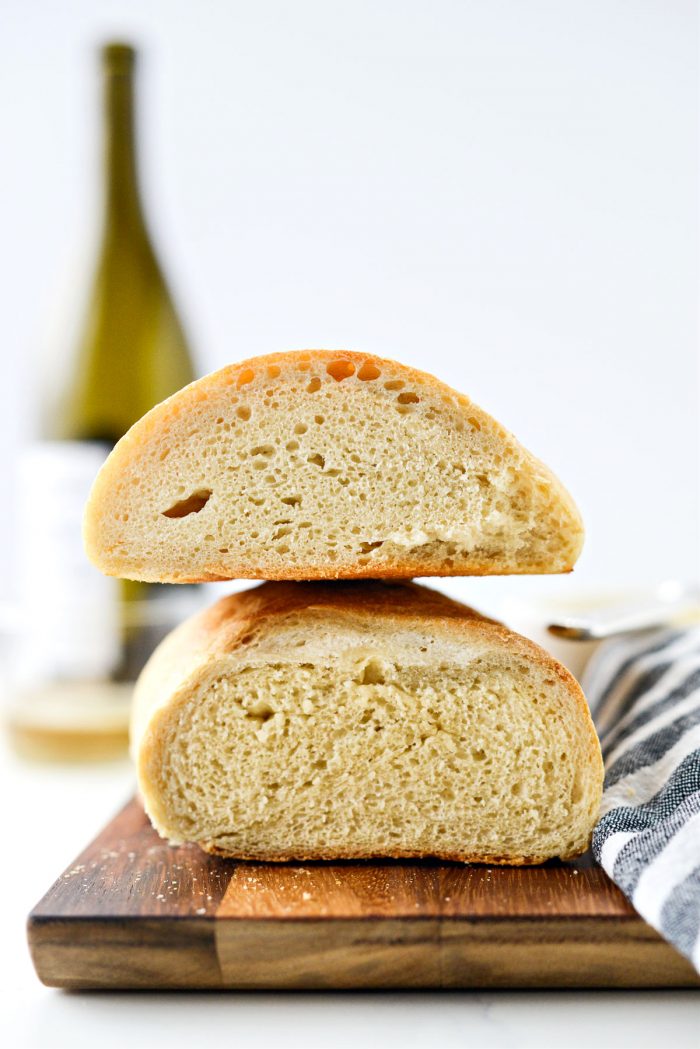
The top loaf was made with unbleached all-purpose flour and the bottom loaf was made with bread flour. A slight difference in texture and crumb.
All-purpose vs. Bread Flour?
It all boils down to high protein. Protein content will affect many aspects of the flour and doughs/batters such as water absorption, cohesiveness, viscoelasticity, dough strength, texture, loaf volume, and crumb grain. <—I learned that from the bakerpedia.com. Typically (not always) if a recipe is yeast leavened (i.e breads) you should use bread flour. If a recipe is chemically leavened (baking powder and/or baking soda) it will need less protein and all-purpose flour is usually called for. Like in biscuits, cakes and cookies, for example.
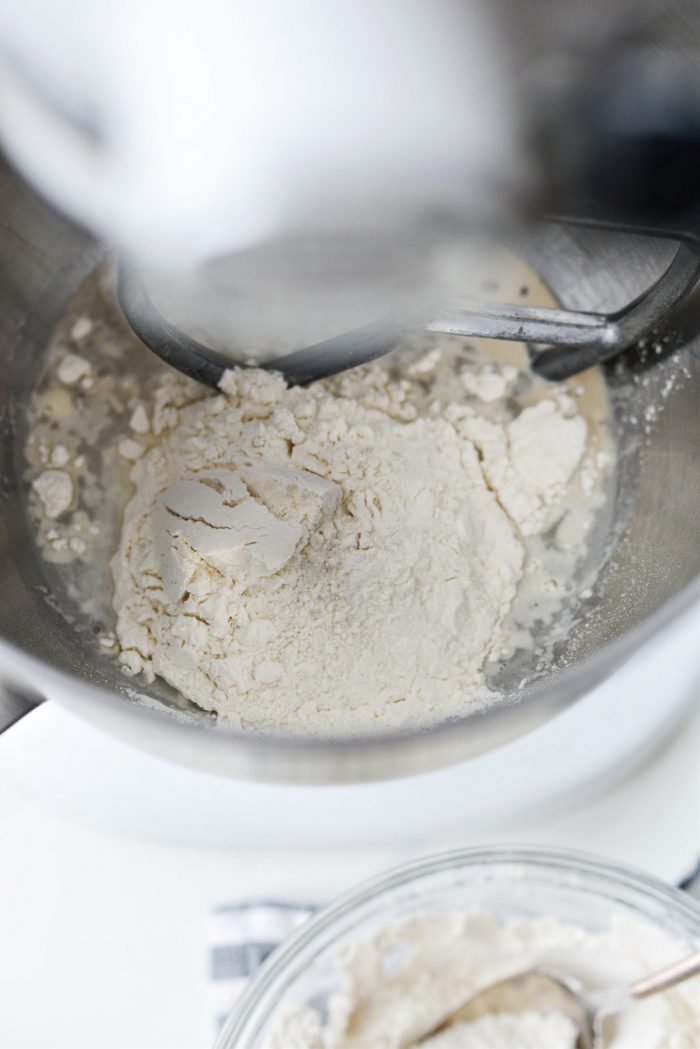
Gradually working in batches, add 1/3 of the bread flour mixture to the bowl of your stand mixer.
Mixing on low speed until just combined.
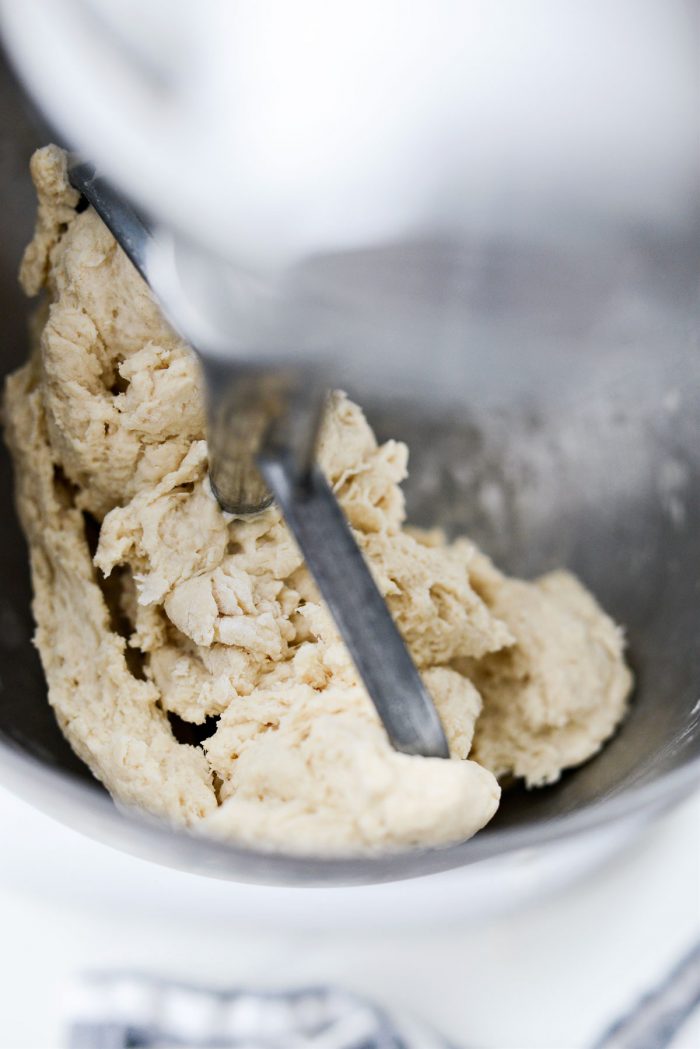
Continue adding the flour and mixing until the flour is incorporated.
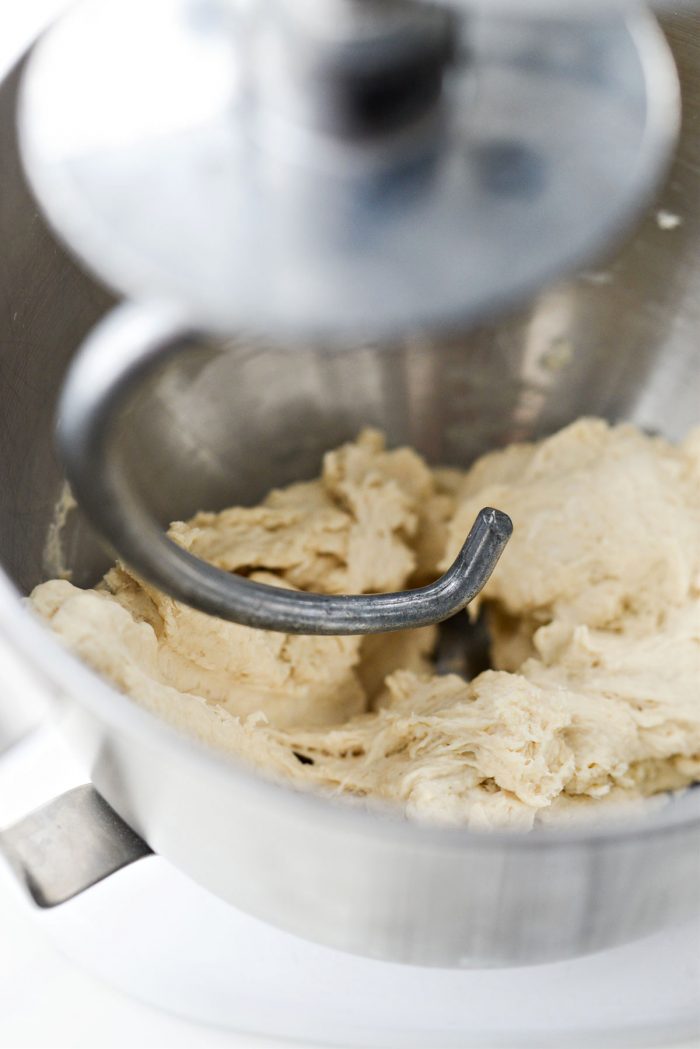
Next, switch over to the dough hook attachment.
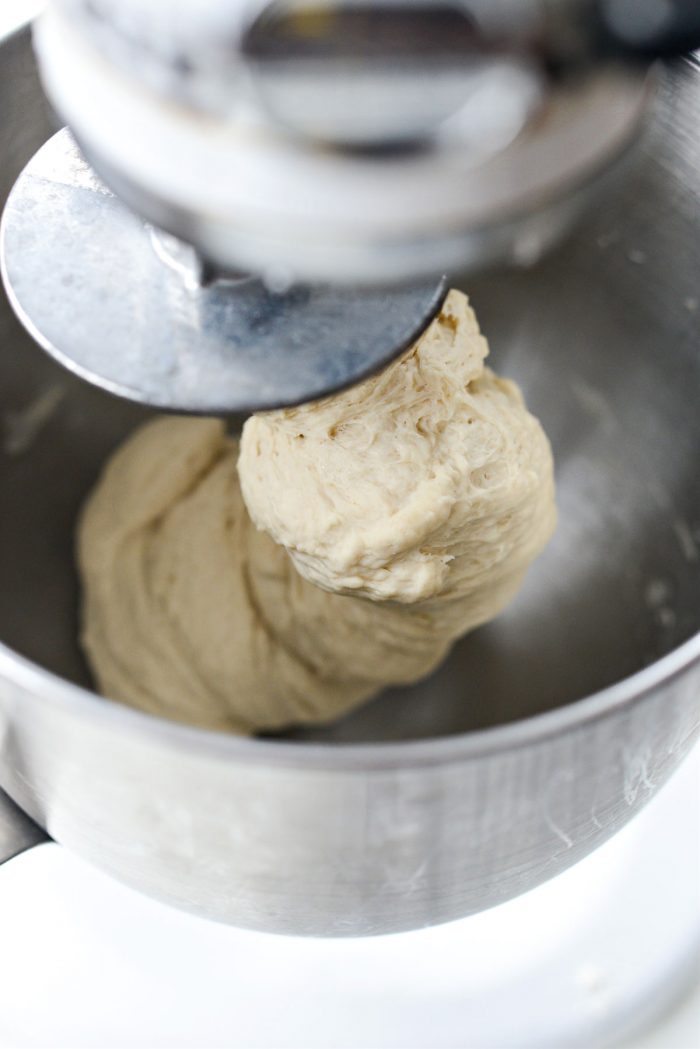
Mix on low speed until the dough is smooth and pulls away from the sides of the bowl. Alternatively you can knead by hand.
This should take 4 to 6 minutes. If you find it’s still a little too sticky you can add a smidgen (like a teaspoon or two) more flour.
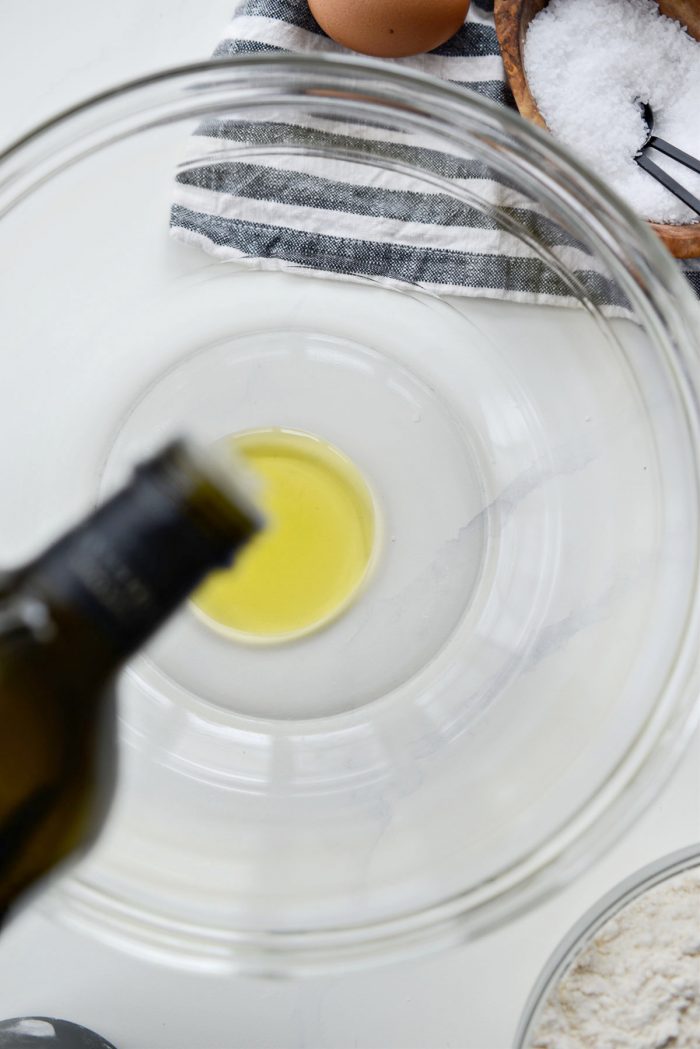
In a large, clean bowl add some olive oil. I eyeball it, but it’s around 2 teaspoons.
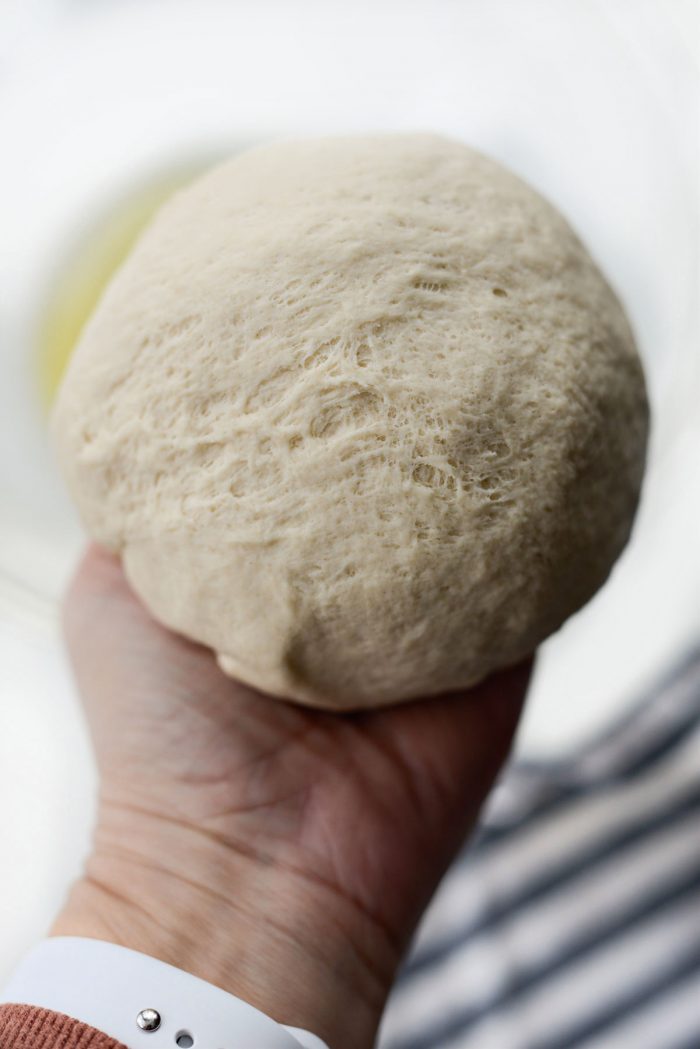
Once the dough has finished, remove from the dough hook and shape into a smooth ball.
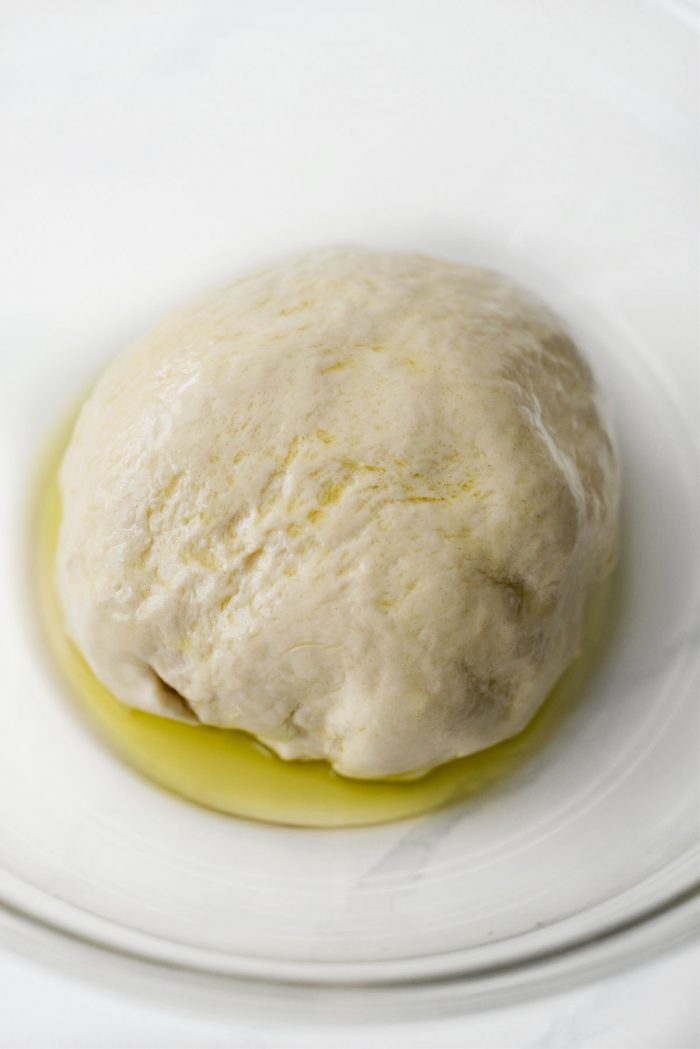
Place the dough into the bowl and use it to coat the inside of the bowl with oil.
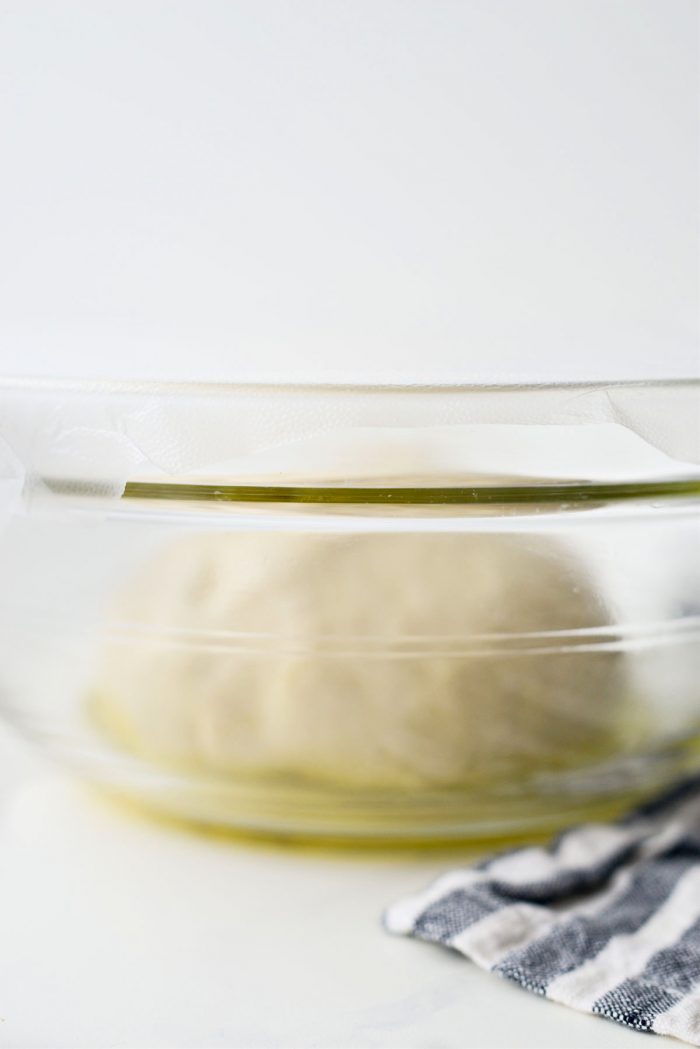
Cover with plastic wrap or a clean kitchen towel and place it in a warm place to rise for 1 hour.
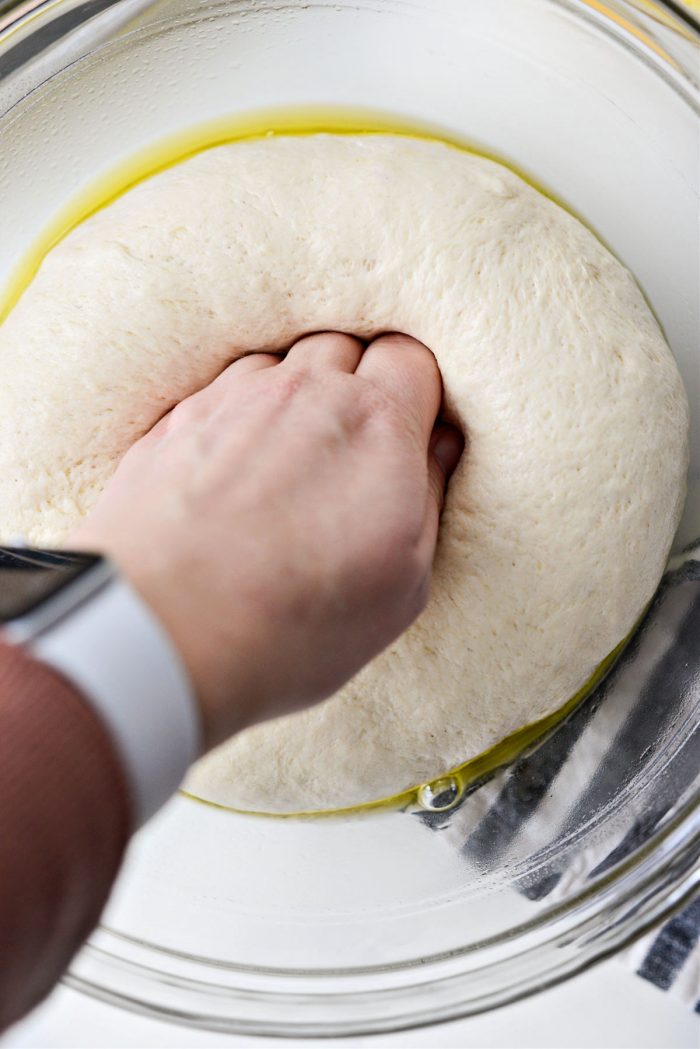
By now it should have doubled in size.
Press or “punch” it down the dough to release the air bubbles and deflate it.
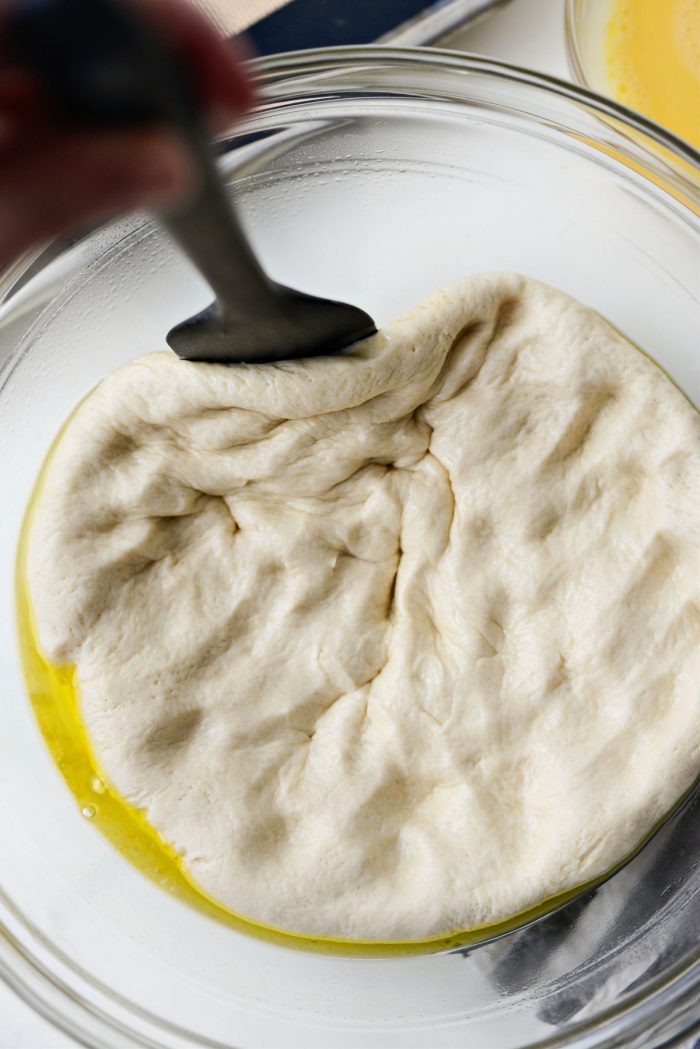
Starting on one side, use a spatula to scrape underneath and roll or fold over 1/3 of the way.
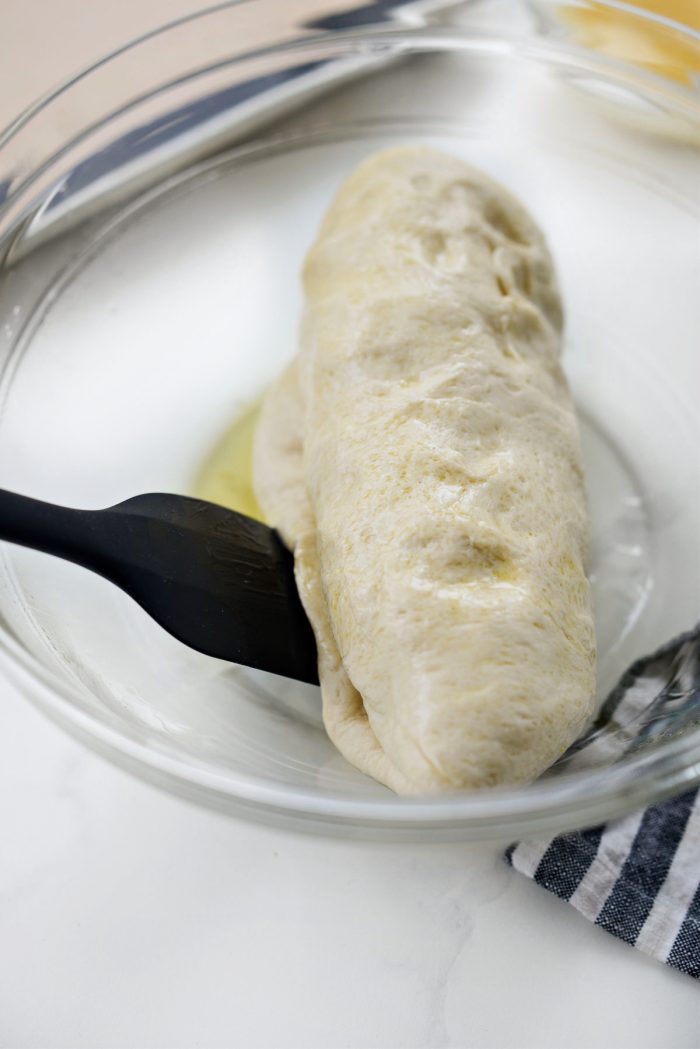
Continue until the dough is shaped like a log.
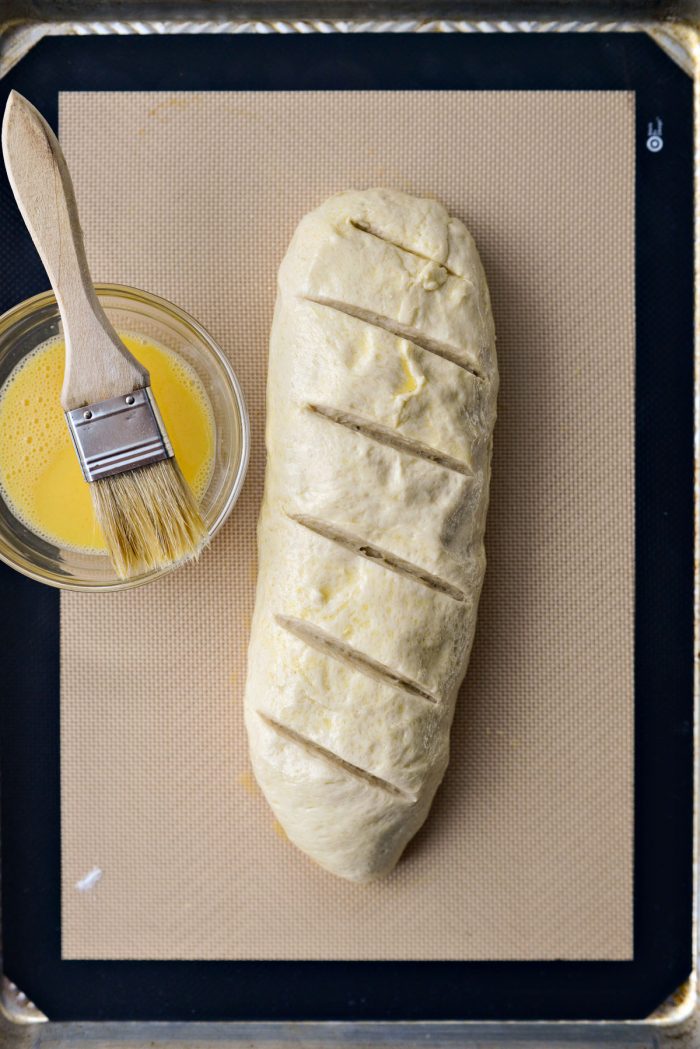
Transfer the loaf, seam side down, onto a parchment paper or a silicone mat lined, rimmed metal baking sheet.
From here, shape or stretch the dough to form a classic “French loaf” shape or shape it however you like. Brush the tops and sides with an egg wash (1 egg beaten with a splash of water) and make a few slits on the top with a knife or bread lame. I stick the entire blade in flour before doing this.
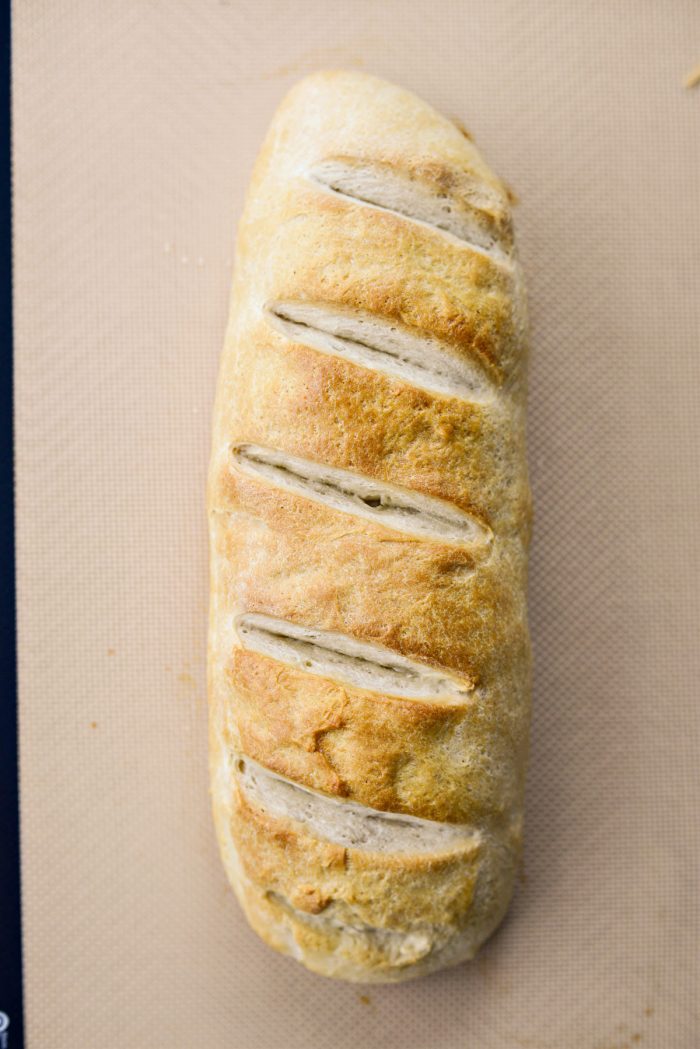
Slide the pan onto the middle rack of your cold oven. YES COLD OVEN.
Shut the oven door (yes, with the loaf inside 😉) and turn your oven on, with the temperature set to 375℉ (or 190℃) then immediately set a timer for 30 to 35 minutes. As the temp slowly climbs, the bread will slowly rise and bake.

And what’s the best thing to make with French bread you ask?
Besides smearing with salted butter? French bread pizzas of course! That and garlic bread!)
Enjoy! And if you give this Easy Homemade French Bread recipe a try, let me know! Snap a photo and tag me on twitter or instagram!

Easy Homemade French Bread
Ingredients
- 1 cup warm water
- 2¼ teaspoons rapid rise, or fast acting yeast
- 2½ cups bread flour, see notes
- 1 teaspoon kosher salt
- 2 teaspoons olive oil, for bowl
- egg wash
Equipment
- KitchenAid 6 Qt. Professional 600 Series Bowl-Lift Stand Mixer - White
Instructions
- In the bowl of your stand mixer add the warm water (110-115℉ or 43-46℃) and sprinkle in rapid rise yeast. Set that off to the side for 5 minutes.
- In a medium bowl combine the flour with kosher salt.
- Once the yeast is foamy, gradually add in the flour mixture. Mix on low until just combined.
- Switch over to a dough hook, and continue mixing until the dough is smooth and tacky and doesn't stick to the bowl. About 4 to 6 minutes. If the dough is still sticky, add 1 to 3 teaspoons flour until no longer sticky.
- Meanwhile, lightly grease a large bowl with olive oil.
- Remove the dough and shape it into a ball. Add it to the oiled bowl, using it to coat the inside of the bowl with oil. This keeps the dough from sticking to the bowl as it rises.
- Cover the bowl with plastic wrap or a clean dish towel before placing it in a warm area to rise, double in size or about 1 hour.
- Use yoru hand to gently punch or press down the dough to release the air. Starting on one side of the bowl, use a spatula to roll the dough into a log shape. Transfer it to a silicone or parchment lined rimed baking sheet pan - seam side down. Gently stretch the dough into a loaf shape.
- Brush the loaf an egg wash (optional) and make cuts into the top of the dough. I stick my knife into flour before scoring the top.
- Slide the pan on to the middle rack of a cold oven.**
- Turn on the oven, setting the temperature to 375℉ (or 190℃) YES! while the loaf is in the oven! Bake for 30 to 35 minutes. Rotating the pan halfway through baking.
- Remove and let cool slightly before slicing.
Notes
Buy the Cookbook: Simply Scratch : 120 Wholesome Homemade Recipes Made Easy Now available on Amazon »
THANK YOU in advance for your support!


Oh wow, this IS easy! Great idea!
This is lovely. Very easy and thanks for planting ideas.
Well i haven’t made it sound delicious or delish
Thank you, Mia!
the simplest of all things and yet we all tend to go the easy route and buy it at the store — great tutorial on making your own and what a great idea for pizza bread!! looks so good!
You ALMOST make me feel like I could achieve this! I think it is the pizza that really grabbed my attention! 😉 Thank you!
french bread pizza is THE BEST.
Mmmm, I have to show this to my wife, she'd love this!
So excited to try this. Looks great!
how many oz in a packet of yeast?
30-35 minutes after the oven is 375F degree? or 30-35 minutes after you put the loaf in the oven?
Thanks
My family loves French bread, but I've never made it from scratch. Your recipe looks so simple, I'm going to give it a try this week! The french bread pizzas look amazing too 🙂
oh- how wonderful looks this?!? Thaaaaaank you so much for the recipe- I am definetely going to try this!
Have a wonderful weekend!
i'm totally in love and making a big fat loaf this weekend!
Yes, absolutely the best smell ever. And I love that you made pizzas out of these!
Gone are the days of buying French bread from the store! I have never made French bread at home and love the idea of baking it fresh. Your little pizzas look ridiculously good too! Happy Cinco De Mayo!
I'll be honest with you. I am terrified of yeast but you make this french bread look so damn easy. Okay, I have to face my fears and just give it a try.
Thanks for the inspiration! 🙂
I can't wait to try this. I usually get my baguettes from the farmer's market. No more!
You DO make this look easy, and I now want French bread pizza!
You don't mention sugar which I see in most yeast recipes. Is it not needed in this recipe? I'm so excited to make this looks great.
Hi Pam! Nope, no sugar needed! 🙂
Laurie… I've been thinking about this for days now. I'm a bread Fa-reak. I made some yumo turkey Parmesan meatballs in sauce and was dying for some of this bread to make it into a sub! I might just do it. I might just make this bread tomorrow. Looks great
How do you mix the dough if you don’t have a mixer with a dough hook? I have a stand mixer but never got all the fancy contraptions I could order (and pay extra) to go with it. Thanks!
Hi Laurie, I am learning to cook from scratch and made this last week following the recipe exactly.. except I used 1 and 1/2 cups of whole wheat flour and 1 cup of white flour. Did not have a stand mixer so did everything by hand, I kneaded and kneaded! Also instead of making a single big loaf I made 6 little loafs. They were very hard! I had to throw them out, so I made another batch (half this time) and cooked for half the time. These did not turn out bad, but they were still a bit hard. Do you think the WW flour had to do with this? What changes do you suggest? Maybe putting a bit more olive oil in the mix? Yours look so nice and soft! 🙁
Hi Mariette! So many things can go wrong in bread baking. Here is an excellent link and hopefully you can find out what might have gone wrong for you. Don’t give up! 🙂 Laurie http://www.thefamilyhomestead.com/faqbreadbaking.htm
No.i made this exactly the way she said and it came out dense and super hard. It needs sugar.
Hi Alicia, I’ve made this recipe dozens of time and it’s never came out dense or super hard. Most likely you did not knead it or leave it to prove for long enough. I hope this helps! 🙂
How much yeast (in tea/tablespoons) is in a packet?
This ROCKED!!! It turned out perfect! Thank u so much for posting this recipe!! It was sooooo good, my brother and I were going to make my dad dinner for Fathers Day. I made this dough and let it rise on the way to his house. I baked it when I got there and it was gone before we could even make dinner! Everyone loved it! Had to let u know! O and your really pretty too! 😉
Pingback: French Bread « This Poor Kitchen…
Pingback: Accomplishing a goal faster than I thought I would.
This bread was soooo good, thank you for sharing the recipe! I made it last night, a bit skeptical that it would work, especially when my yeast didn’t look like it had bloomed. But the dough rose when left for an hour, and putting it into the cold oven and then letting it sit there for 35 minutes turned it into perfection! This is now my go-to bread recipe.
Hi Levynite! The packet is equivalent to 2-1/4 teaspoons. Hope this helps 🙂
Shoot, the packet yeast I have is a bit more than that, I think. Sounds like yours is about 7 grams? Mine are 11 grams. Would that be viable or too much?
I LOVE bread so I have never made it before for fear that it would be too hard or it would taste aweful. But luckily, this recipe was perfect! My bread is awesome, especially with European butter! I will definitely make this again. Thank you!
Pingback: 018. French Bread | Love and Cupcakes
Just wanted to mention that in my French bread recipe, you roll out the dough into a rectangle, then roll it up into a loaf, tucking in the ends (instead of just “forming it” into a loaf). I’m sure its not totally necessary, but it does make the finished loaf a little smoother. 🙂
Hello! Is it okay to just hand-knead the bread if you don’t have a mixer with a bread hook? Also, what kind of pan did you use to bake it in? Thanks and I’m excited to try out this recipe!
Nice simple recipe, amazingly without sugar at all! thanks, am baking it now–much appreciated.
This was delicious and very easy to make. I love bread and fresh baked is the cherries as far as I’m concerned. This I can see as a go to staple from now on. Thanks
Just had to stop by and say THANK YOU for an amazingly EASY and DELICIOUS recipe! I just made 2 loaves tonight to have with homemade ham and potato soup. My kids LOVED it!! Thank you!!
I’m so glad Kim! Thanks for stopping by and letting me know! 🙂
Made it yesterday. Turned out great. Definitely a keeper. So glad I can make this quick homemade bread and not feel bad about eating all the chemical junk found in the store bought bread. Will have to try substituting it with half quantity of whole wheat flour. Thank you so much for this amazing and EASY recipe.
Yay! So glad to hear it! Let me know how the whole wheat flour works for you!
I’m not that much of a online reader to be honest but your blogs really nice, keep it up!
I’ll go ahead and bookmark your website to come back down the road. All the best
This french bread is amazing!! I started my first batch and the yeast didnt bloom so i threw it out, but then i tried it again and it still didnt bloom but i went ahead and made the breadanyway and it turned out wonderful. I brushed egg white on the bread to get a good crust and five minutes before it was done bakingi brushed some olive oil on it to add some color. Thanks so much for the wonderful recipe.
I’m so glad Sydney!
Hey! Would you mind if I share your blog with my zynga group?
There’s a lot of folks that I think would really
enjoy your content. Please let me know. Cheers
Pingback: French Bread | becoming pigzilla
Thiѕ site was… how do I say it? Relevant!! Finaly I
have fouind something which helped me. Thaanks a lot!
Pingback: Garlic Herb French Bread | Dine with Deja
Pingback: Parmesan + Roasted-Garlic Bread
This turned out wonderful. I looked at 5 other recipes 1st and chose this as it appeared the easiest. I am now making it for the 2nd time as my husband asked me to make it again.
Thank you,
I love this technique! The last time I tried making french bread, the dough didn’t rise and it was raw in the inside but burnt on the outside. I just checked my bread 2 minutes ago and it was rising in the oven beautifully, thanks for the recipe!
Pingback: Favorite Bread Recipes | Quite Bookish
This is the BEST bread!!! I added an egg wash (just looks nice). This bread is also great when I add all the seasonings I would use in stuffing into the flour. I use it for sandwiches and naturally home made stuffing!
I have made this bread a few times now. I do cheat and use my bread machine to make the dough. I have just made it again but this time I added some garlic and parmesan cheese to the dough. It turned out yummy. I am so glad to have found this recipe.
Have made this bread several times, it is perfect. You can double the recipe, just use about 1/4-1/3 c less flour to start & only add if you need it.
We also add in garlic, oregano & Parmesan to the flour mixture for an herb bread, delicious & always right on.
Great article!
I wonder if we can make a large amount and then freeze it for later use.
Thoughts anyone?
Pingback: Easy Homemade French Bread | My Blog
Should have never made this lol cause now it has became a weekly ritual. My family loves this bread. Love your recipes.
Pingback: Homemade Tagliatelle with Turkey Sausage in Creamy Bechamel | Oak & Ivy
I loved this recipe. It was simple enough to do without a stand mixer…and who doesn’t love fresh bread?! Mu only hesitation for next time….I think 3/4 tsp of kosher salt is too much. My bread was incredibly salty. If I make this again….and I probably will very soon…I’ll be decreasing the amount. Thank you for posthing this!
Pingback: homemade french bread | alice in cook-ING land
Love this easy recipe! …could I add fresh basil into the dough and at what point would I do that? Thanks!
DO you set the timer after the preheat or is 30 min the whole baking time?
Pingback: How To Make French Toast Out Of Scratch - FindYourTip | FindYourTip
Pingback: Homemade Tagliatelle with Turkey Sausage in Creamy Bechamel |
Wow. Thank you for this recipe. It turned out fantastic. I think my oven scorches things, so I adjusted the temp to 350 and still needed to take out about 5 minutes earlier. Also I don’t have a stand mixer so after combining the wet and dry ingredients, I palm kneaded for about 3 minutes. Moist, delicious, perfect crust. Awesome.
Yummy, what a great recipe. been looking for decent bread making recipe. Thanks for sharing.
Simon
New family fav as its done in just over an hour!
A-mazing!
Was sceptical about making bread with all-purpose flour rather than bread flour, but my loaves had been coming out a bit dense and heavy recently, so gave this recipe a try.
It came out perfect, really soft inside with a light crunchy crust. And easier than other recipes, doing the second rise in the warming-up oven is genius!
I don’t have a mixer so kneaded mine by hand, for about 5 minutes.
And like another commenter, I brushed mine with olive oil about 5 mins before the end, as it didn’t get much colour on its own.
Thanks for the recipe, will be making this a lot in future!
AWESOME!! Love the tip with the olive oil!
Did this earlier this evening and it was wonderful! We had it with our Chicken Alfredo pasta. I made small changes – added 1 tbsp sugar and 1 tbsp oil to yeast when proofing. I already had chicken in the oven so I only baked the bread for 20 instead of 30 minutes – perfect! Wanted garlic bread so I made a bit of garlic butter, brushed it on, put the bread back in the oven, turned it off and left it there for five minutes.
donr have a dough hook , could I use a big wooden spoon ?
Sure!
Funny stuff! Whoever wrote that, great job. Haven’t baked it yet but I could feel the persons personality in the writing. Bread is so much fun.
Thank you!
How do I keep it from getting so hard on top. They turned out amazing!!!!!
Anyone?? I’m working on a second one cause it turned out so good but I’m worried they will get hard.
Hi Sandra! I haven’t experience that before, although the bread is supposed to have crusty exterior. I wish I could help, but it’s hard for me to say what to do without being in the kitchen with you.
I had almost given up in bread making after so many unsuccessful trials but this recipe is awesome! And the results are wonderful, no fuss and great taste! Funny that no sugar is needed to proof the yeast! Thanks a lot, gave me back my self confidence.
Yay! SO glad, Lauren!
I just made this french bread recipe. It didn’t rise as much as I thought it would. I live at high altitude. Any suggestions?
Sorry, Mary I’m not familiar with high elevation cooking/baking. But I would check the expiration date on your yeast and see if it’s expired, that could be a reason as well. 🙂
I subbed a cup of oat flour instead of one of the cups of reg. Yum!
Nice!
Hi – we love this bread ! Have you ever baked it in a convection oven? Just curious.
Hi Jackie! I have not. I wish I owned one but sadly I have an oven from the 80’s. Ha ha! Thanks for stopping by and making the recipe! ♥️
We love this! It’s quick enough to start in late afternoon and you have fresh baked, delicious bread with the lasagna you made the night before. Thanks for the great recipe!
Easy to make and delicious!
I’m so glad you think so, Amelia!
How long exactly do we wait for it to double in size?
Hi Kaye! About 1 hour 🙂
I know this is an old post, but I’d just like to say thank you for your explanation and especially your step by step pictures. It makes a world of difference for a beginner or anyone trying something they’ve never made before.
Your time to take and post these pics is appreciated
I’m so glad, Lisa! Thanks for taking the time to comment. 🙂
Made it with two rolls! Glad it turned out well. Was super easy to make! I’d like to share the bread pics….where can can I upload?
So glad to hear it, Diana! You can try sharing to my facebook page or on Instagram!
I made my first ever homemade bread and with your recipe it turned out perfectly ❤️
Thank you for an easy and yummy recipe!
I’m so happy to hear it, Tami! ❤️
Tried it! Great turn out. Surprised how fast and easy it was.
So happy to hear you enjoyed it, Agnes!
Hi there – I have a bread maker so I used my bread maker to make the dough but I had no idea what to do once the dough was ready so followed your directions on that and it came out great! Thanks!!!
So glad, Beverly!
Can I reduce the salt in this recipe?
Sure Jane, but it could affect the flavor and taste.
I used my Ninja on dehydrate mode at 105 covered with a damp towel. It doubled in 30 minutes.
Made this this afternoon and it turned out great. I got a little impatient and didn’t let it rise long enough, but it’s still great. I think this will be my go-to bread recipe from now on. I really like that it has no sugar. Most bread recipes are too sweet for me!
That’s great to hear, Carrie! So glad you enjoyed it!
Been baking this whenever I have time. I like it, but I wonder why I cannot make small slices on top. My dough is always wet. But I think that’s how it is. AM I wrong? ANd should it really be dense?
Check out a dough lame. I just purchased at Amazon because I had the same issue.
Hoping it works better.
This French Bread recipe was easy to follow and achieved great results! I will use this one again! Thank you for sharing!!
Glad to hear it, Pam!
I happily made this recipe last night and found it to be everything you described in the instructions. In fact it was so easy to make that I went ahead and made a second loaf. Proofed both on our pellet stove for an hour, pressed and shaped, placed them in the cold oven and turned the heat to 375 degrees for 30 minutes. Probably should have added an additional 5 minutes. I must say that this was a first attempt at making bread in over 20 years and it was wonderful. It was a bit denser than supermarket bakery French Bread, but I used all purpose flour. Next time and sooner than later will use Bread Flour as suggested. All in all it was delicious and my family readily agreed. Now they are requesting soup or stew to be served with it. Can you imagine building a meal around the bread, it was that good. Thank you for Blogging and bringing your recipes to the people who enjoy making them.
I think I have gone a bit wild making this recipe which I recently found on your website. I made two loaves the first time using all purpose flour which turned out a fairly dense, buta delicious loaf of bread nevertheless. I then purchased bread flour which was a tad bit lighter and in one of the loaves added garlic and oregano to create ready made garlic bread for a pasta meal. Today I made one plain loaf and the other I added onion flakes, garlic and oregano for a luncheon. No complaints here. I think a little experimentation is in order so the next loaf will have some rosemary and thyme added. The recipe is so easy that all possbilities exist. Sending a million thanks for publishing this recipe which I have shared with more than a few people.
VERY easy recipe to follow, and I don’t have a mixer with a bread hook or anything. It was the most fabulous bread – although I will use bread flour the next time. Regular flour made it more cake-y as you mentioned. I had a smidge left and made croutons out of it and those were fabulous too!!!
I’m confused about the yeast. I used rapid rise yeast as directed. It didn’t bloom. I read on several other websites that rapid rise yeast doesn’t need to bloom. So I made dough as instructed. It did not rise. The yeast was new and not near expiration date. I’m disappointed. This recipe seemed really easy.
Hi Diane! Unlike active dry yeast, instant yeast can be added straight into the dry ingredients of a recipe. Though you can proof it beforehand, normally this is not a required step, and doing so will not impact the activation process. Which has be thinking maybe your water was too hot? I’ve always made this bread recipe this exact way but I would suggest skipping the blooming step and adding the yeast into the dry ingredients. Hope this helps!
I’m going to try to make this tonight and use my next-door
Neighbour as my “GUINIPEG”. lol.
My Neighbour loved it and asked for more. She even brought me over 2 slices toasted with her homemade jam on it. It was great with my morning coffee. While making my next loaf, I realized that it tasted great so I am now making another loaf to eat with my stew tonight. This time (after reading all of the comments) I added garlic, shredded Swiss cheese and coated it with olive instead of the egg wash. Was the egg wash only supposed to be egg whites only?? (I mixed up the whole egg on my first attempt ?). On another note: I didn’t have a dough mixer so I went to the “Dollar Store” and bought a 6-inch paint roller. I took the roller and the plastic handle off, put it in my cordless drill and it made a perfect dough paddle. No need to spend $25.00 at Walmart when you can make your own for $1.00. Stay tuned and I will tell you how my 2nd. loaf turned out.
I will try it this weekend and let you know.
This is a VERY DENSE loaf. I made exactly per instructions and I am an experienced bread maker. I was skeptical of the no second rise method. I think this would be better if you let the bread rise the second time then bake in a hot oven. I will try again and let rise before baking because I like the smaller batch. It is a time saver so I was willing to try. Not worth the hour saved.
I’ve commented before but I felt the need to comment again, as I realized I’ve now been making this recipe regularly for over 8 years!!
It’s such a great recipe and is my go-to French bread. I usually make it with all-purpose flour, as I don’t find it needs bread flour. I usually double the recipe to make one big loaf or two small.
Thanks for such an amazing recipe!
Who does not relish fresh bread ? The awesome results always outweigh a trip to the grocery store.
Added value of no preservatives –
Your family will eagerly consume this before it can expire / I totally love it with Italian meals and pasta recipes.
It turned out great! Delicious!